Setting A Primary Asset for a Ticket
Setting a primary asset for your ticket, makes it easy for your teammates to know which asset to focus on when troubleshooting a ticket. In this tutorial we'll show you how you can set a primary asset for a ticket.
3
min read
Associating A Primary Asset To A New Ticket
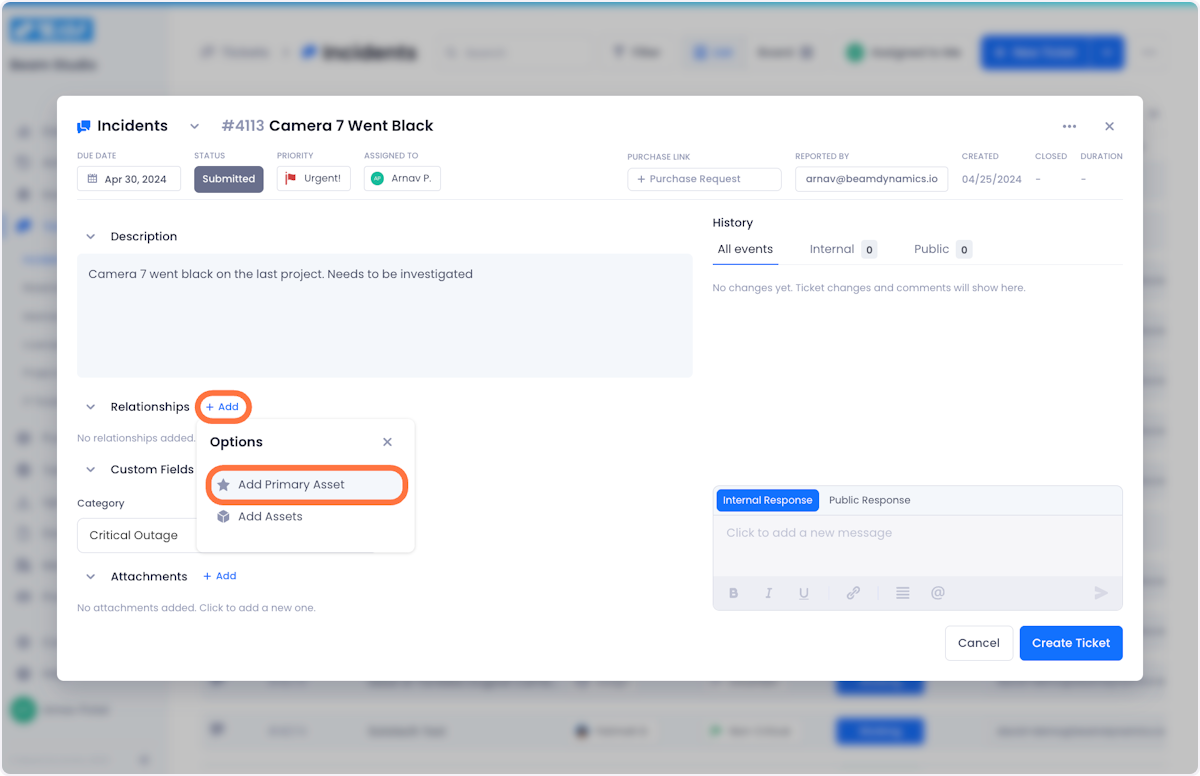
1. When you are in the Ticket creation modal, click the Add button in the Relationships section. From the dropdown, select Add Primary Asset
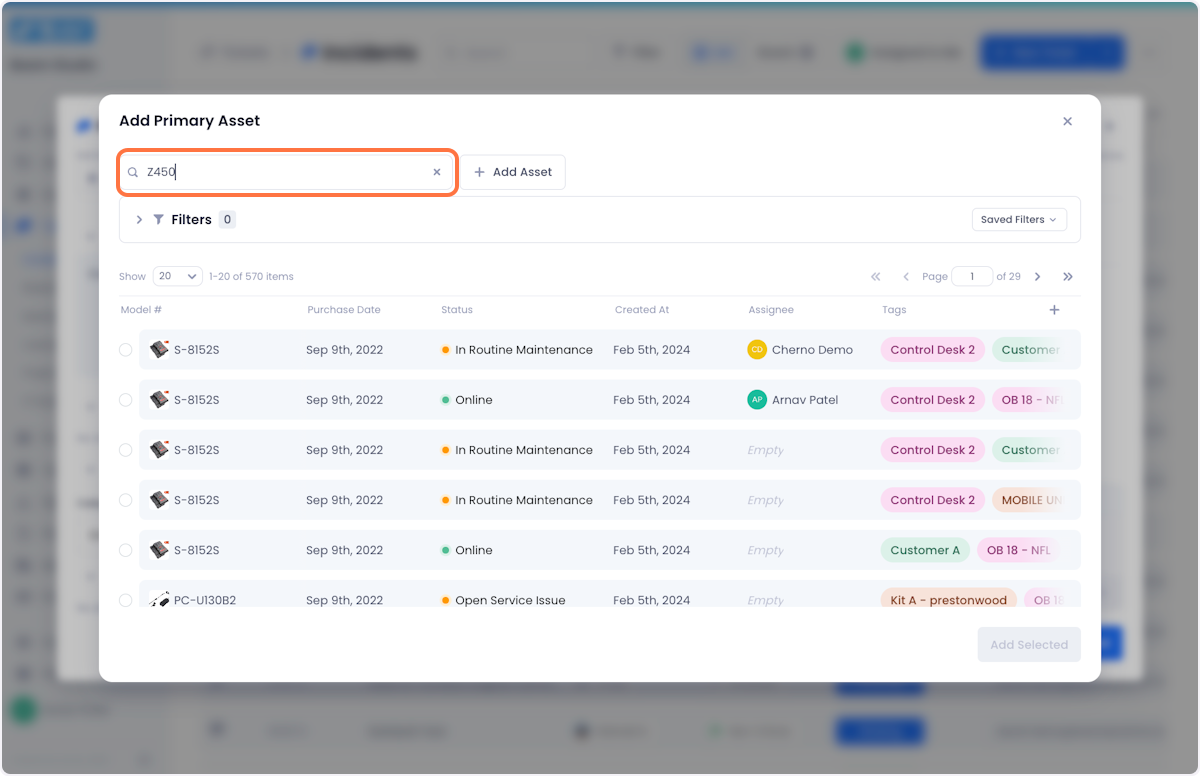
2. A modal will pop up showing you a list of all the assets in your inventory. You can use the search bar at the top of the modal to find the specific asset that you are looking for
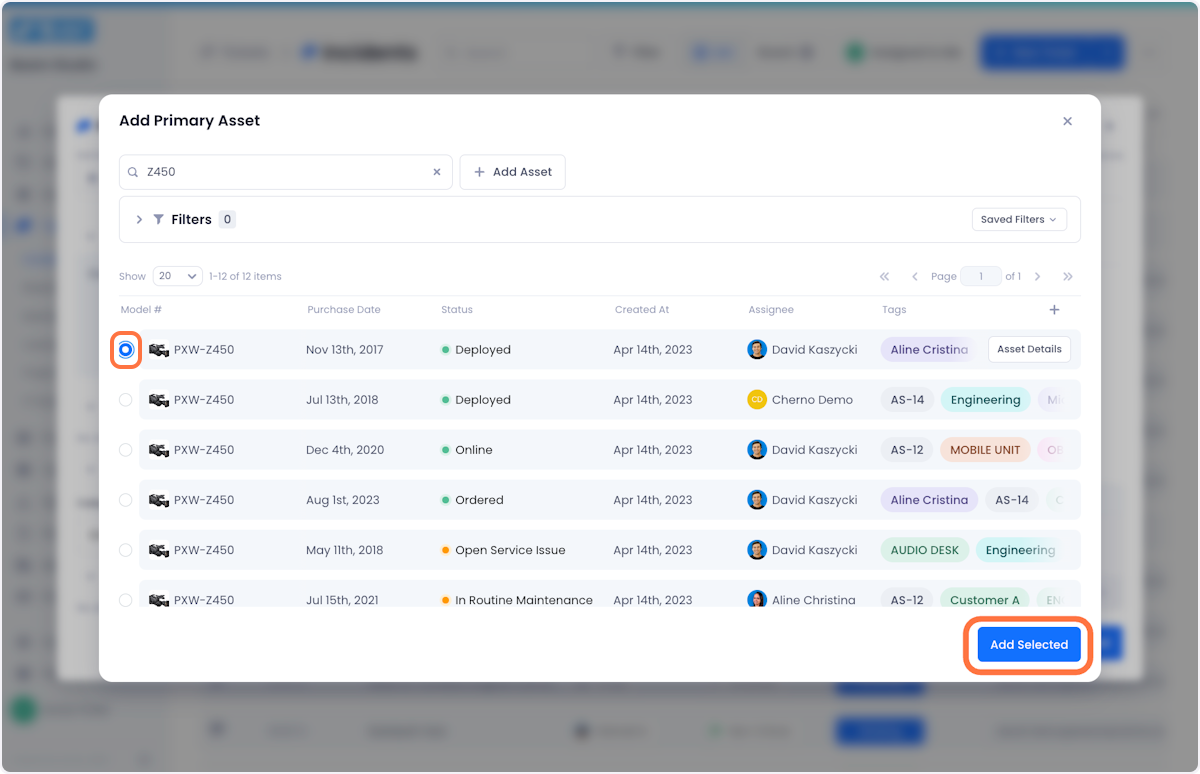
3. When you find the relevant asset, check the radio button next to it and click Add Selected in the bottom right of the modal to complete the process.
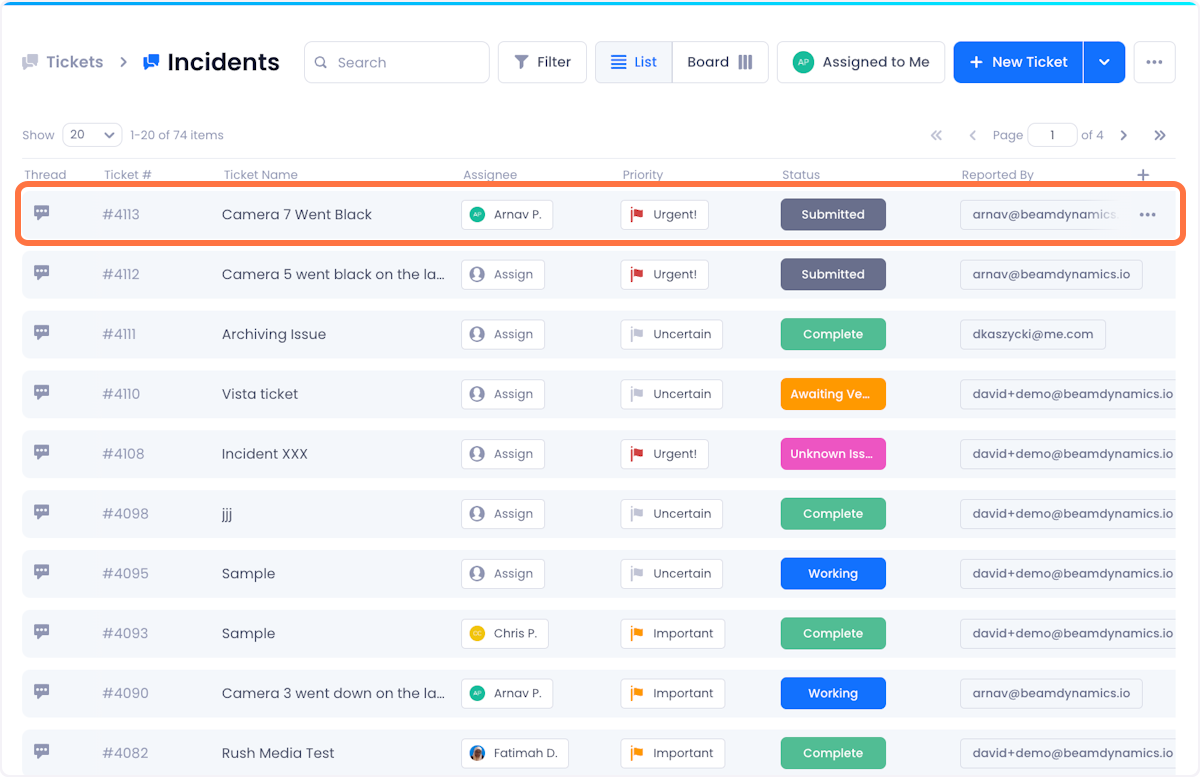
4. Your asset will now be associated with the ticket as a Primary Asset

Associating A Primary Asset To An Existing Ticket
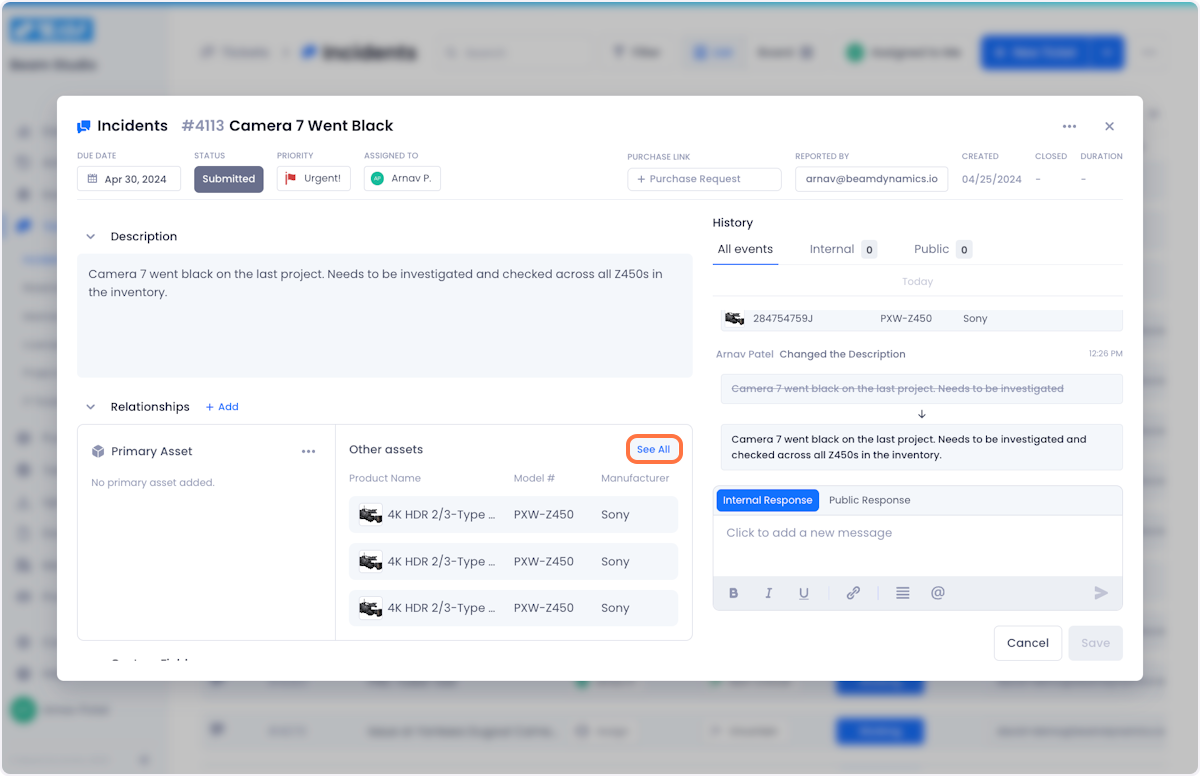
1. Open the ticket that you want to edit.
2. Under relationships, click on See All
3. Hover over the asset that you want to turn into a primary asset and click on the overflow menu.
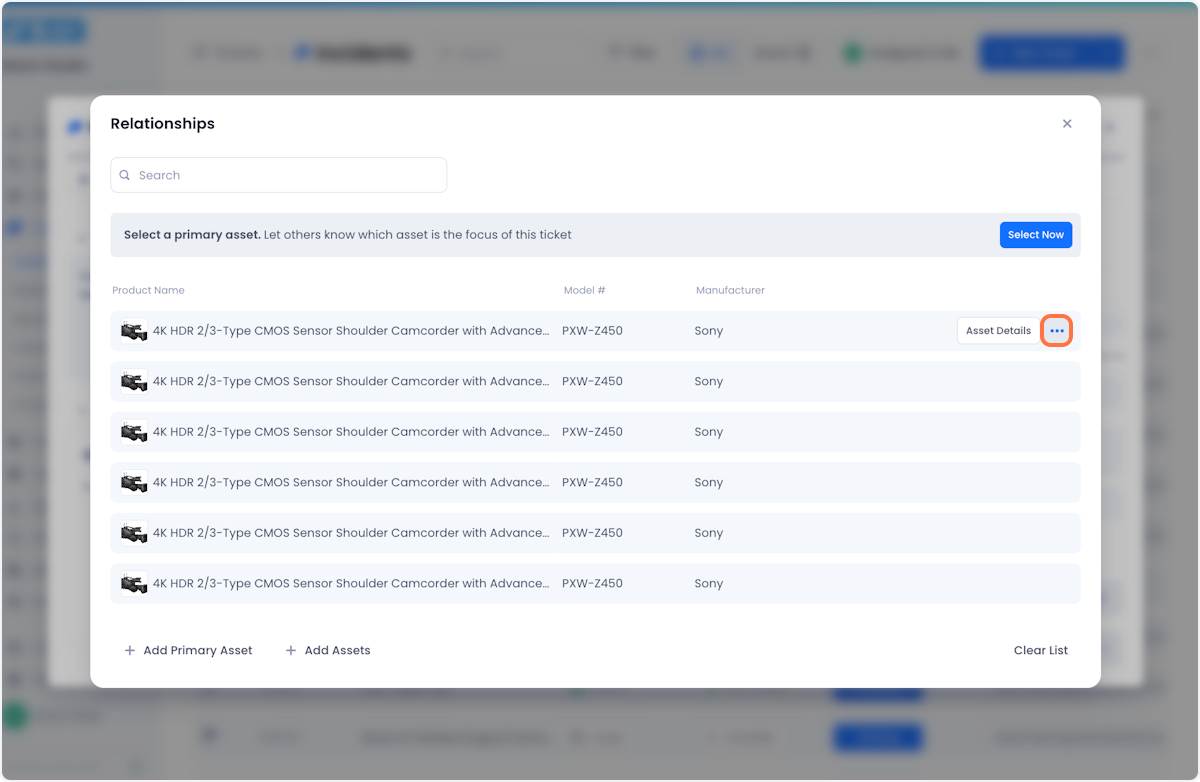
4. From the dropdown, click Mark Asset as Primary

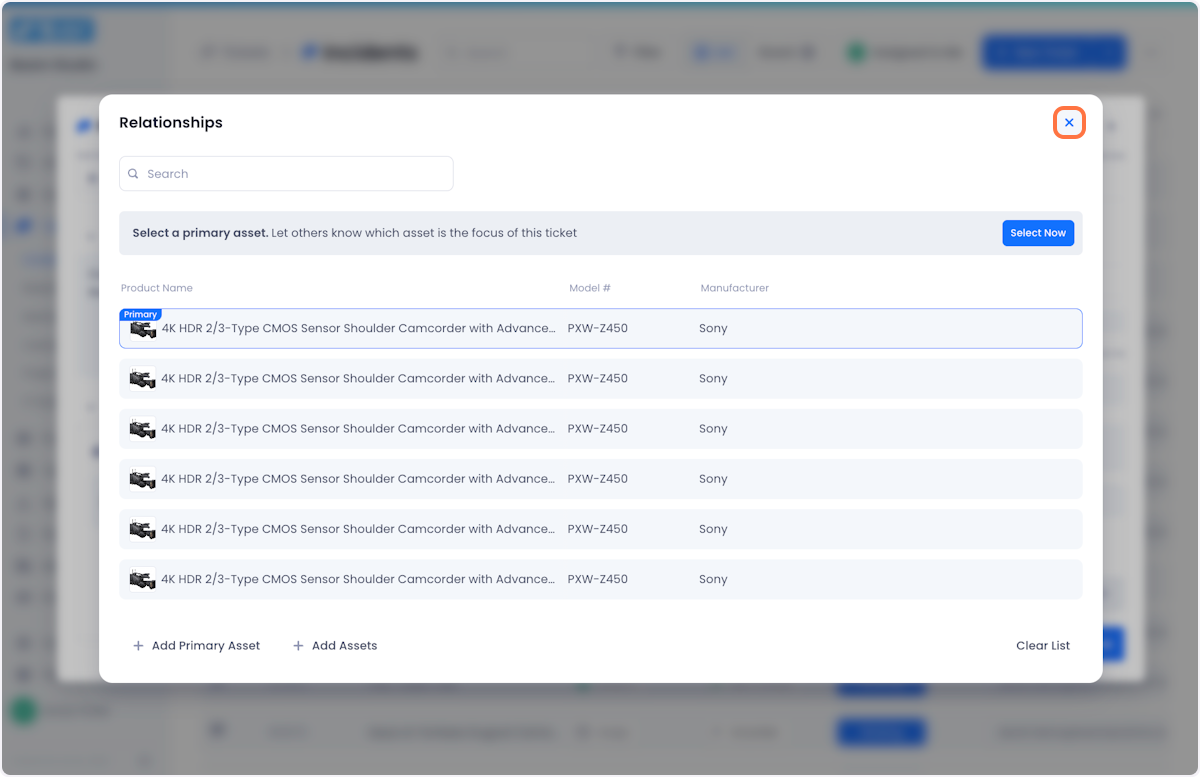
5. Once you're satisfied with your selection, you can close the modal
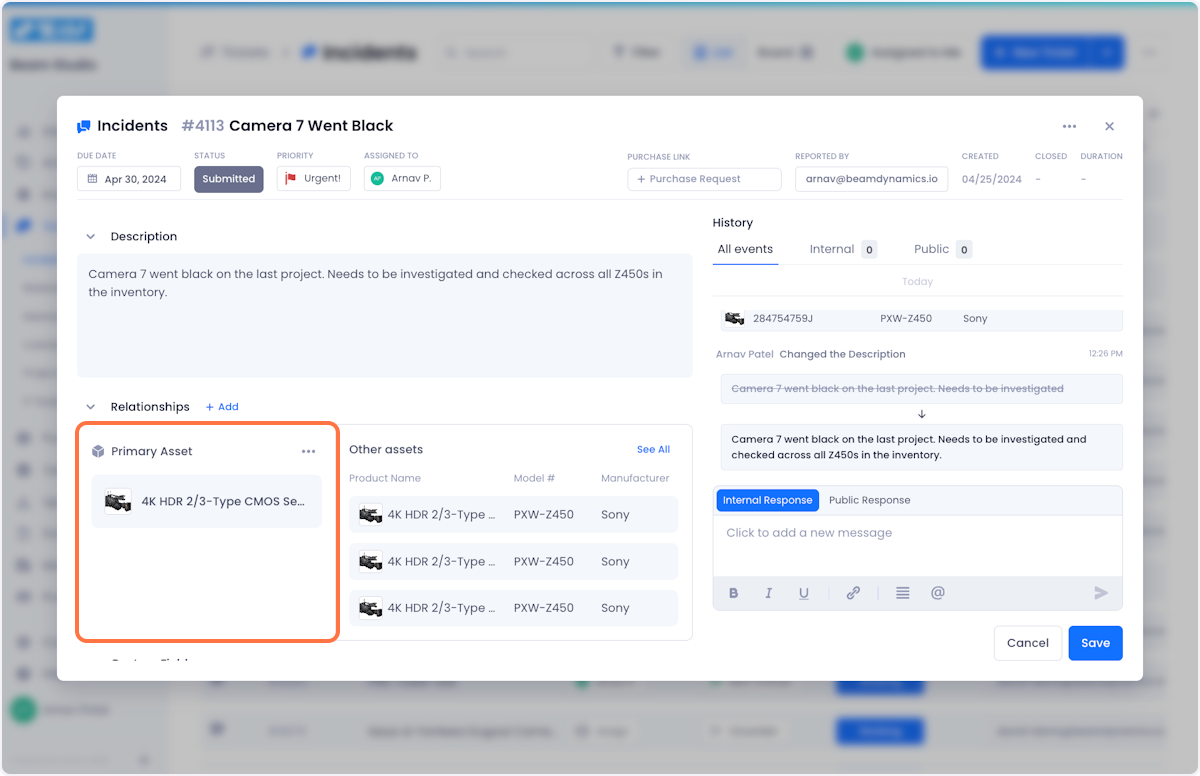
6. Your asset will now be associated with the ticket as a Primary Asset.

Arnav Patel
Product Marketing Specialist