Managing Reservations Statuses
Reservation statuses are essential for tracking how projects are progressing. Beam lets you customize your reservation statuses to match your team's preferences. In this tutorial, we'll show you how to access and manage your reservation statuses.
6
min read
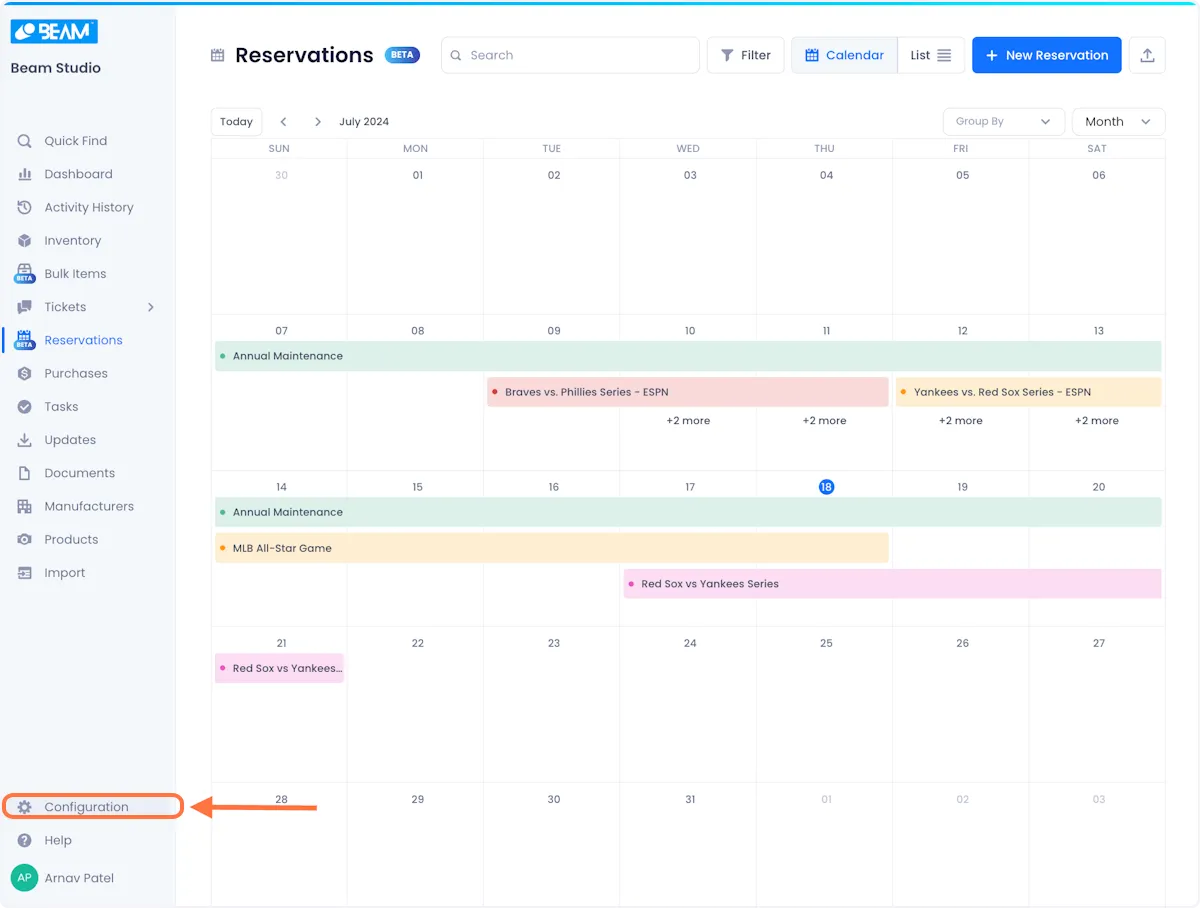
1. Click on Configuration
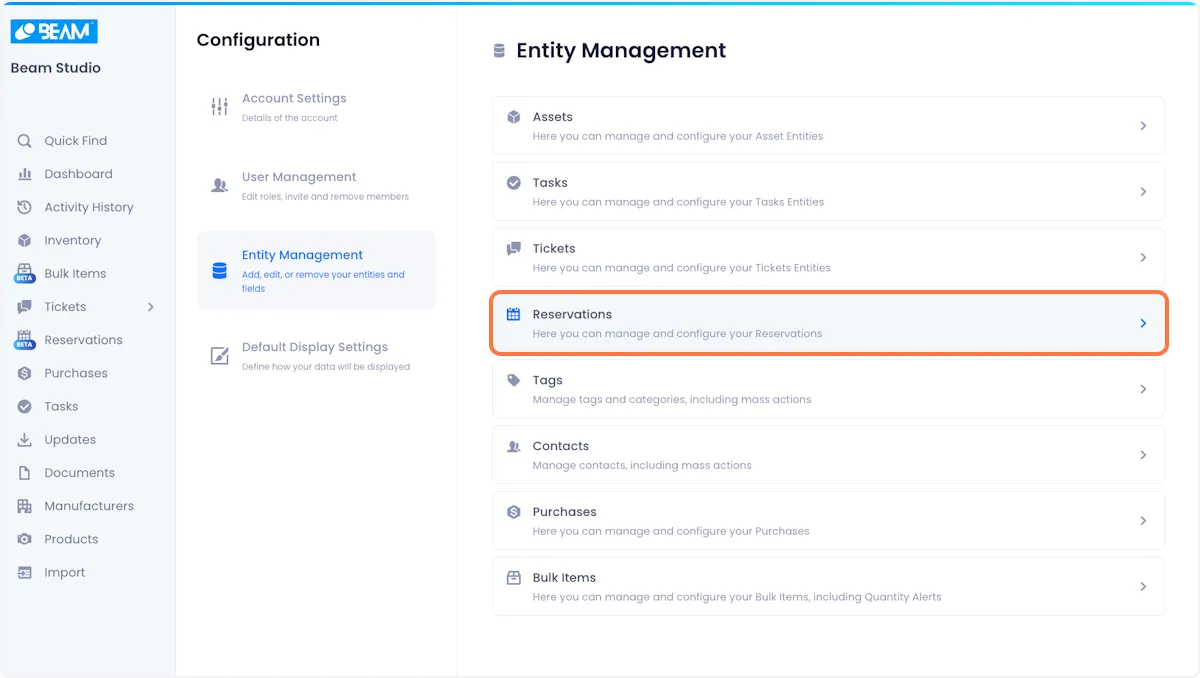
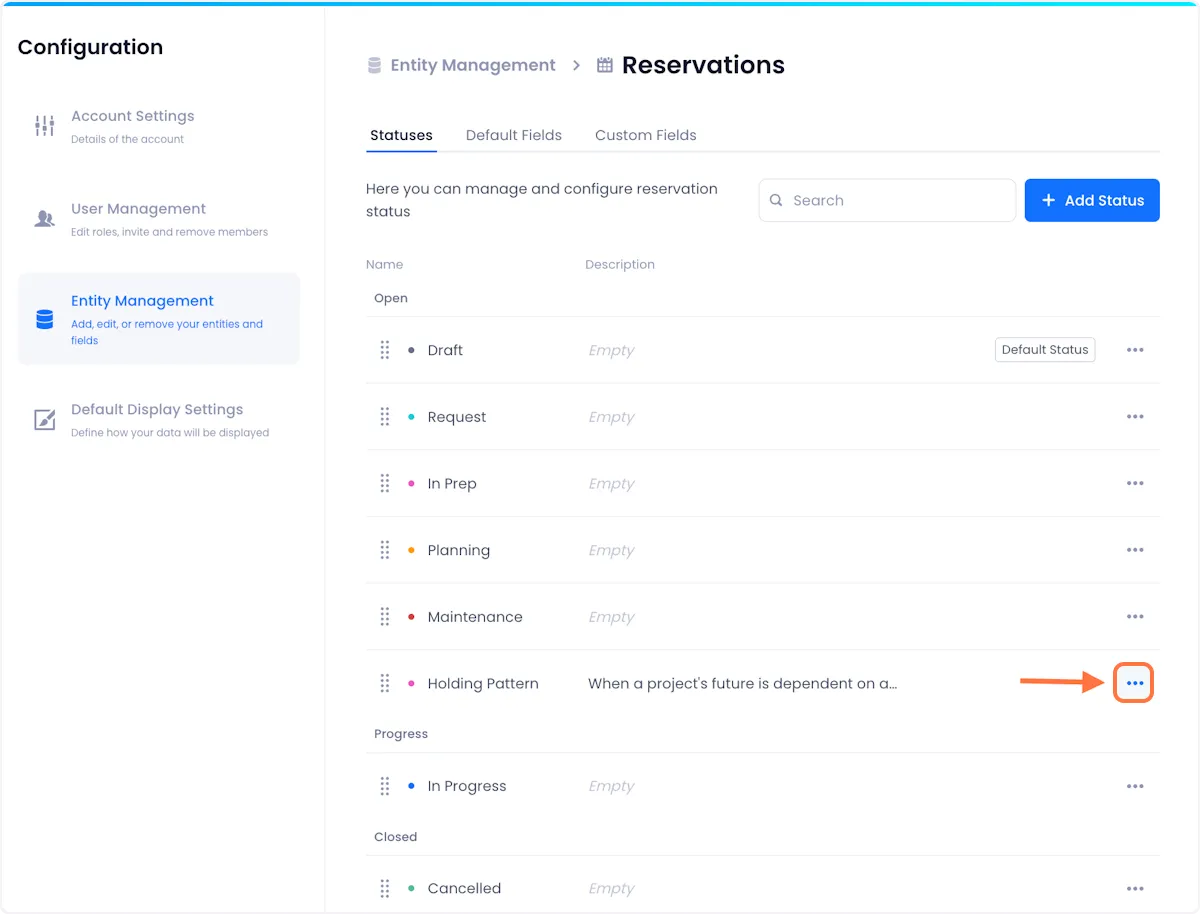
2. Click on Entity Management in the Configuration menu.

3. Select the Reservations entity.
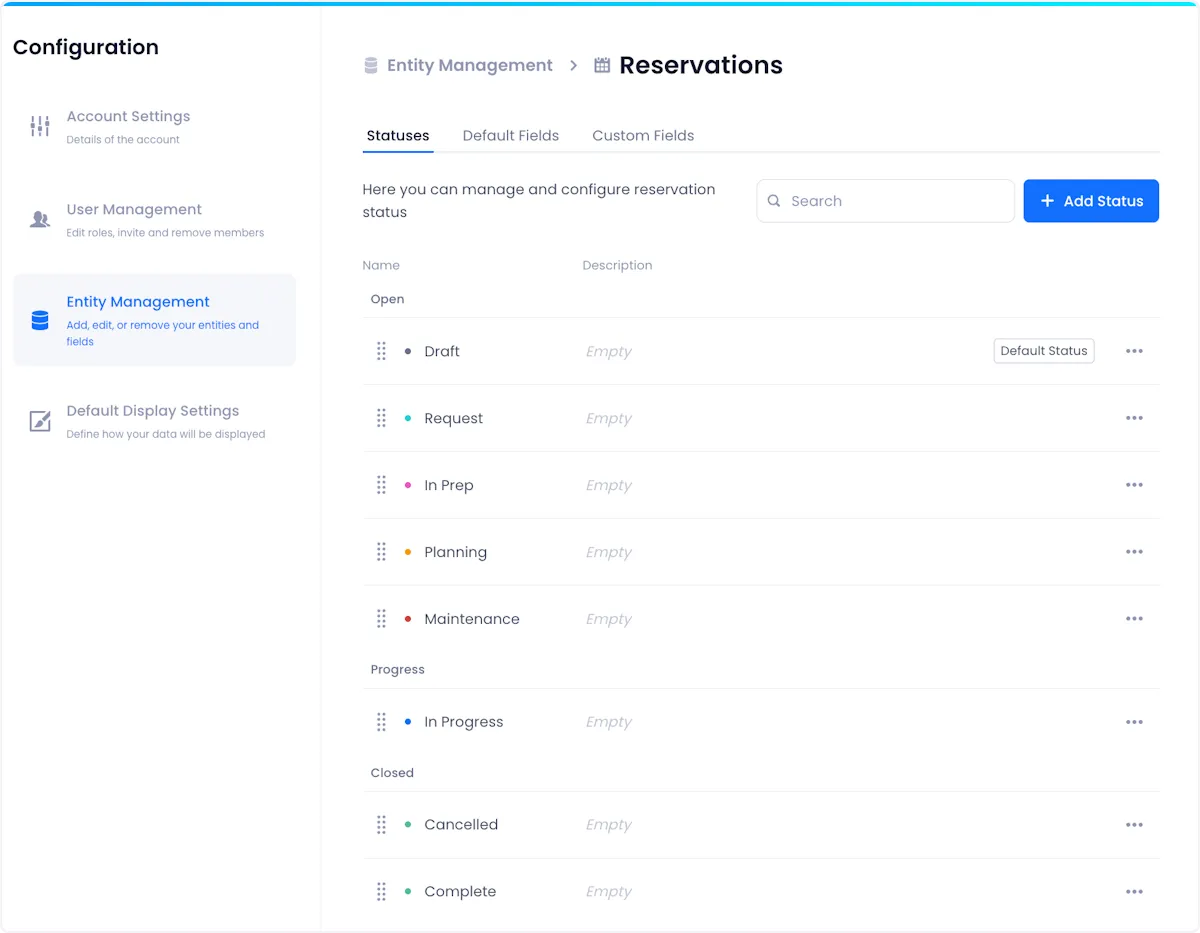
4. You will be taken to a screen where you can view, create and edit your reservation statuses.
Creating A Reservation Status
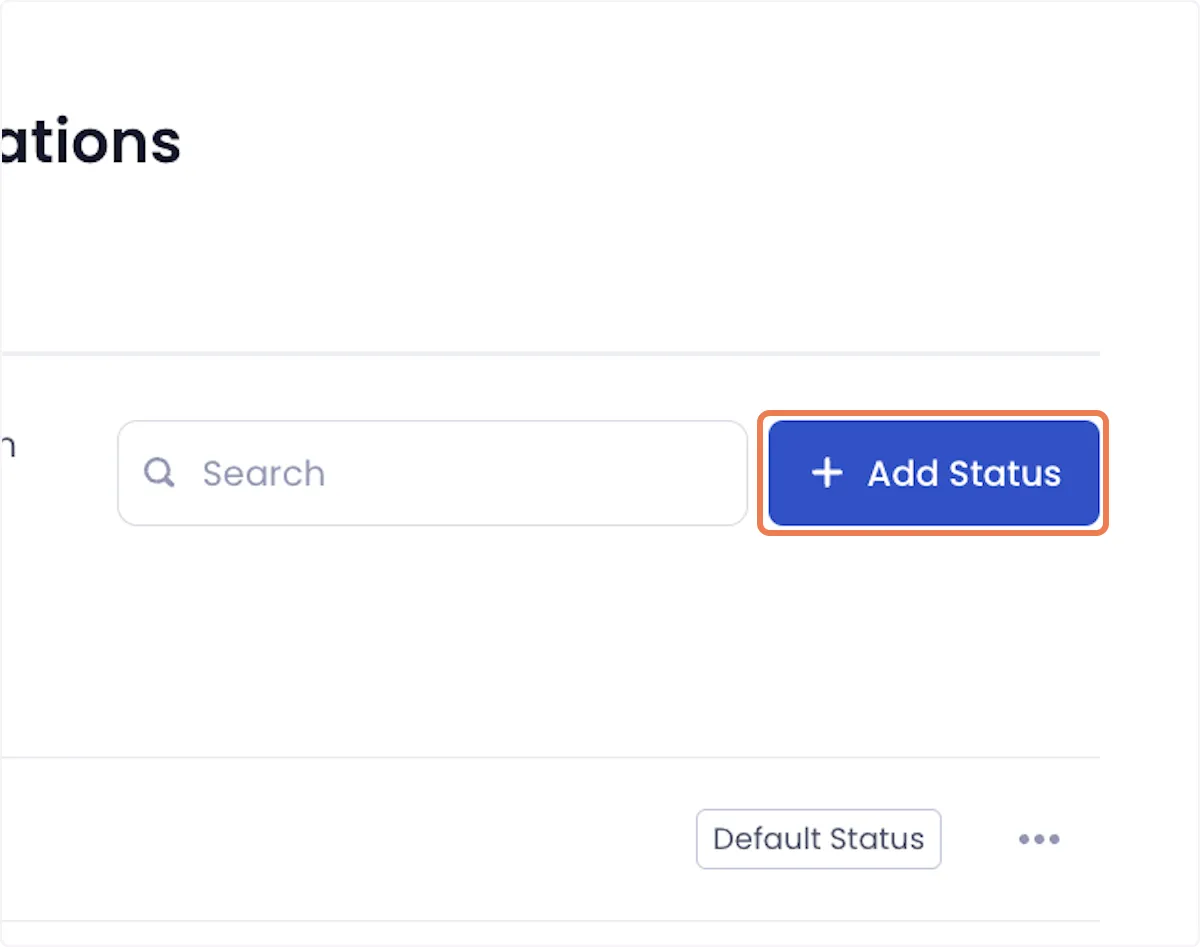
5. Click on the Add Status button at the top right of the page.
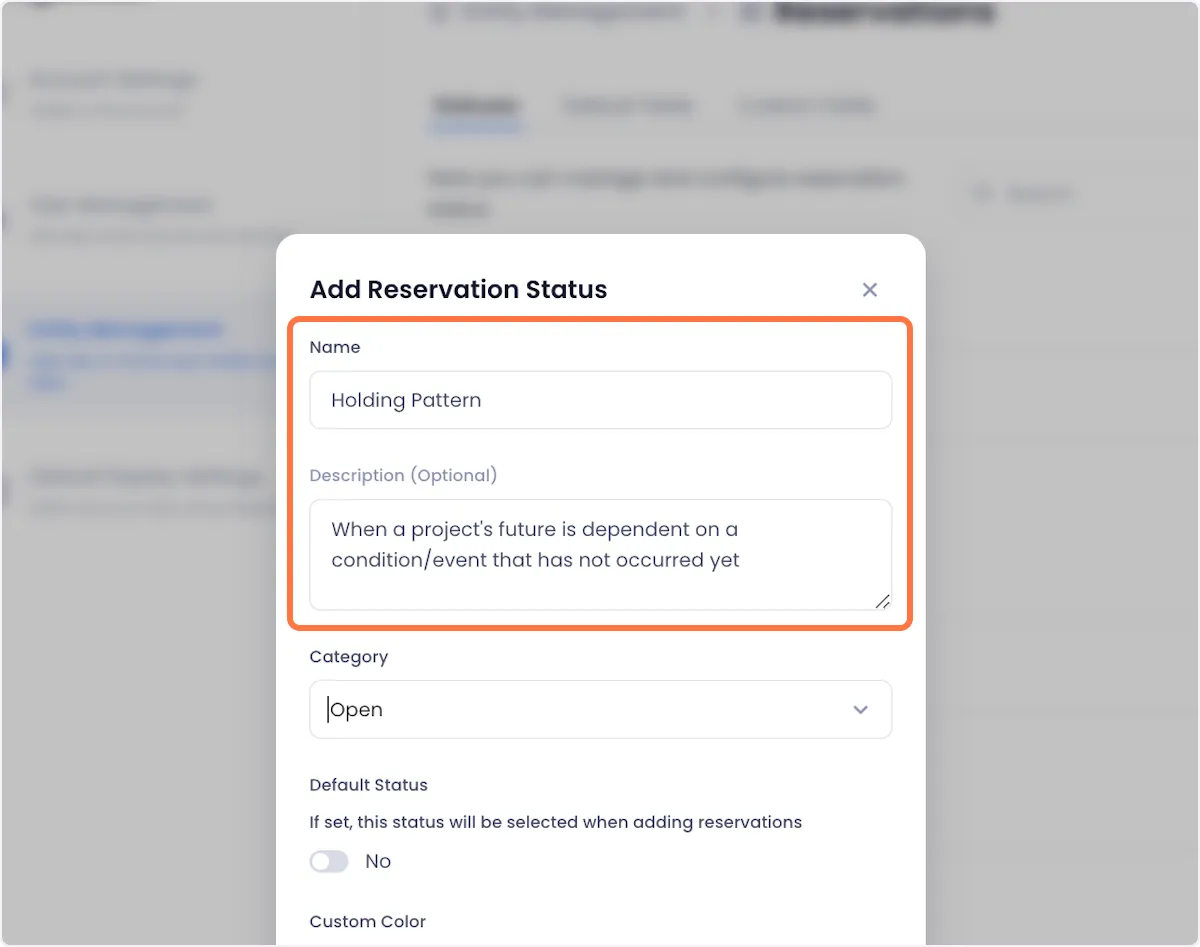
6. In the ensuing modal, configure your status. Start by giving it a name and a description.
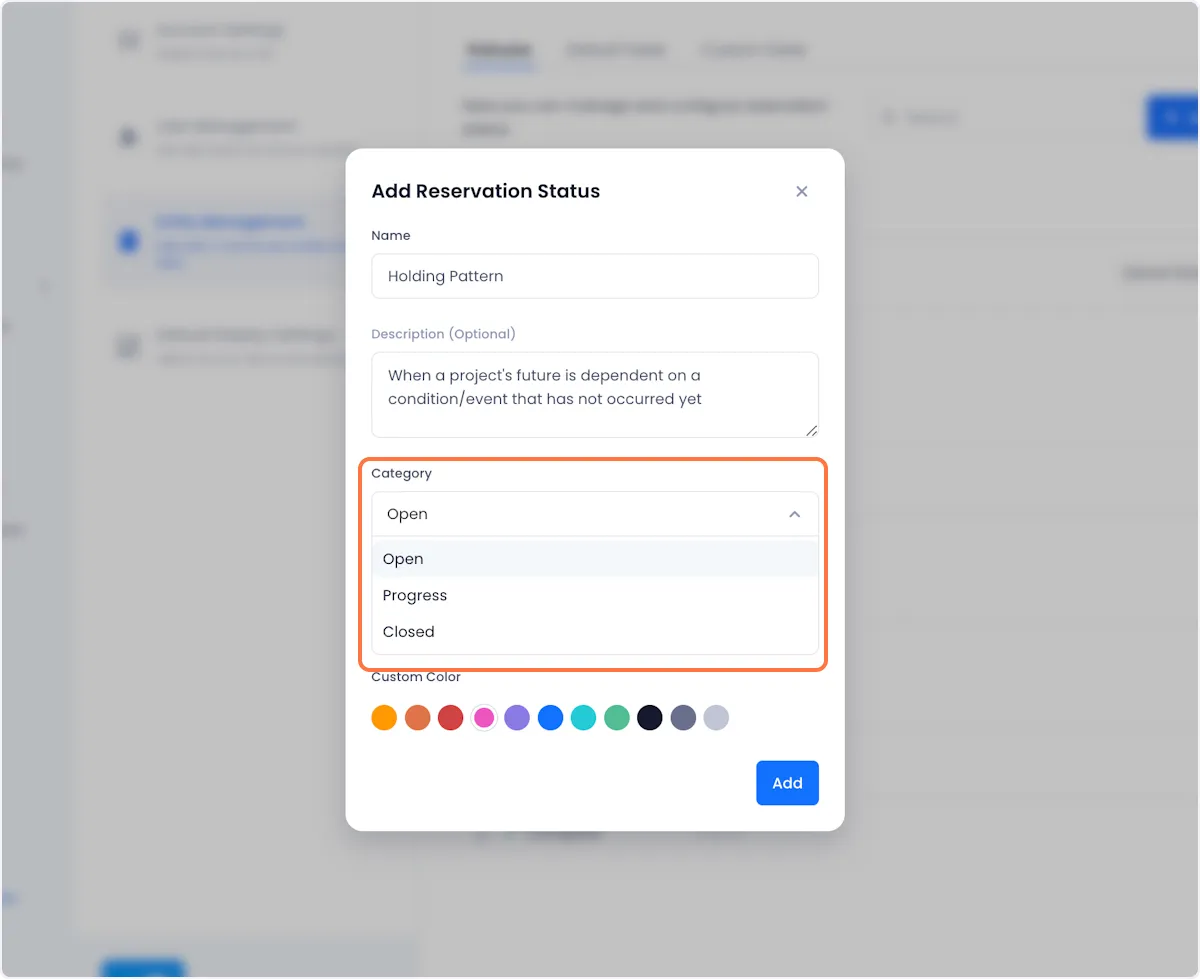
7. Next, set a status category. There are three types of status categories
Open - indicates that a reservation has been created but no action has been taken on them
Progress - indicates that a reservation has had some work done on it.
Closed - indicates that the reservation has reached a stopping point that requires no additional work.
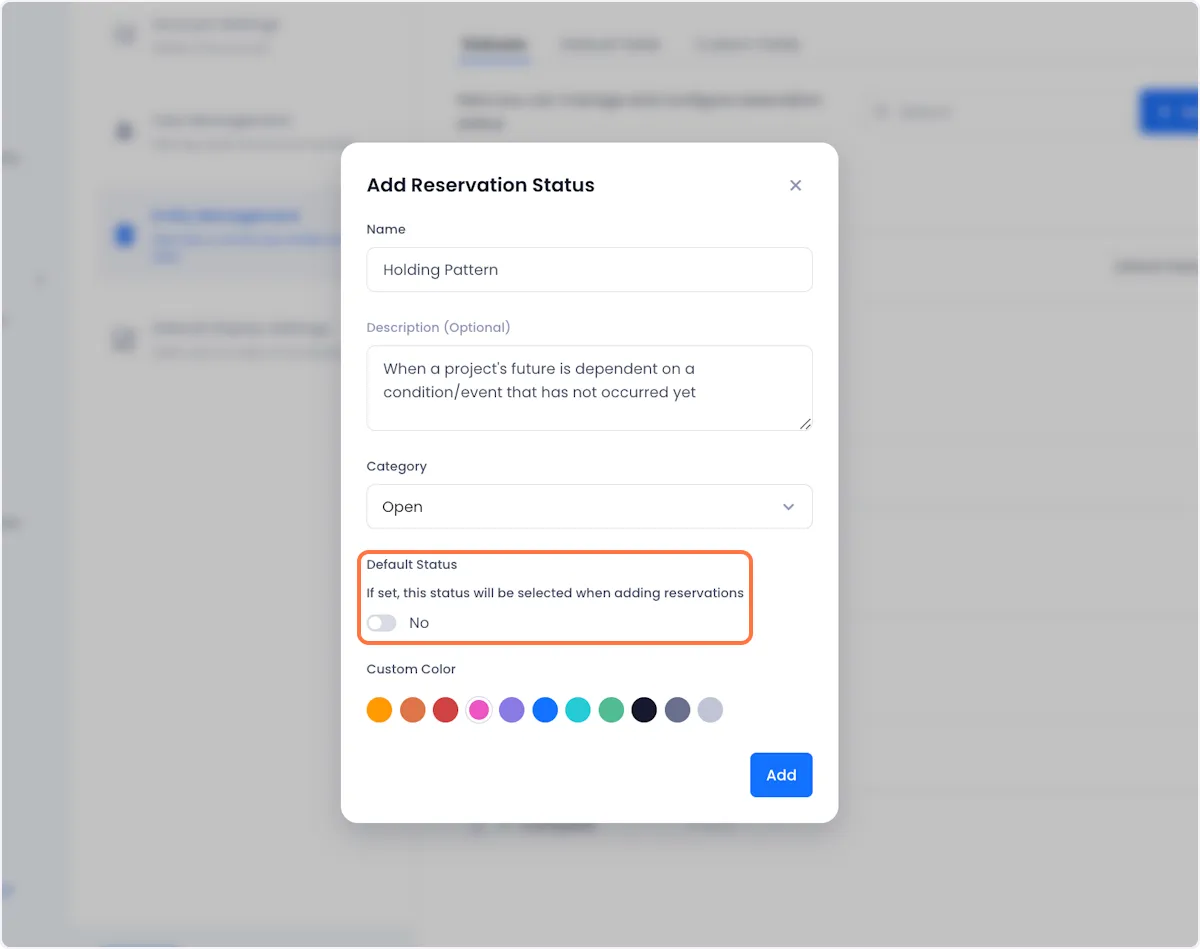
8. You can at this point, also define whether you want the status to be the default status.
If you toggle the default status option on, then any new reservation will automatically be set to this status unless you manually change it.
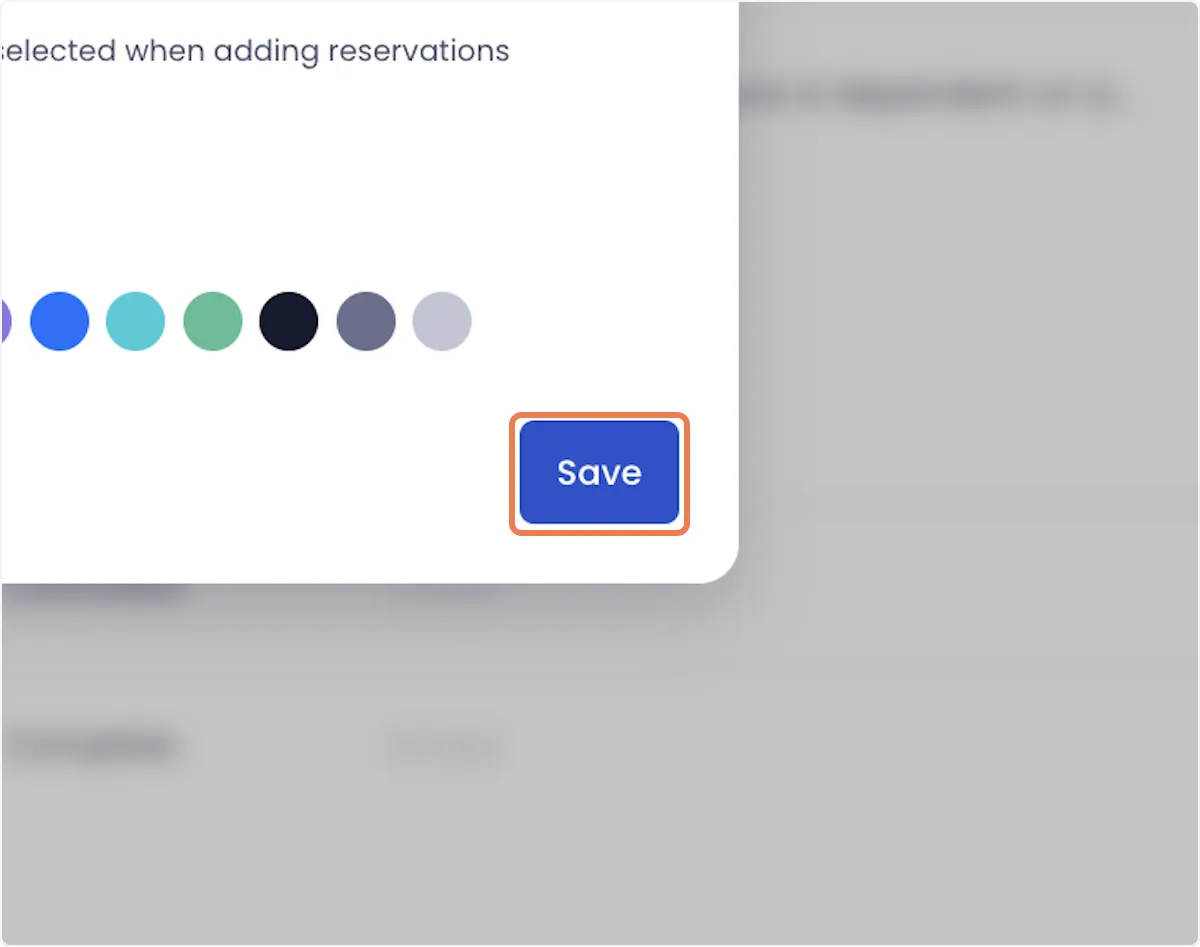
9. Finally, you can set a color for the status to make it more easily identifiable.
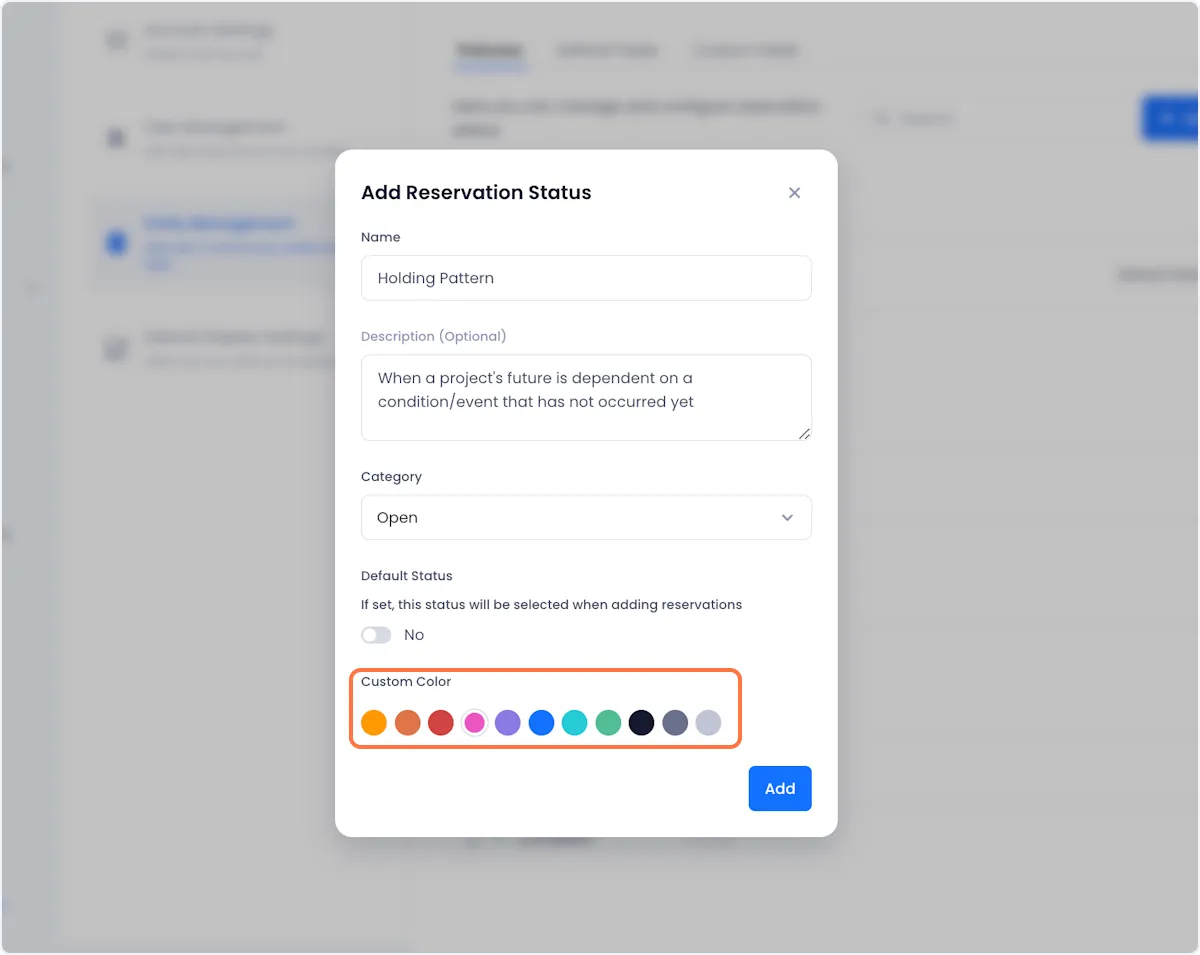
10. When you're satisfied with how your status is configured, click the Add button to complete the process.

Editing A Reservation Status
11. Click on the overflow menu associated with the status that you want to edit

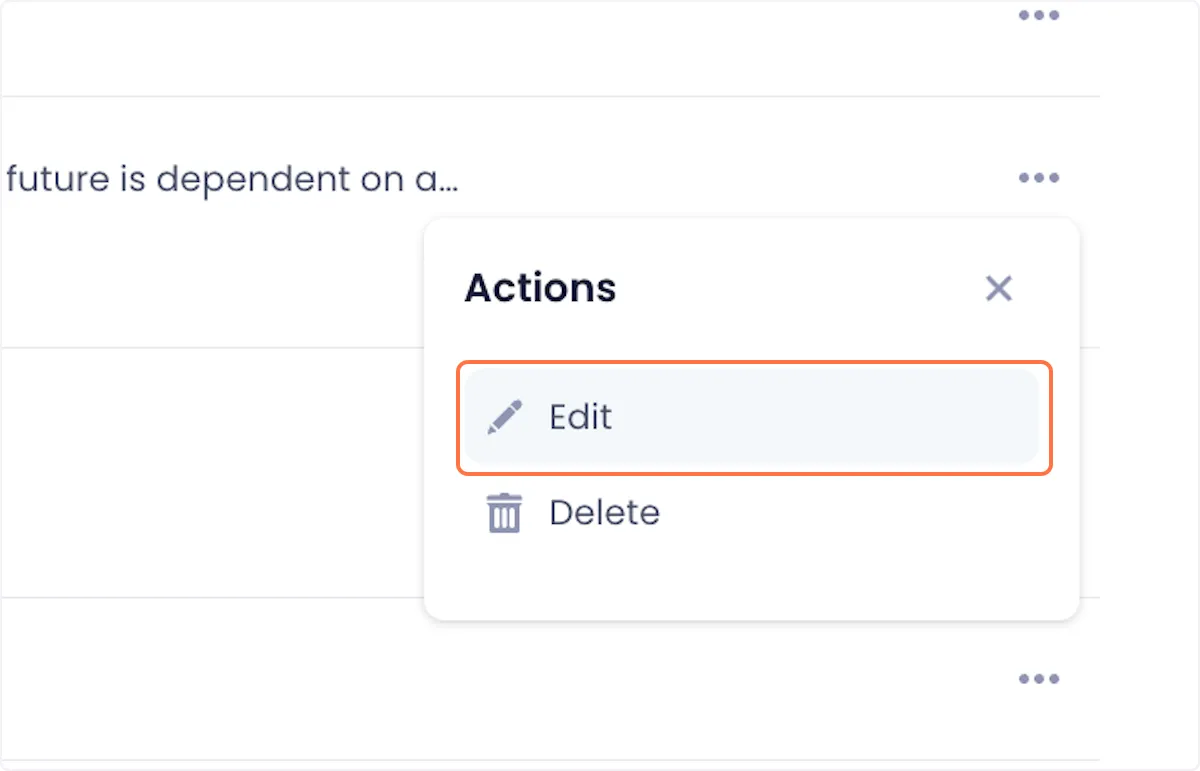
12. Click on the Edit option.
13. Edit the status in the popup that appears on your screen.

14. When you're satisfied with your changes, click Save.
Deleting A Reservation Status
15. Click on the overflow menu associated with the status that you want to edit
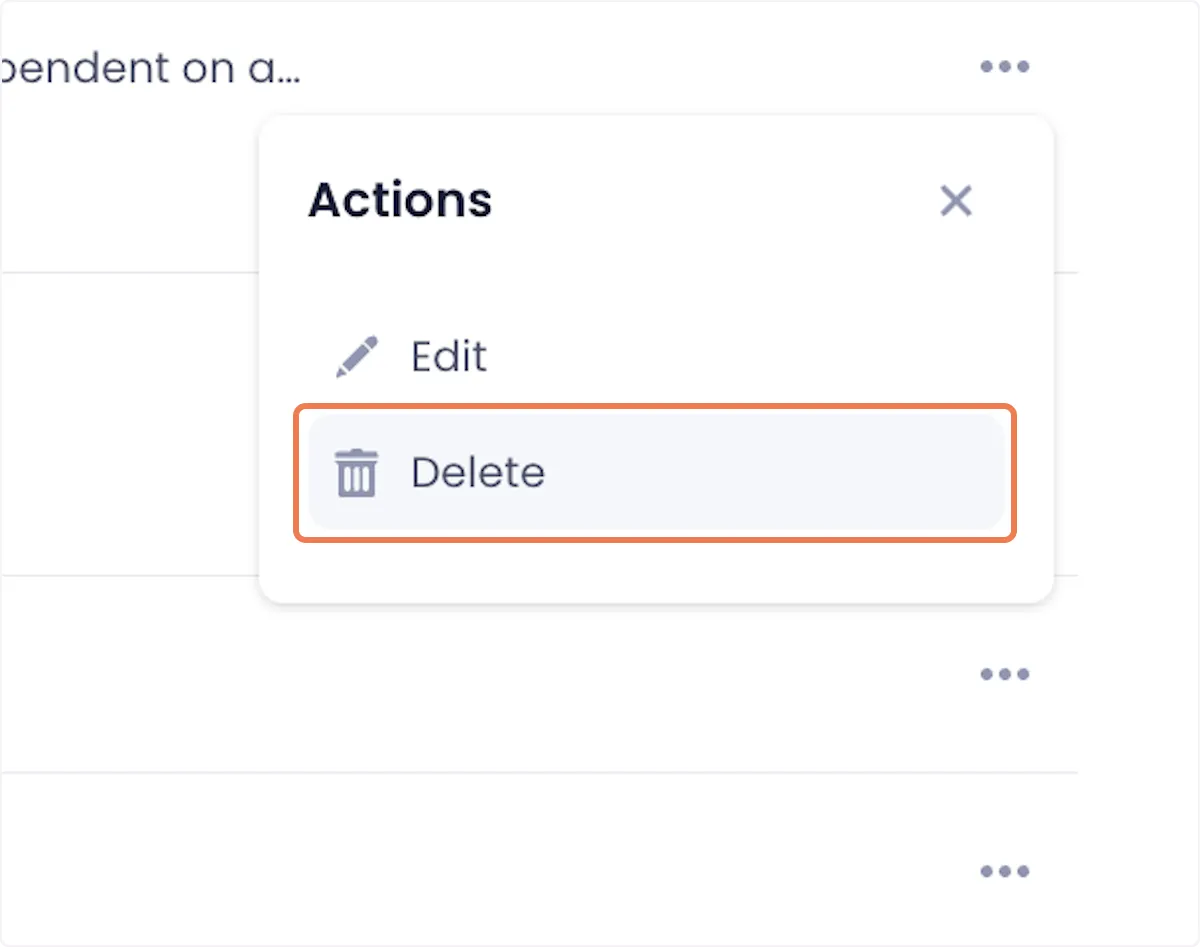
16. Click on the Delete option.
17. Confirm the deletion by clicking on Delete in the following popup.


Arnav Patel
Product Marketing Specialist