Managing Asset Statuses
Assets in your Beam inventory can be assigned statuses to keep track of their disposition. In this tutorial, we will show you how to customize the asset statuses in your workspace so that they fit the needs of your internal processes.
Accessing Field Configuration
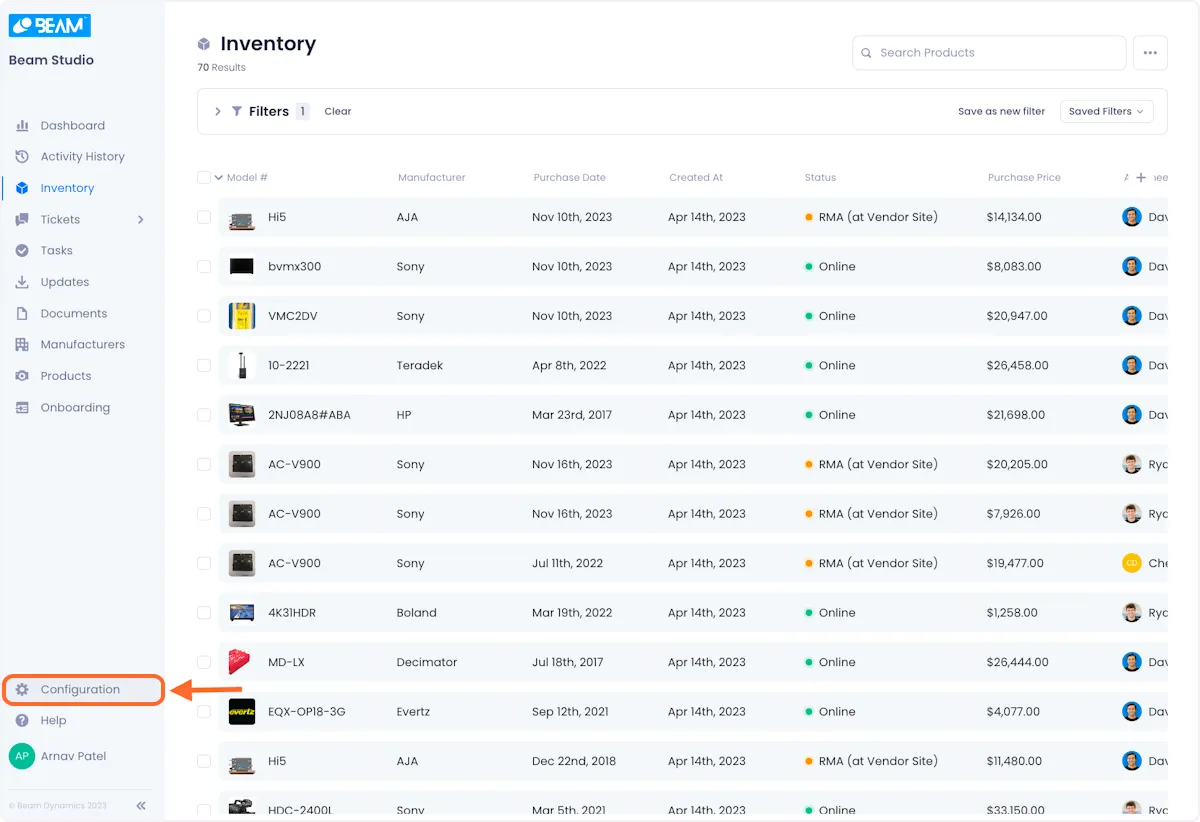
1. Click on Configuration in the sidebar of your Beam workspace.
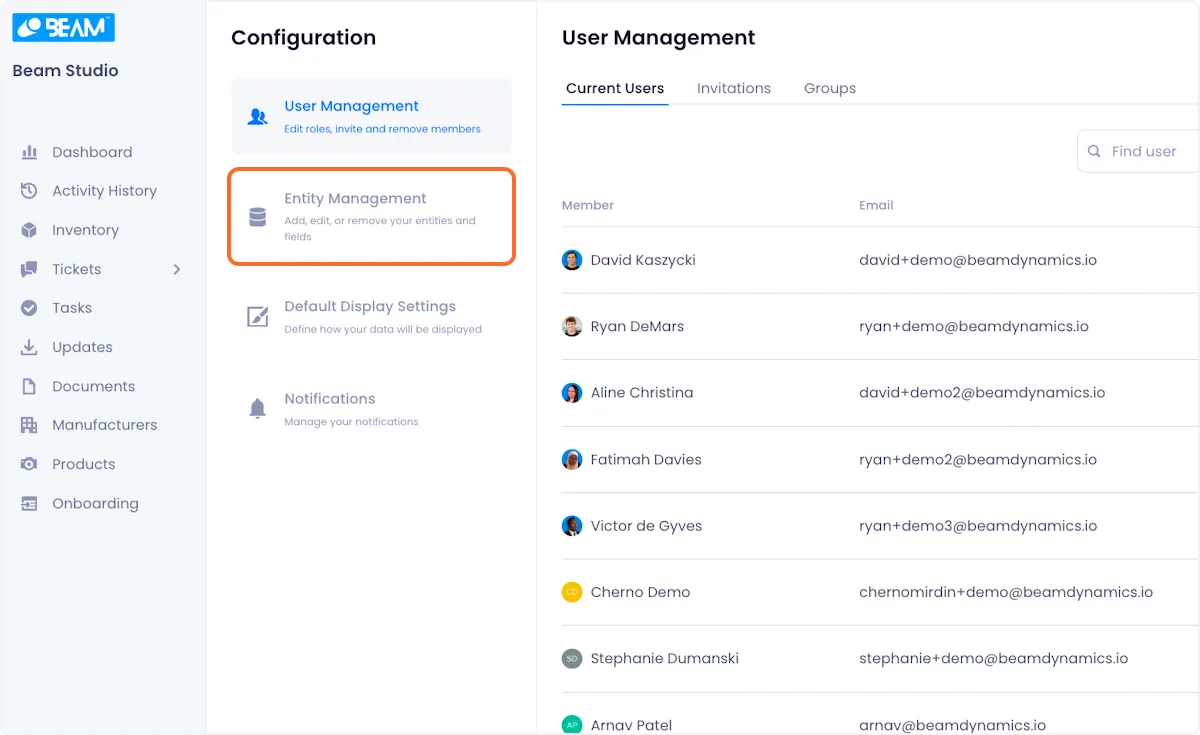
2. On the configuration screen, click on Entity Management.
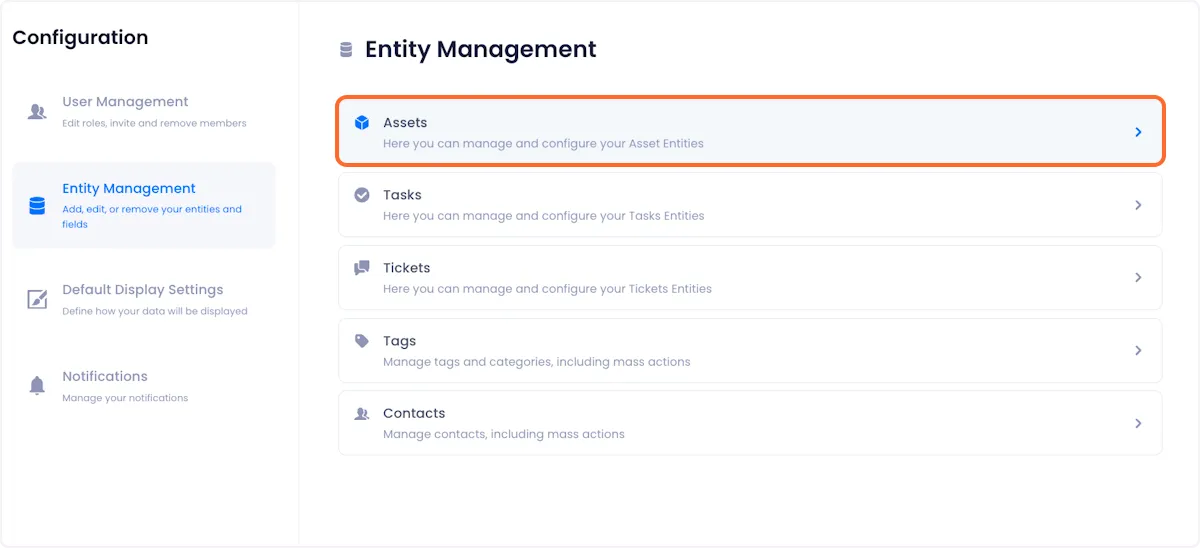
3. Select the Assets Entity.
4. On the next page, you will be able to see a comprehensive list of your custom asset statuses.
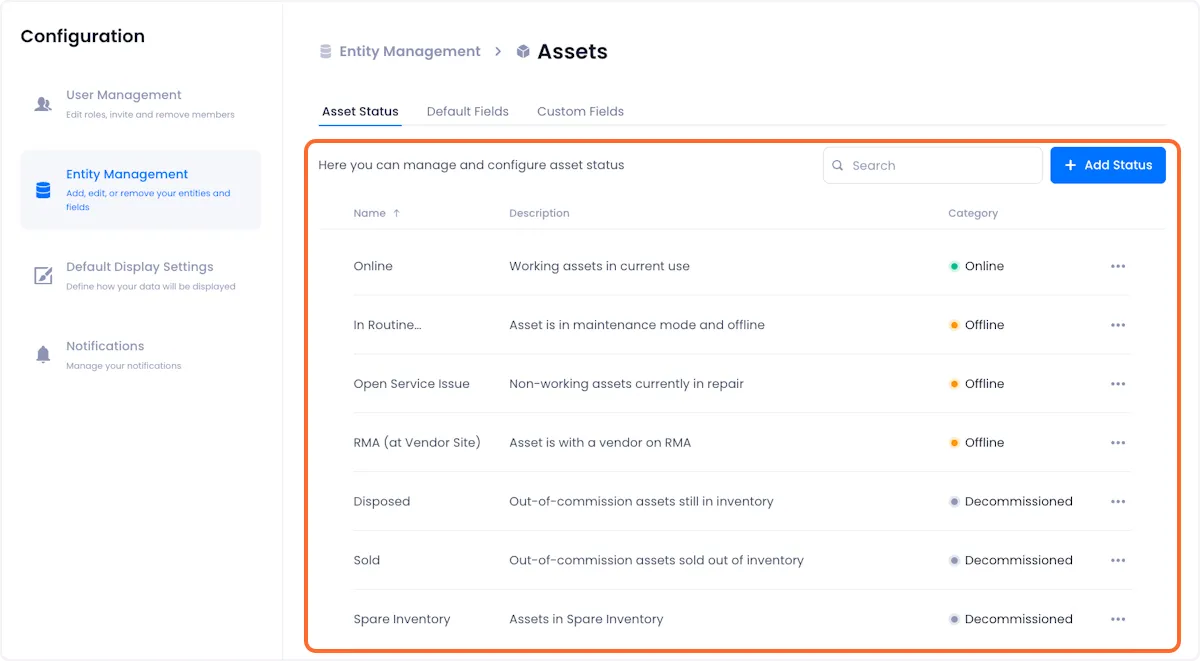
Creating An Asset Status
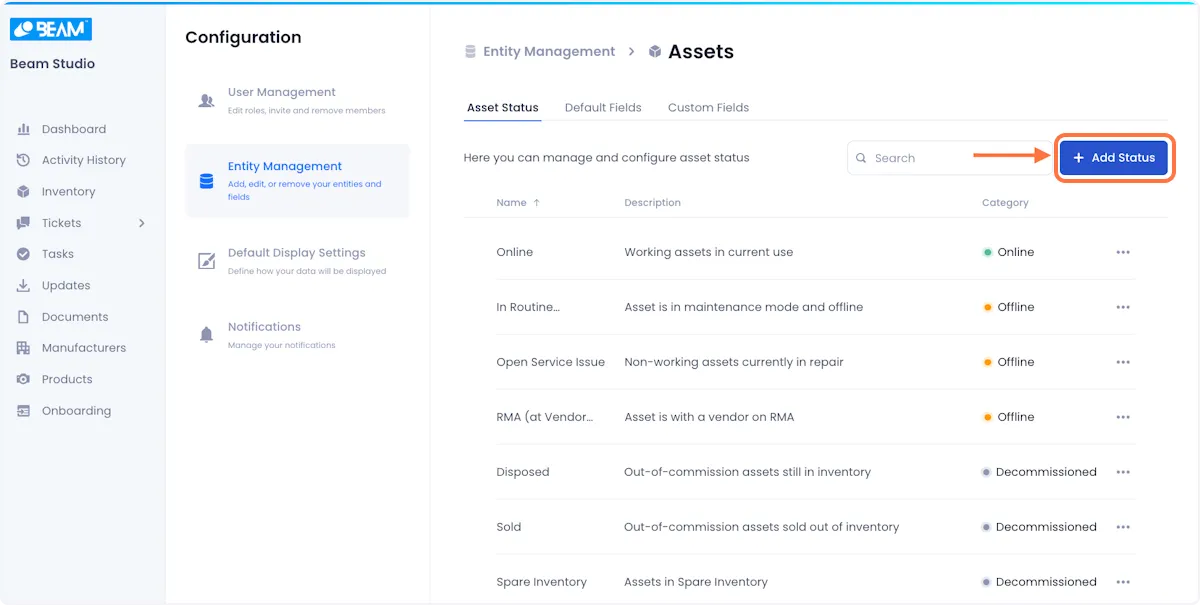
1. Click on Add Status in the top right of the page.
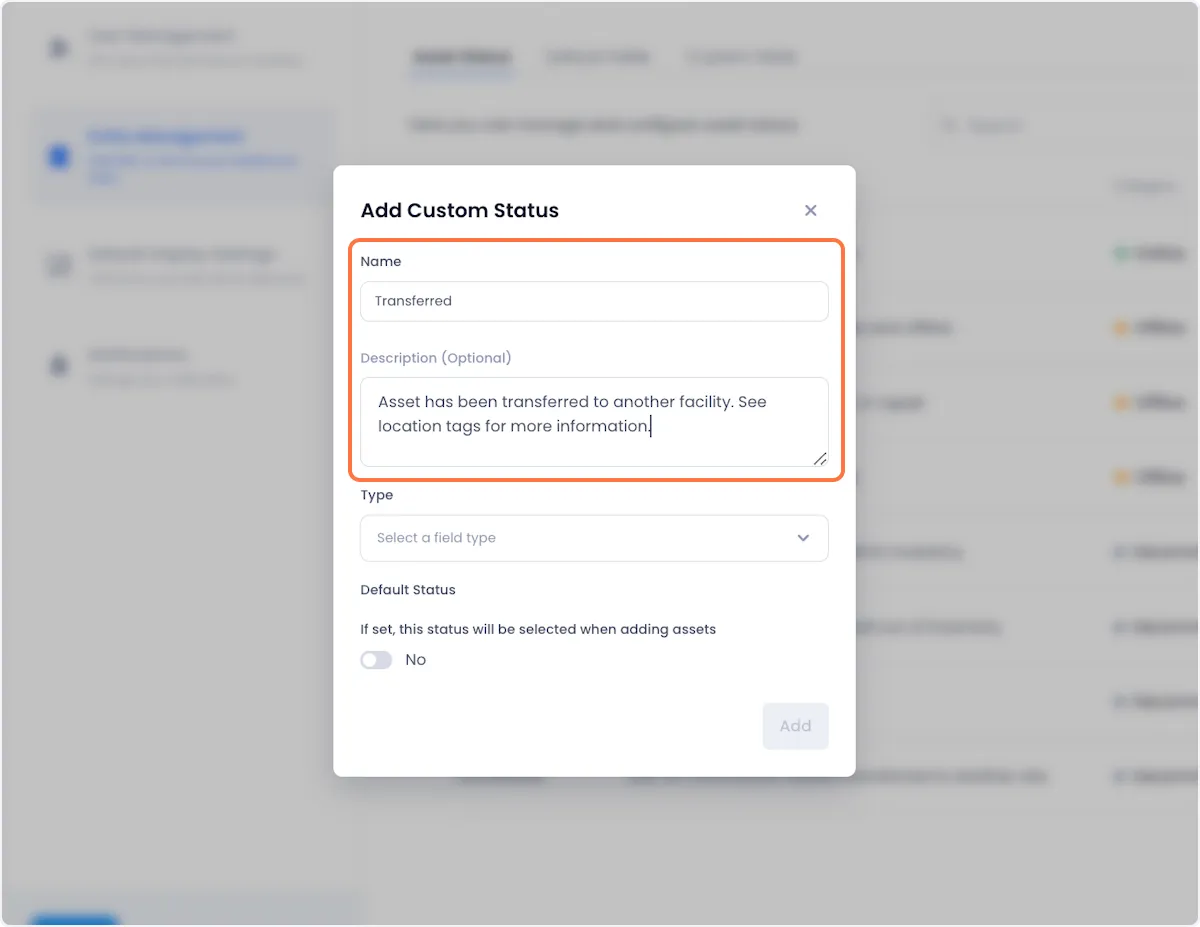
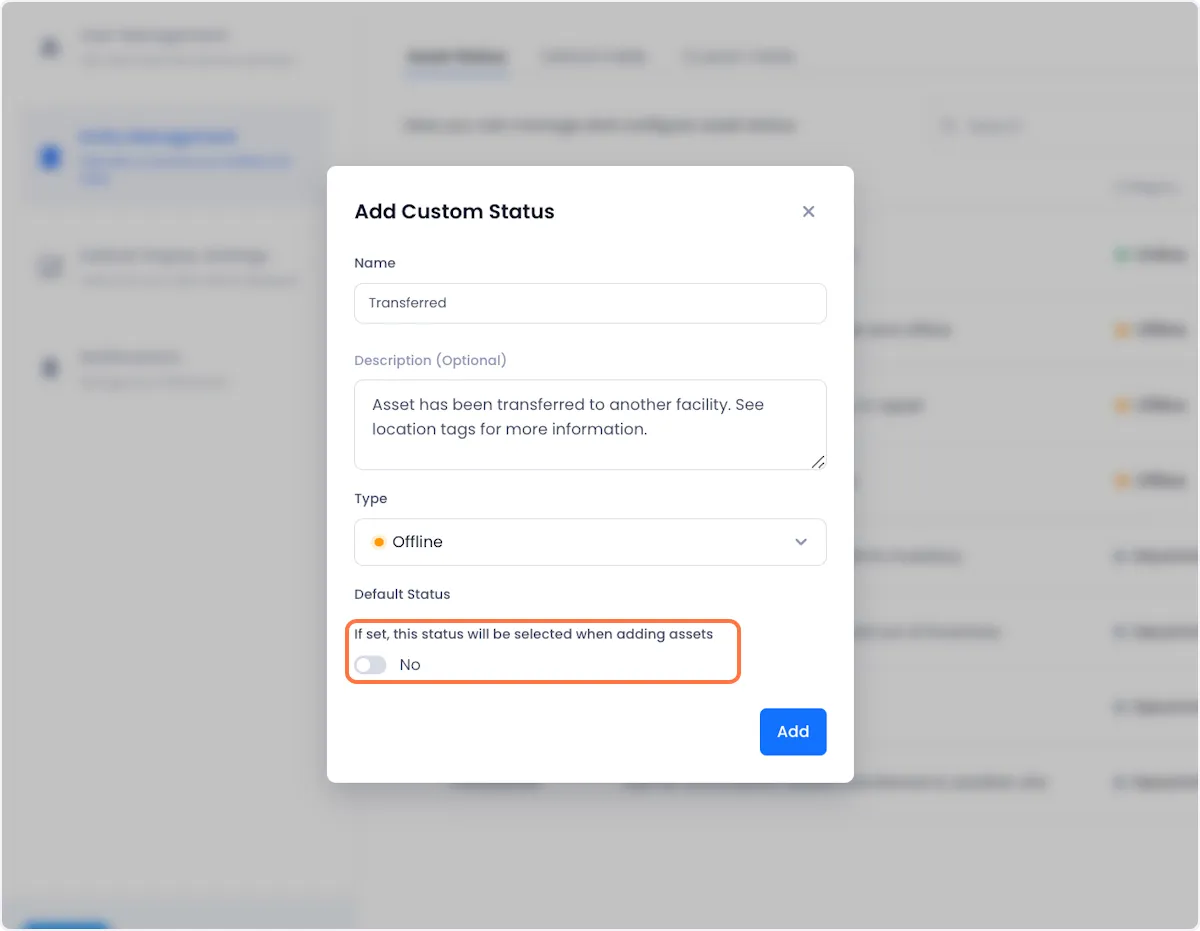
2. Give your status a name and description.
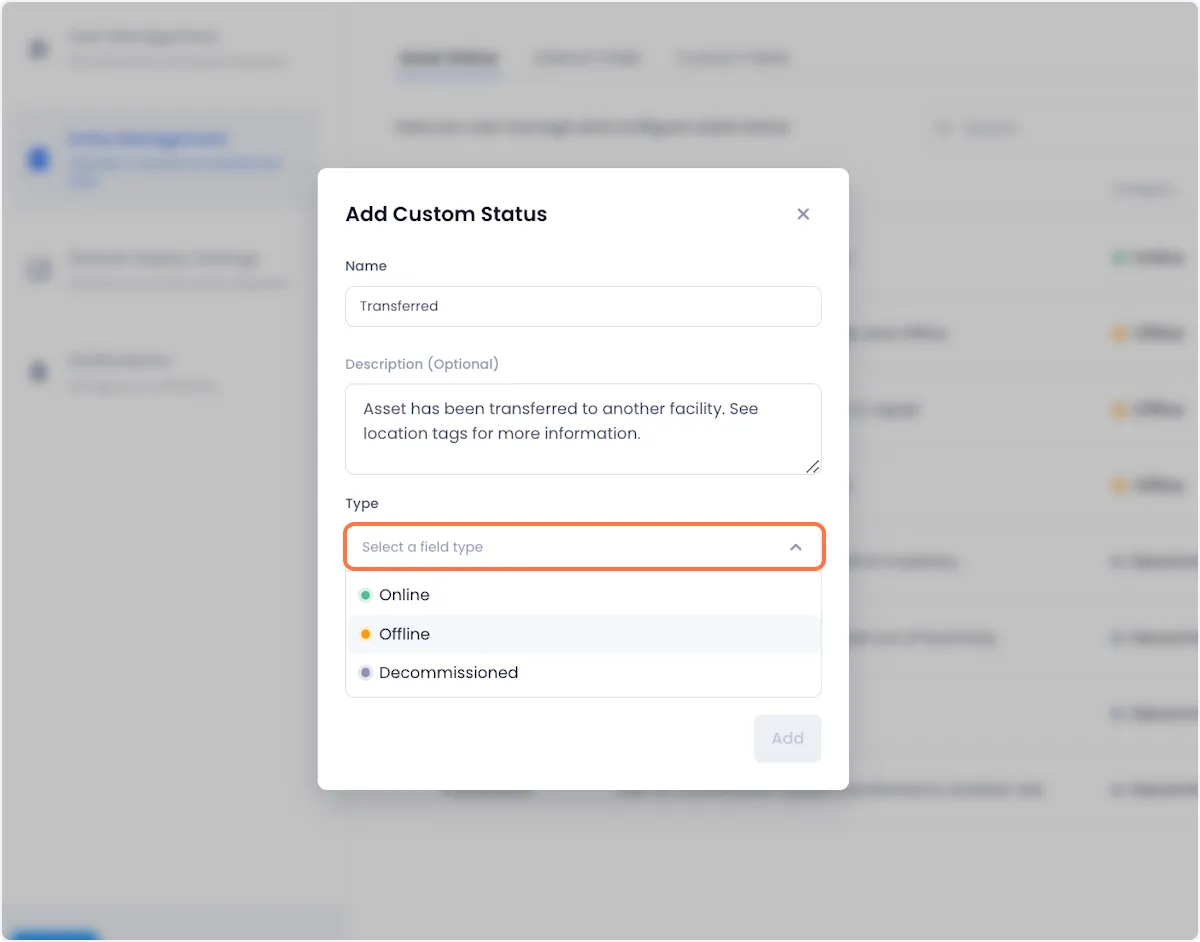
3. Select a status type from the given dropdown.
Status type indicates the higher level disposition of the associated asset:
Online - Whether it is available or not, the asset is functioning and ready for use.
Offline - The asset is not functioning and as such, cannot be used currently.
Decommissioned - The asset can never be used as it has reached the end of its life and been accordingly decommissioned.
4. If you'd like the status to be the default status for your workspace check the default status toggle to “Yes.”
If you don't specify a status when creating a new asset, the default status is automatically applied to that asset.
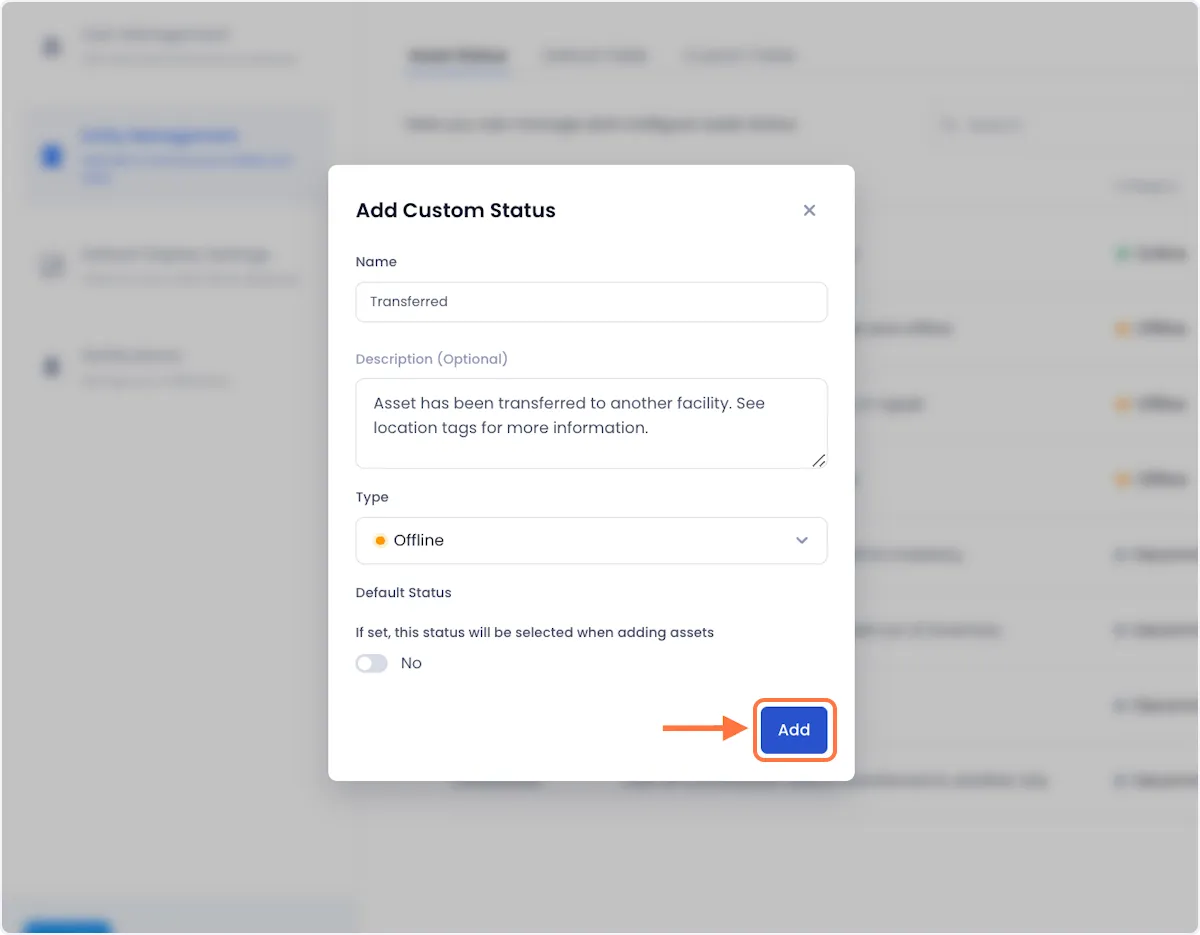
5. When you're satisfied with your setup, click on Add at the bottom right of the modal to complete the process of adding the new status.
Editing An Asset Status
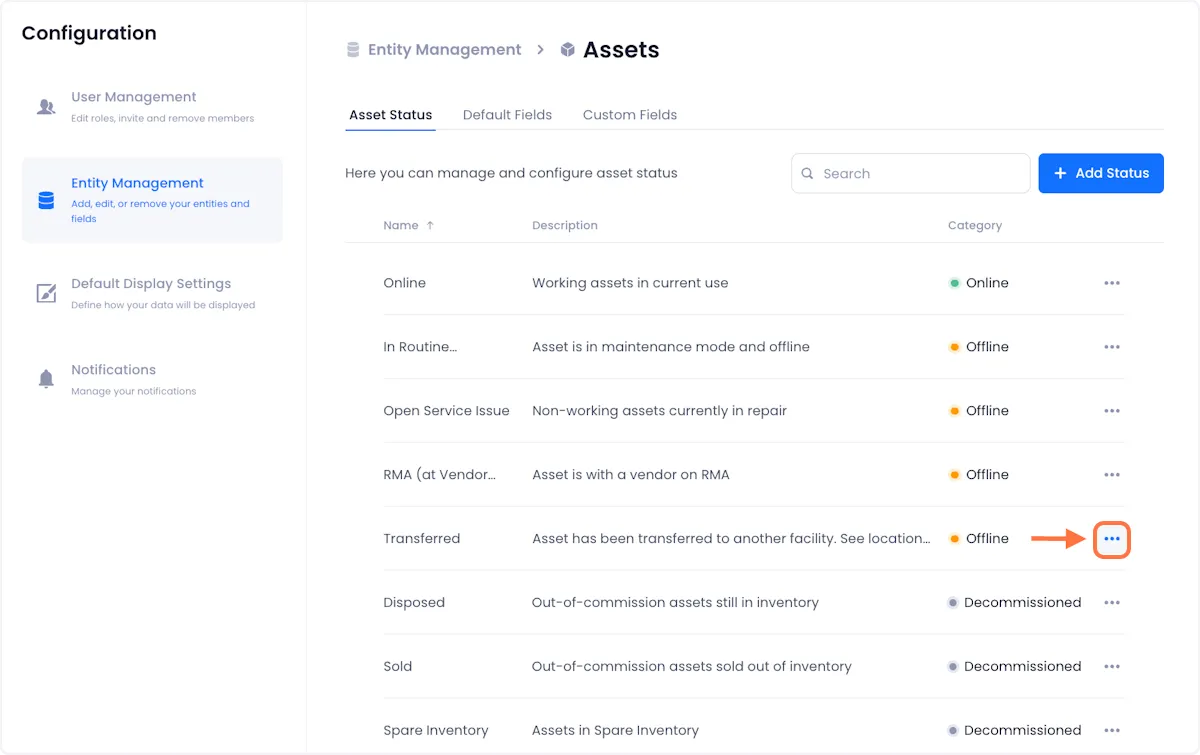
1. Open the overflow menu next to the asset status that you want to edit.
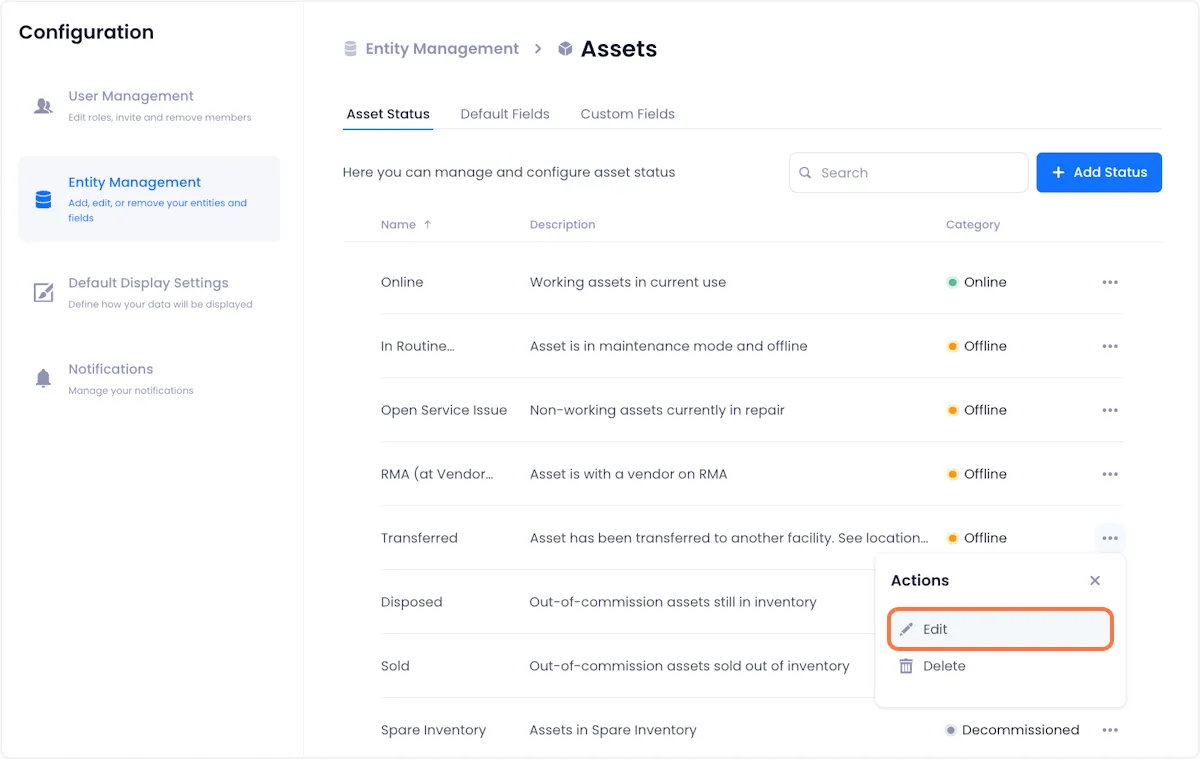
2. Click on Edit from the dropdown options.
3. Edit the status.
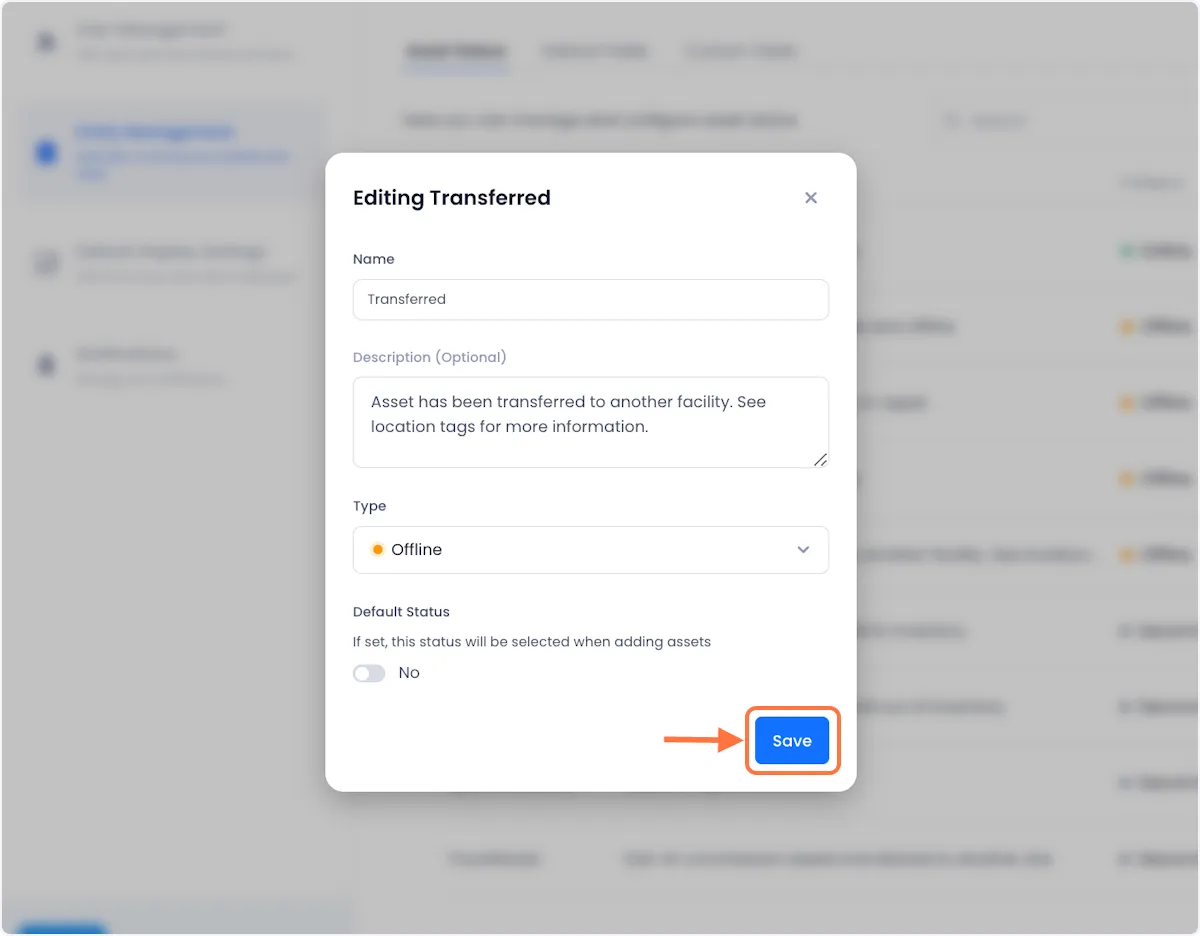
A modal will open up with all of your selected status' attributes in editable fields.

4. When you are satisfied with your changes, click on Save at the bottom right of the modal to complete the process.
Deleting An Asset Status
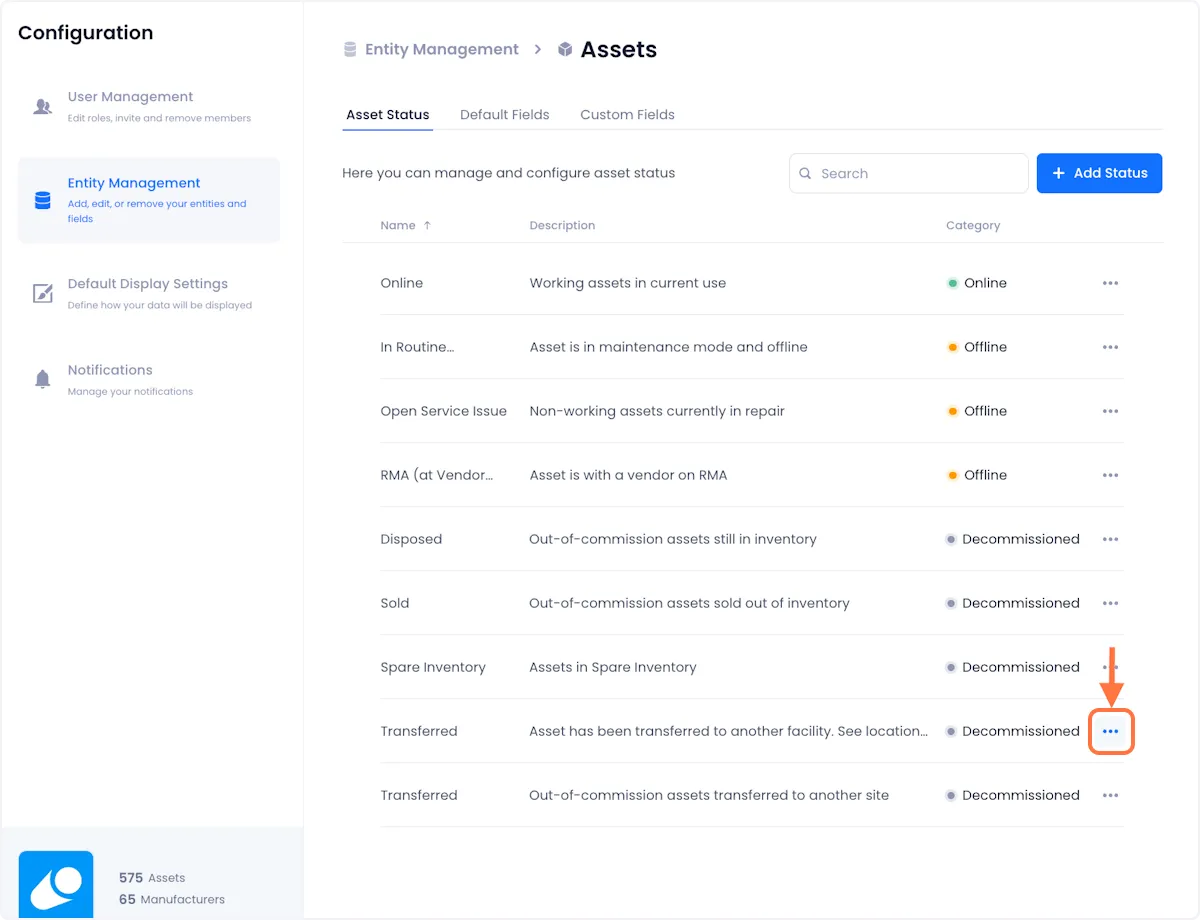
1. Open the overflow menu next to the asset status that you want to delete.
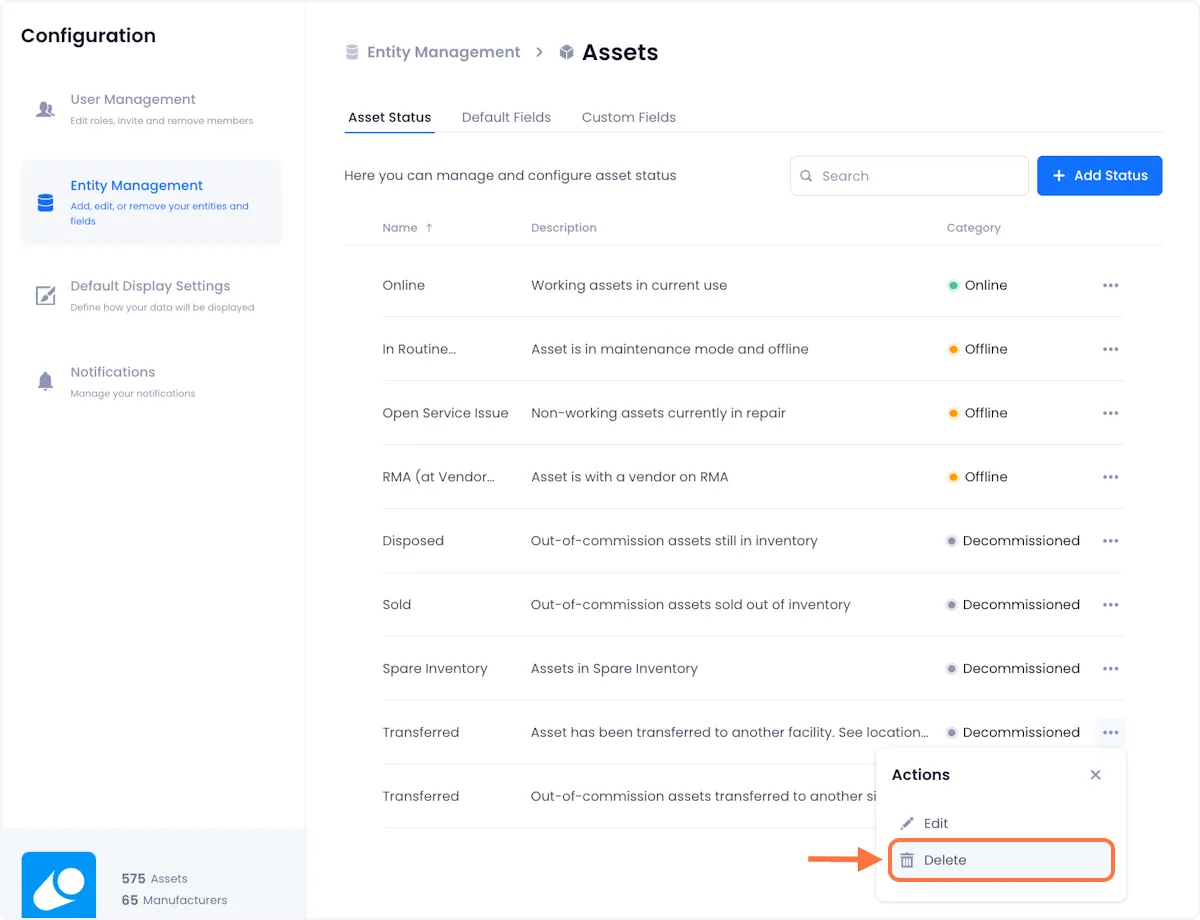
2. Click on Delete from the dropdown options.
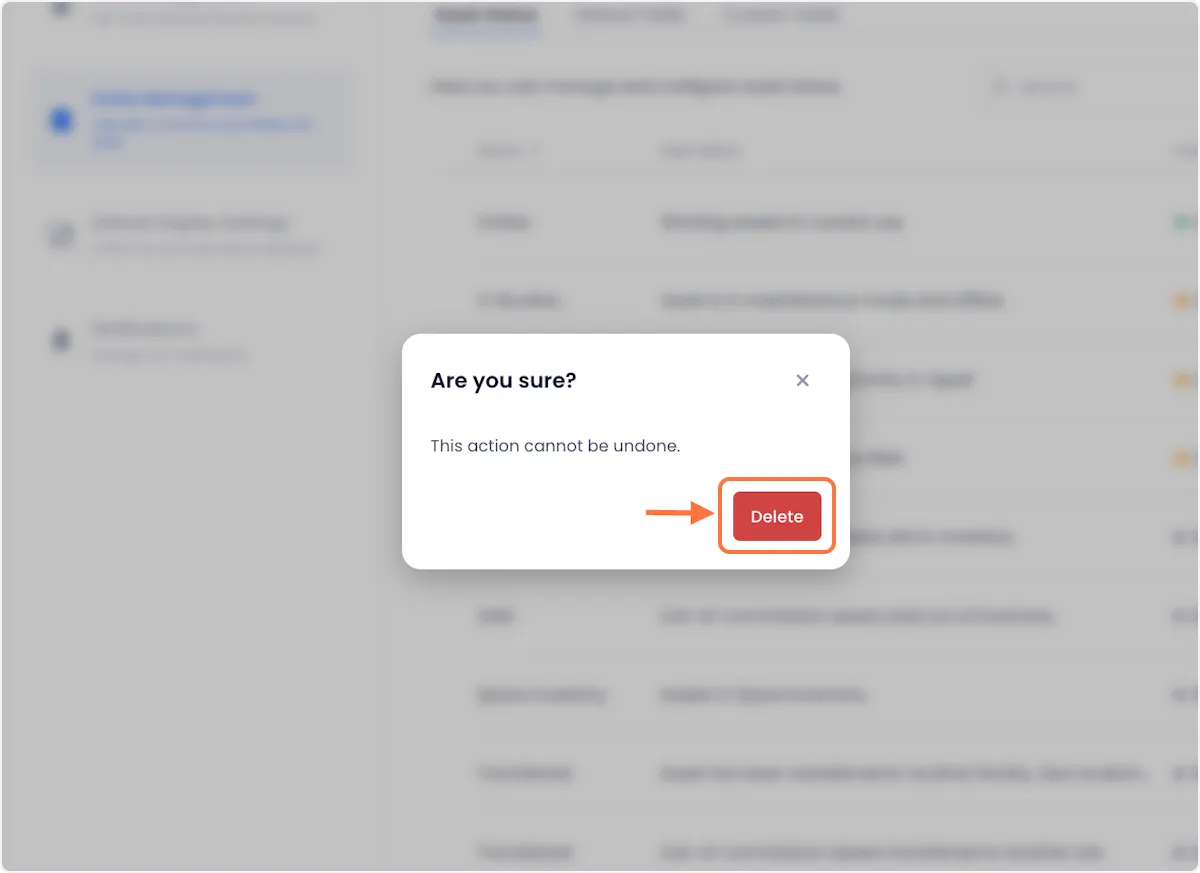
3. Confirm the deletion by clicking Delete on the ensuing modal.
