Customizing The Purchase Page
The Purchases page is your home base for managing purchase requests in Beam. In this tutorial, we'll show you how you can configure the Purchases page to display the data that is relevant to your team's workflow.
Before You Begin
This process detailed in this tutorial occurs on the Purchases Page of your Beam workspace. If you are unfamiliar with the Purchases Page, we recommend you check out our documentation on [Accessing the Purchases Page].
Customizing Which Columns Are Displayed
By default, the purchase list shows you the following attributes:
- Purchase #
- Purchase Name
- Status
- Priority
- Assignee
- Category
- Ticket #
- Ticket Status
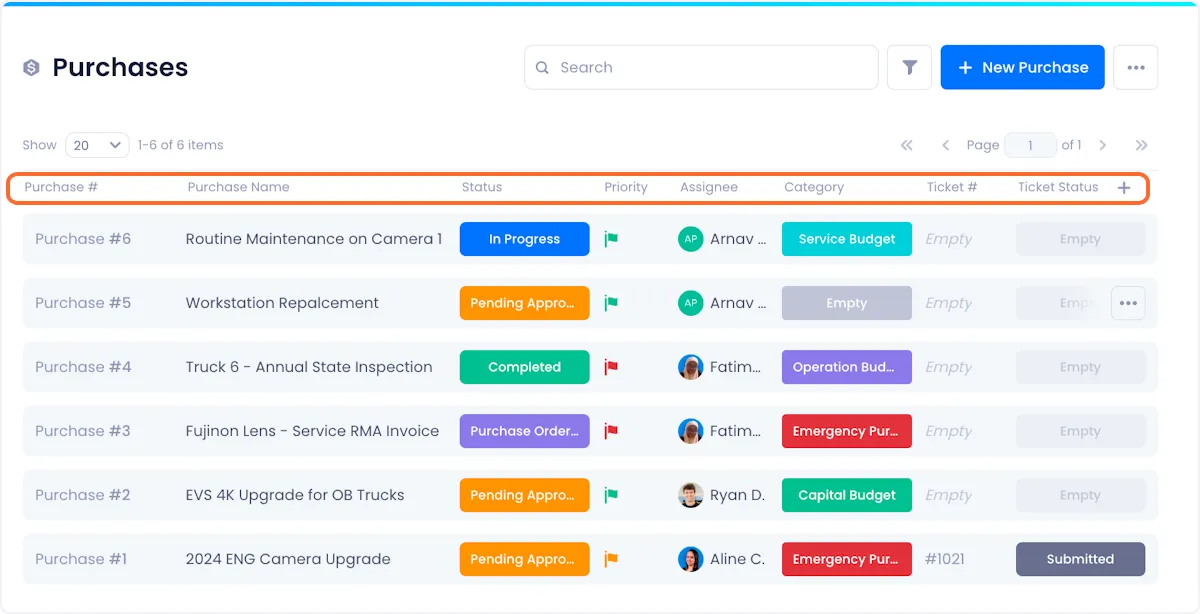
To customize the columns displayed in your Purchases page, click the "+" button at the top right of the purchase list.
This will reveal a popup menu where you can select which tags and fields you want displayed. Select which tags and fields you want displayed by checking their associated checkboxes. When you're satisfied with your selections, click confirm to execute your changes.
In the column customization configuration menu, you have access to three types of data:
- Purchase Fields - Fields directly associated with your Purchases
- Ticket Fields - Fields associated with Tickets that are linked to your Purchases
- Primary Asset Fields - Fields that are associated with Assets that are associated with Tickets
Rearranging Columns
To rearrange columns in your purchase list, hover over the column heading and click on the dotted tab that appears on the left of the column heading and drag the column to your desired position.

