Managing Documents Associated With A Product
Over the course of owning a product, you will often have to refer to documents that give you information about how to operate and maintain the product (e.g. manuals). While Beam aggregates many of these documents for you, we give you the option of adding your own documents to a product that might be unique to your team or organization. In this tutorial we'll show you how to add, edit, and/or delete documents associated with a given product.
Accessing Product Details
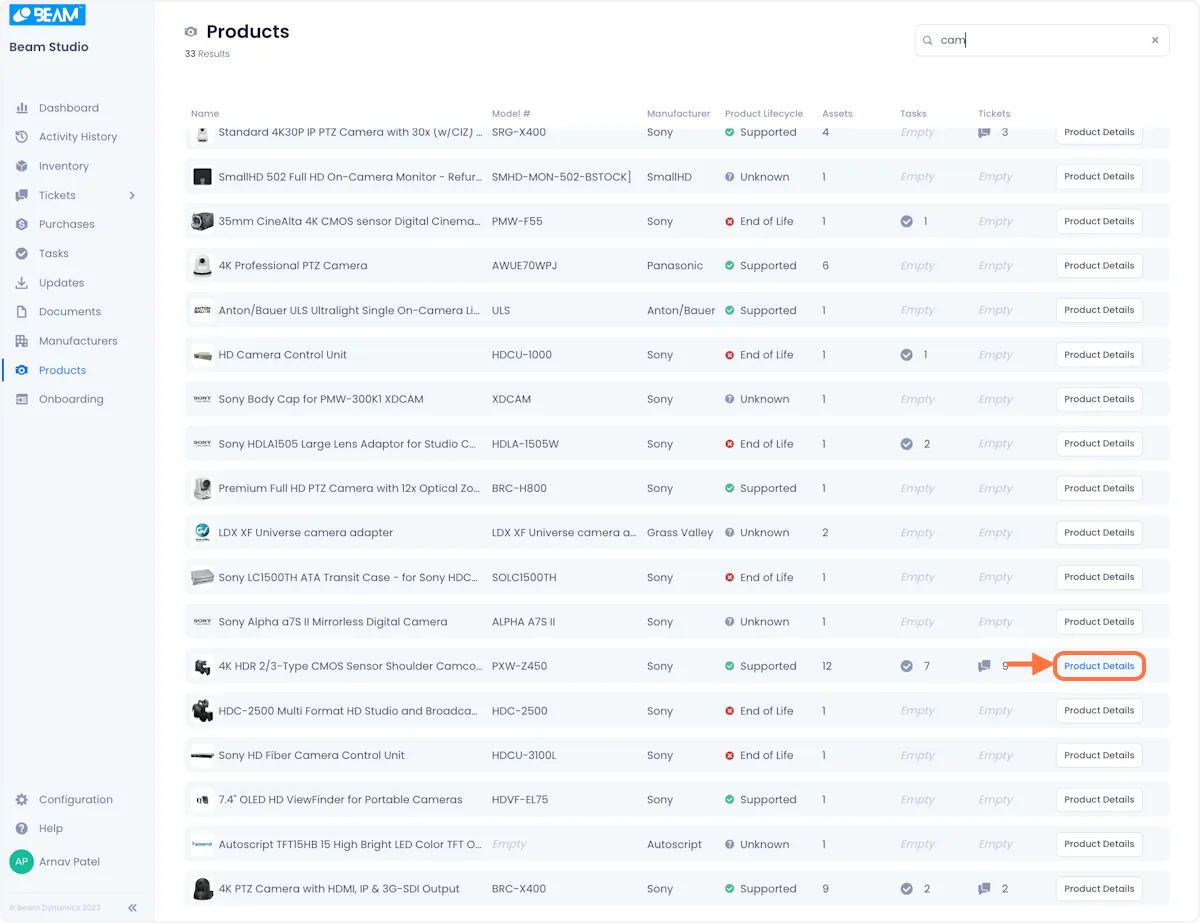
Whether you're deleting, adding, or editing a document, you need to first access the product details of the product that you want to edit. To do this, find the product's listing on the [[Products page]] and click on the Product Details Button on right side of the listing.
Editing The Documents Associated With A Product
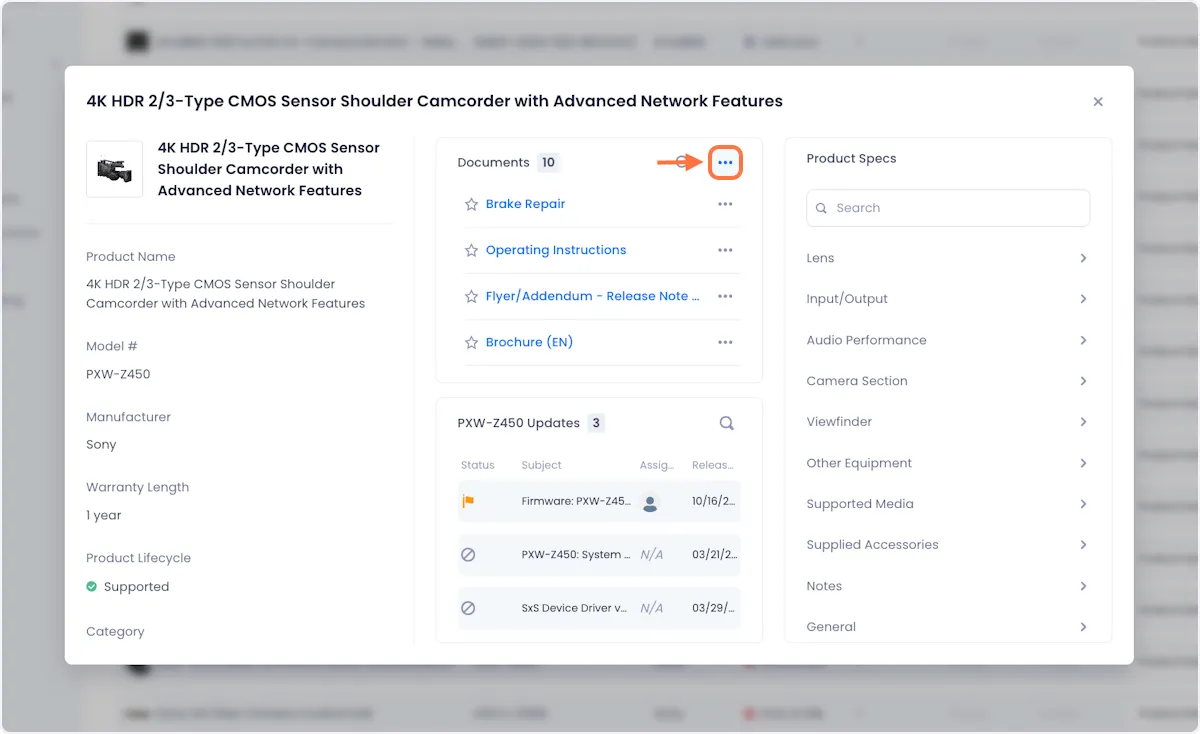
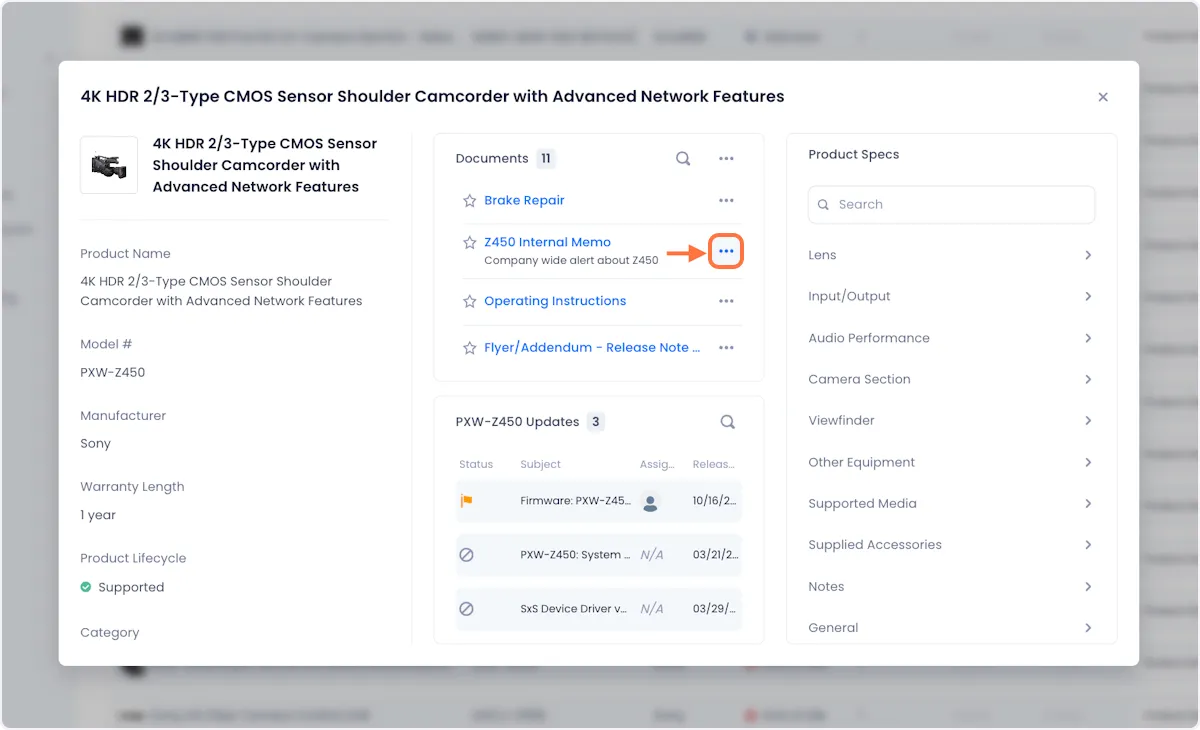
1. On the Product details page, open the overflow menu associated with the document you want to edit.

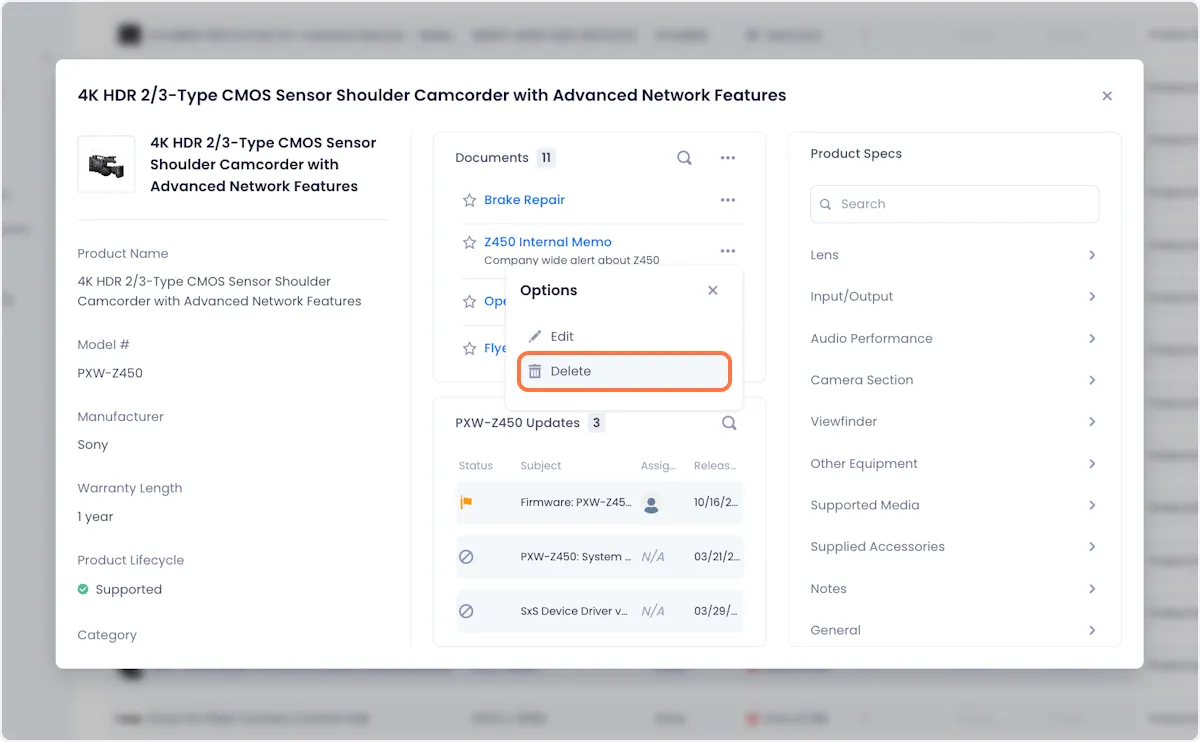
2. From the ensuing dropdown, click on Edit.

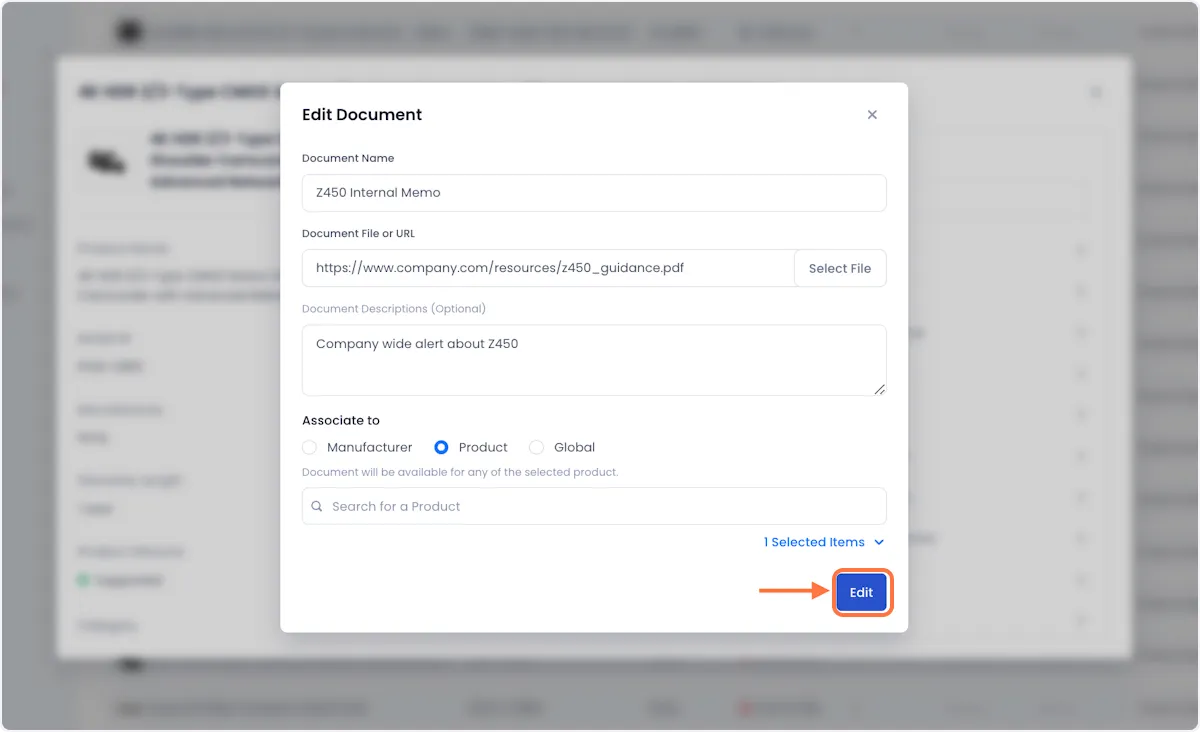
3. This will popup a modal where you can view and edit the details associated with the selected document.

4. When you're satisfied with your changes, click on the Edit button in the bottom right corner of the modal.
Adding A Document To A Product
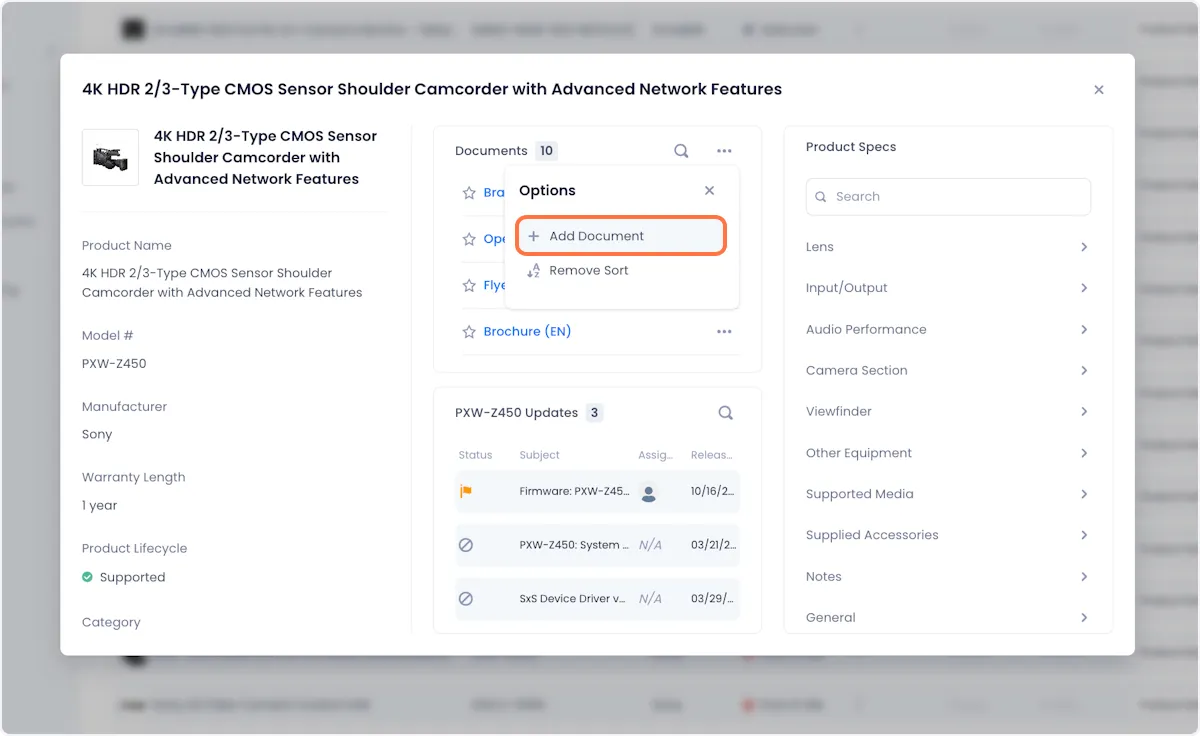
1. Open the overflow menu in the top right corner of the Documents section of the Product Details modal.
2. From the ensuing dropdown, click on Add Document.
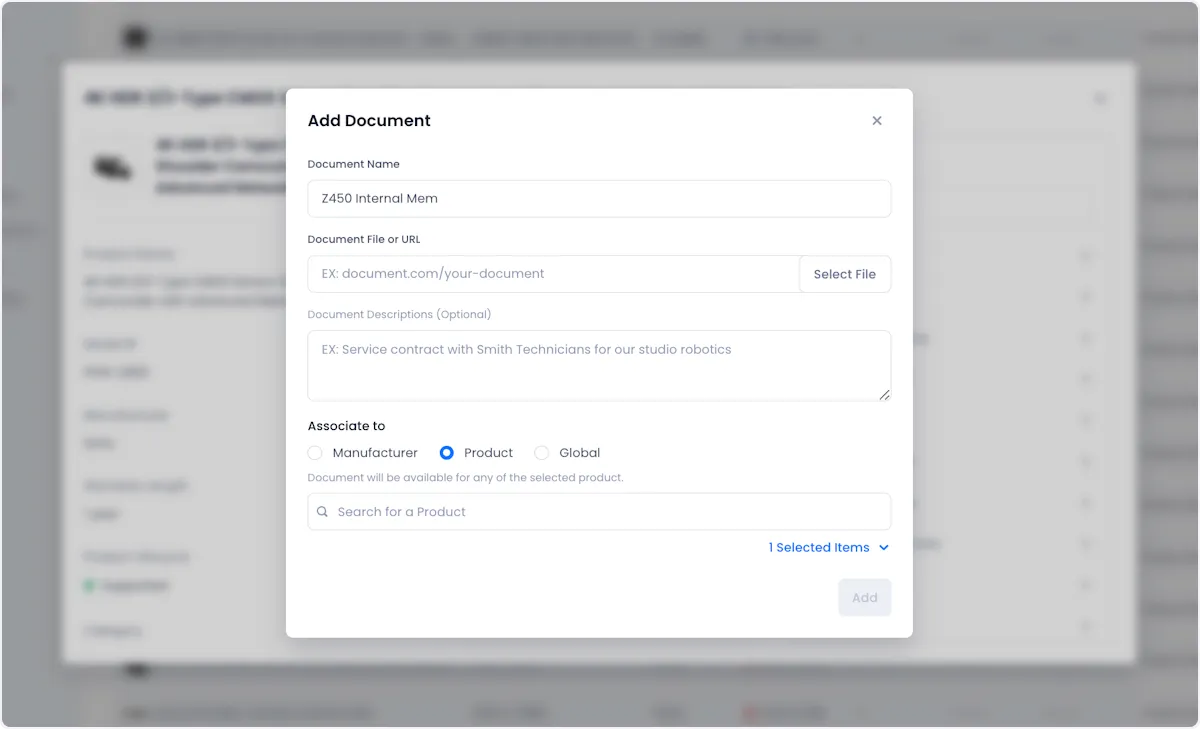
3. The modal that opens up lets you define the parameters of the document that you want to add.
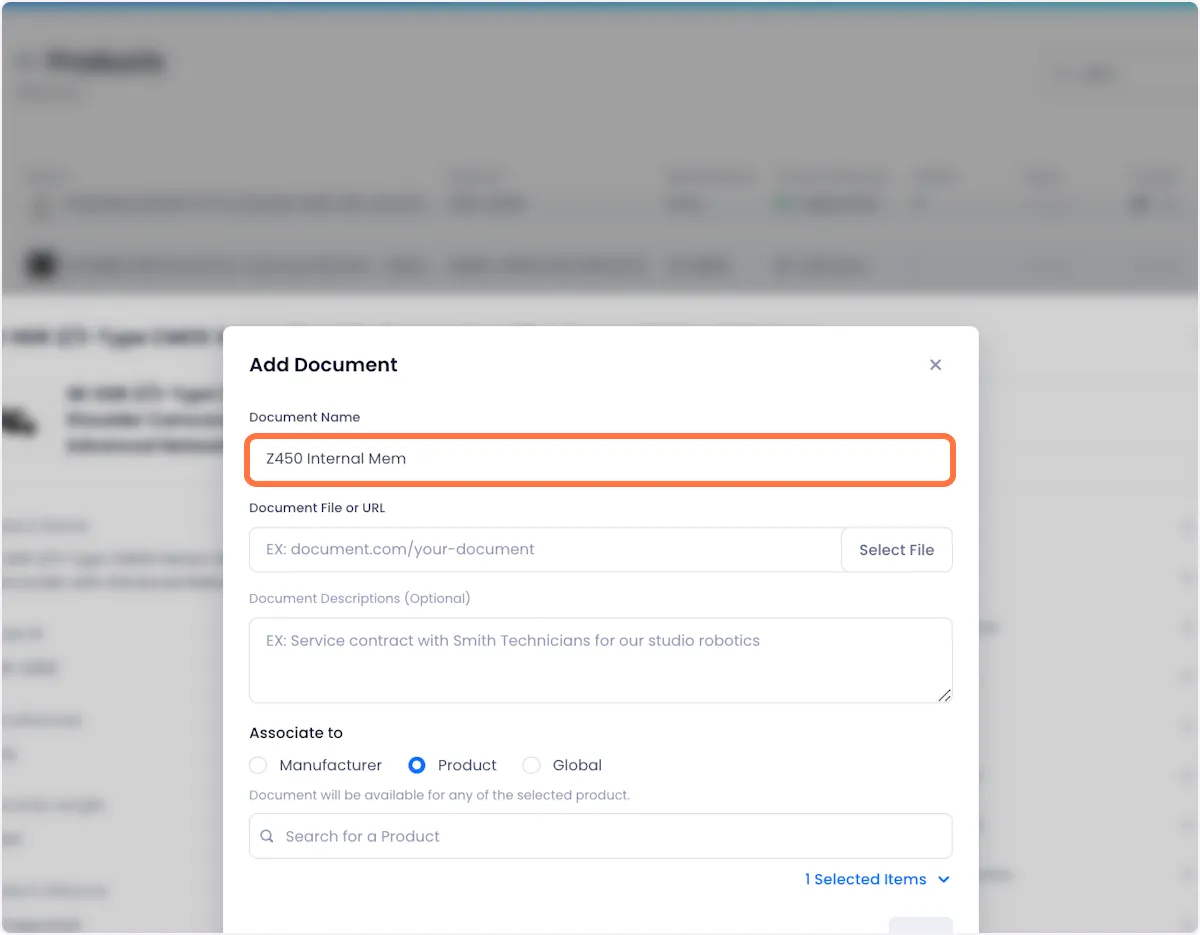
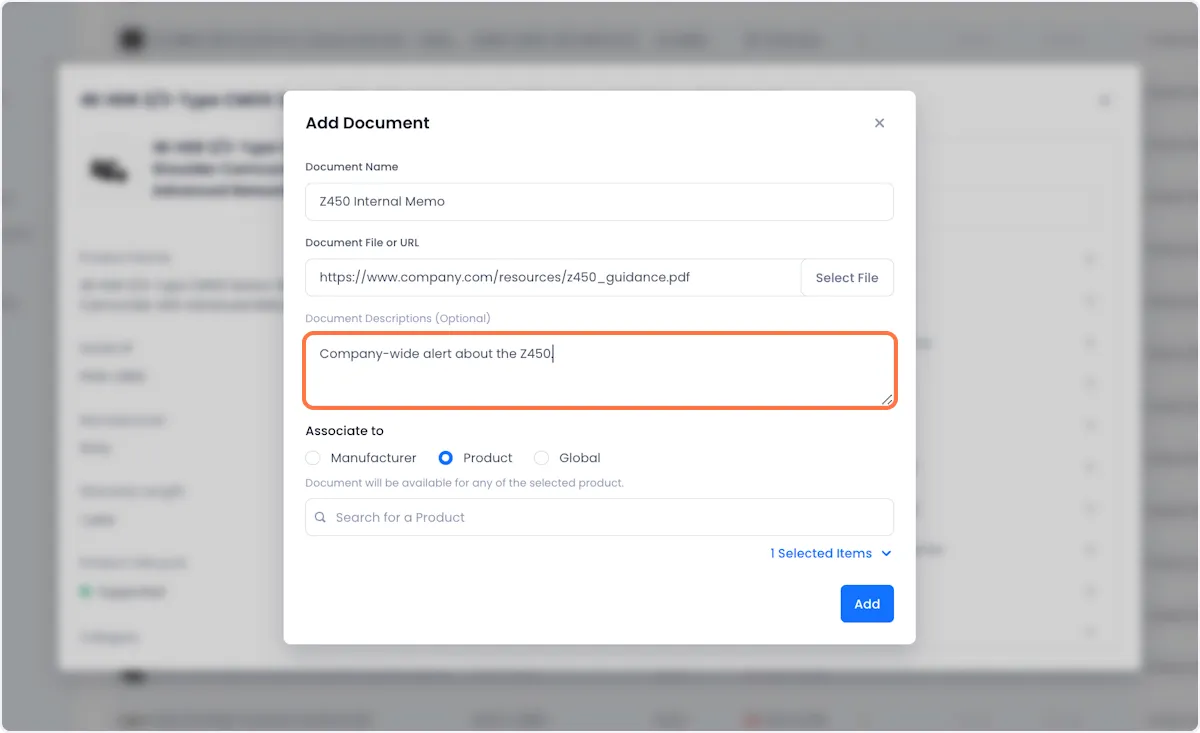
4. Give the document a descriptive name.
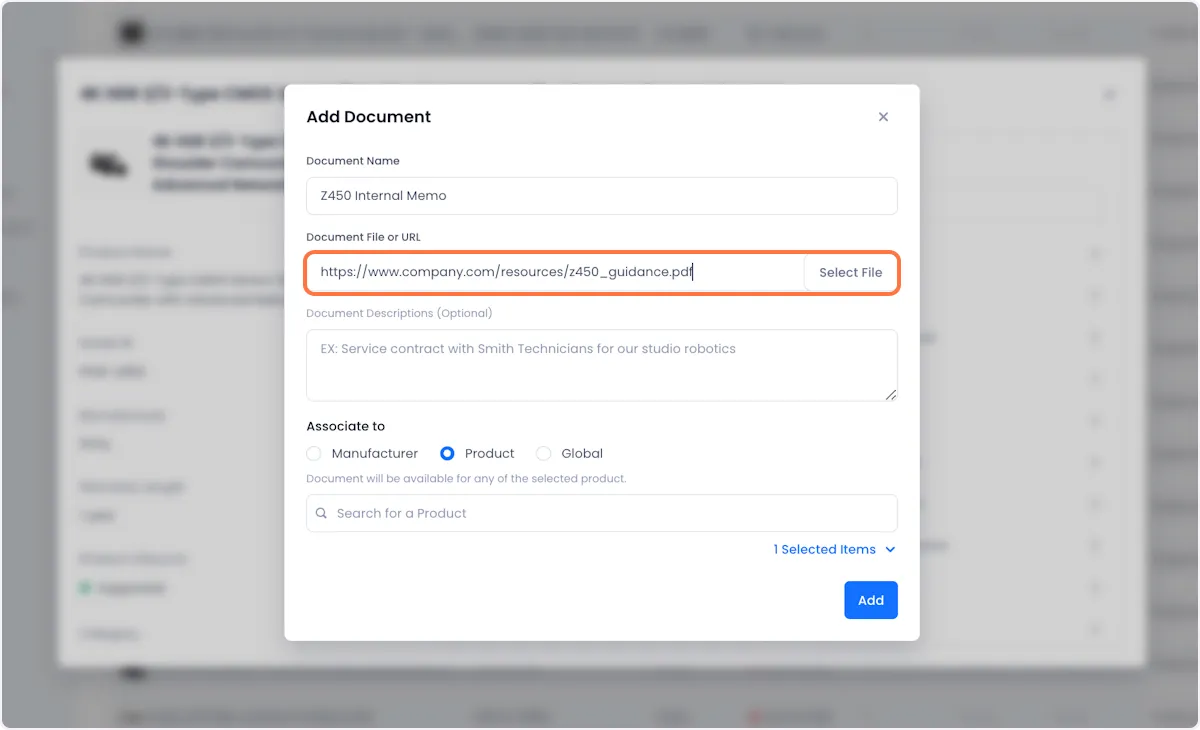
5. Either upload a file or paste a URL to the document that you want to attach.
6. Give your document a description to make it easier for teammates to understand its purpose.
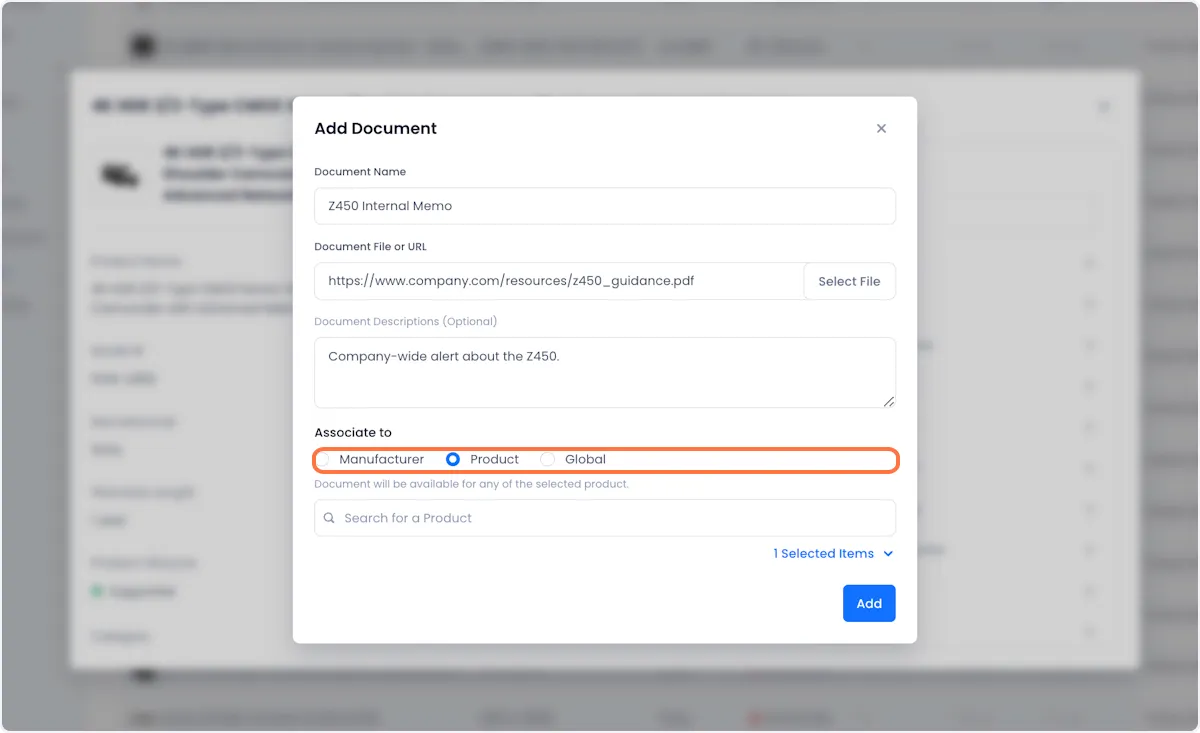
7. If you want to associate your document with more than just the selected product use the Associate options to do so.
This is how each of the options work:
Manufacturer - By default, this option will associate the new document with all assets in your inventory that have the same manufacturer as the asset whose page you are currently on. You can use the search bar below to search for and add additional manufacturers that you want the document to be associated with.
Product - By default, this option will associate the new document with all assets in your inventory that have the same model as the asset whose page you are currently on. You can use the search bar below to search for and add additional models that you want the document to be associated with.
Global - With this option selected, the new resource will be associated with all assets in your inventory.
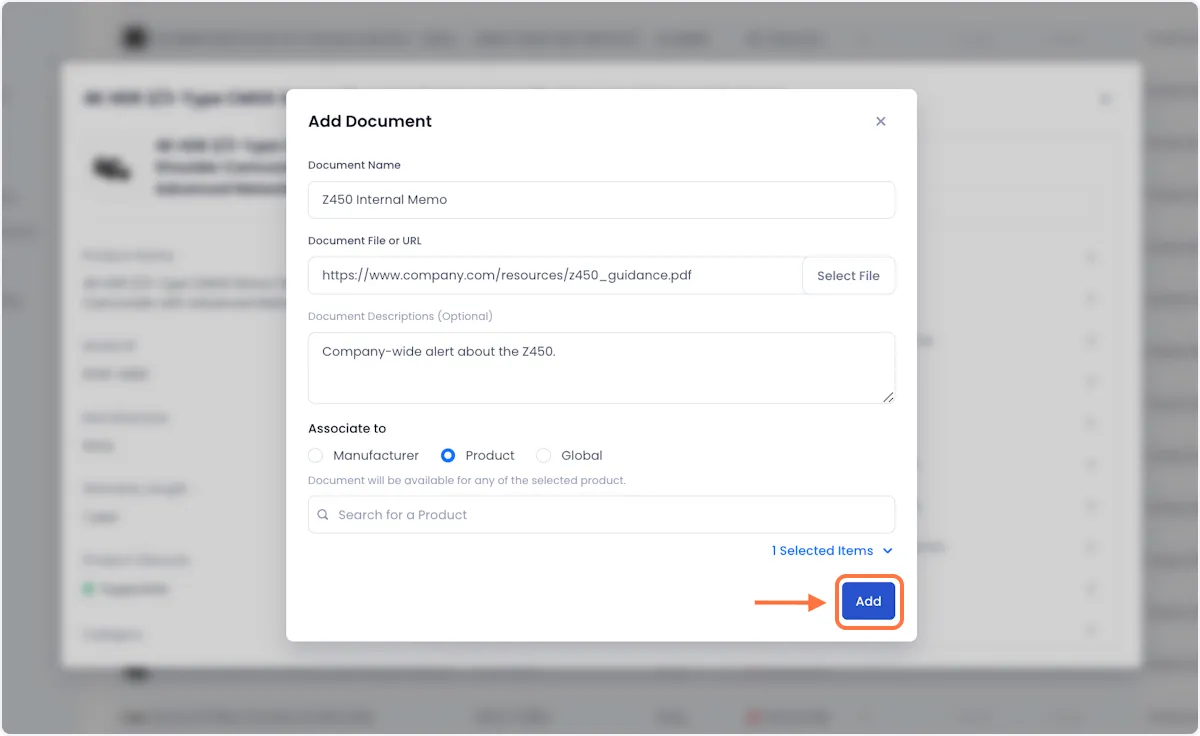
8. When you're satisfied with how your document is configured, click on Add in the bottom right corner.
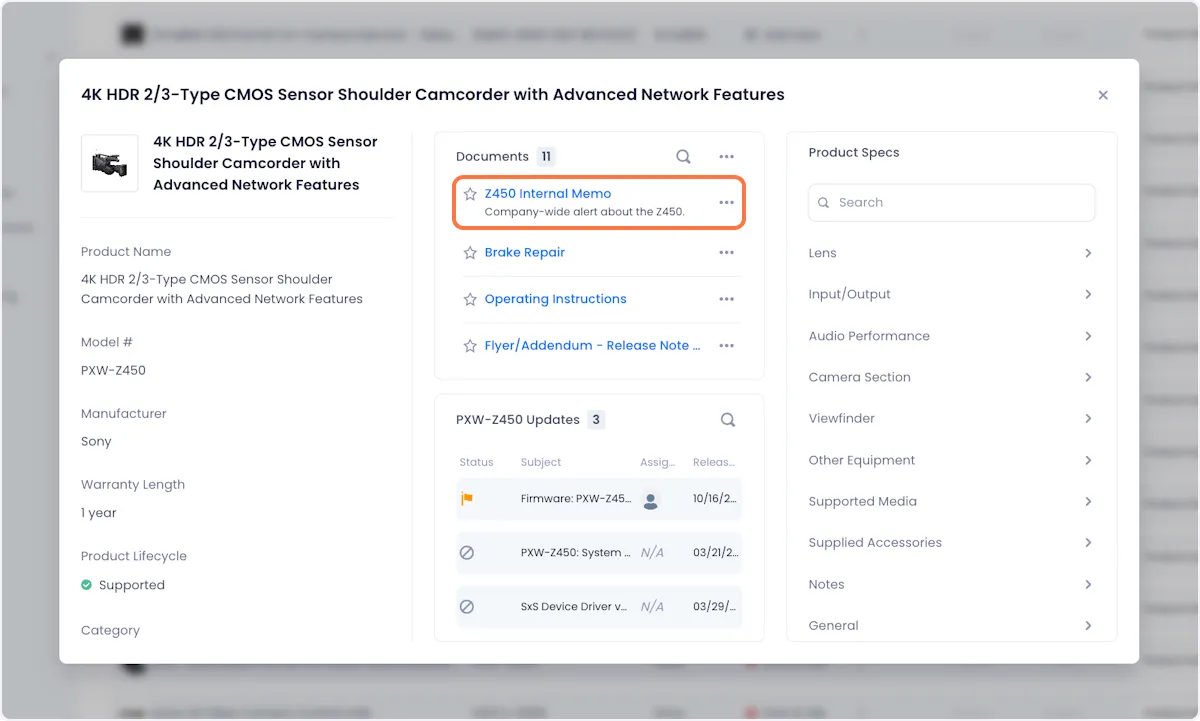
9. Your document will now appear in the Product's document list.
Deleting A Document Associated From A Product
1. On the Product details page, open the overflow menu associated with the document you want to delete.
2. From the ensuing dropdown, click on Delete.
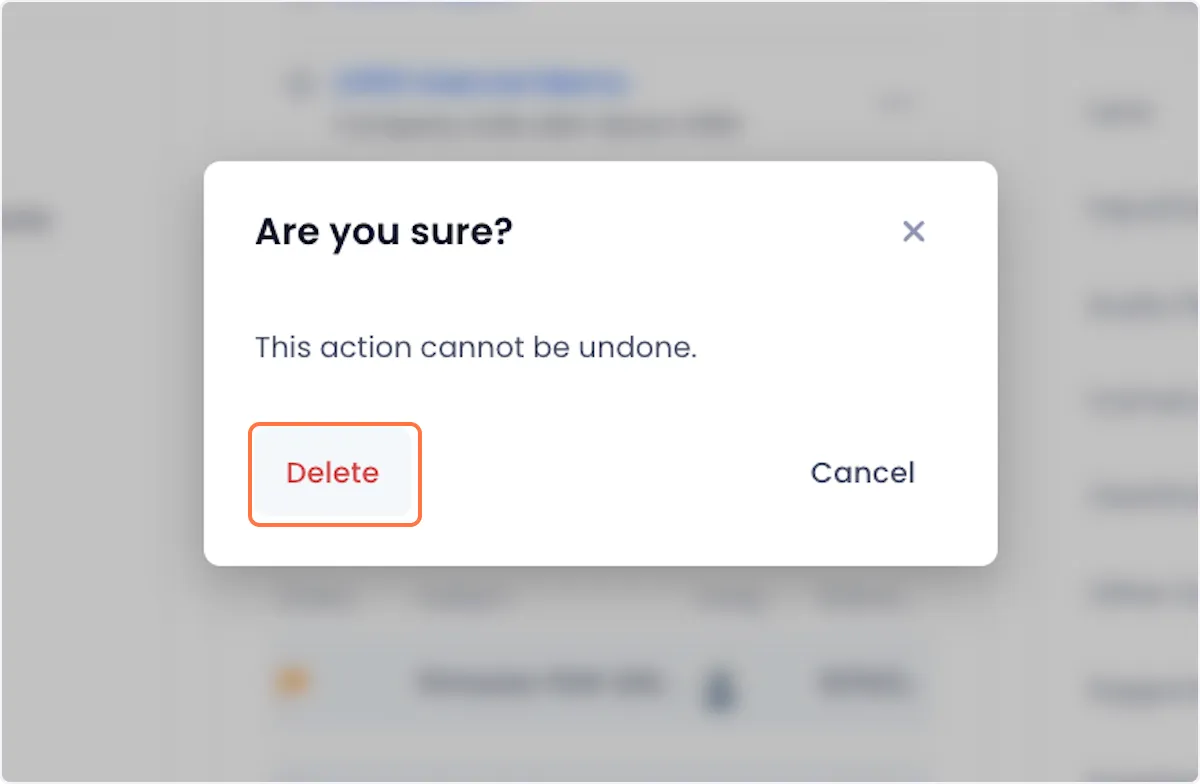
3. Confirm the deletion by clicking Delete on the modal that pops up on your screen.