Customizing Pinned Data In The Asset Page Side Panel
The side panel of every beam Asset page displays multiple asset related data categories. To facilitate data management , the side panel contains a Pinned Data section that surfaces essential, frequently used fields for easy access. In this guide, we will show you how you can customize this Pinned Data to the specific needs of your team.
6
min read
Pinning Data To The Side Panel
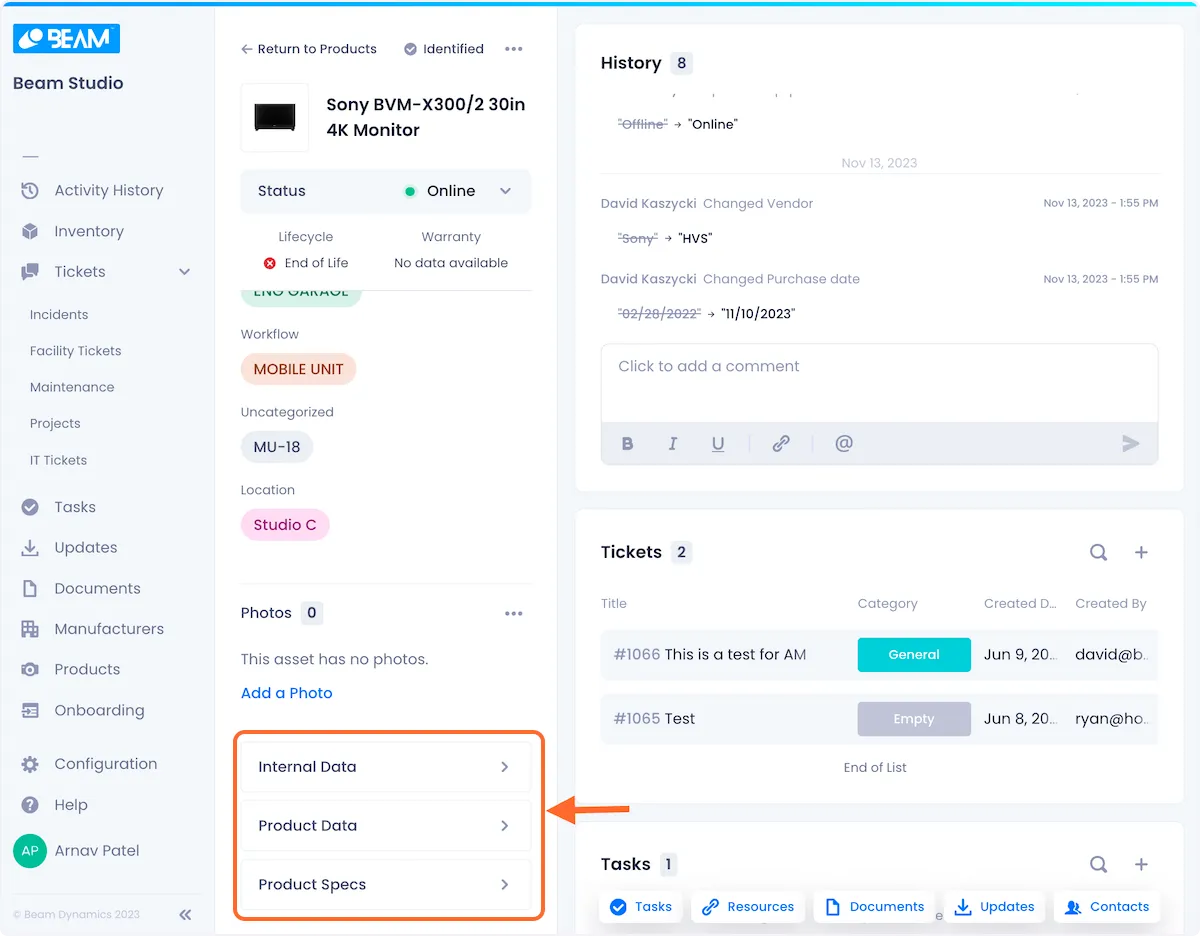
1. Scroll to the bottom of the side panel to find the Internal Data, Product Data, and Product Specs overflow menus.
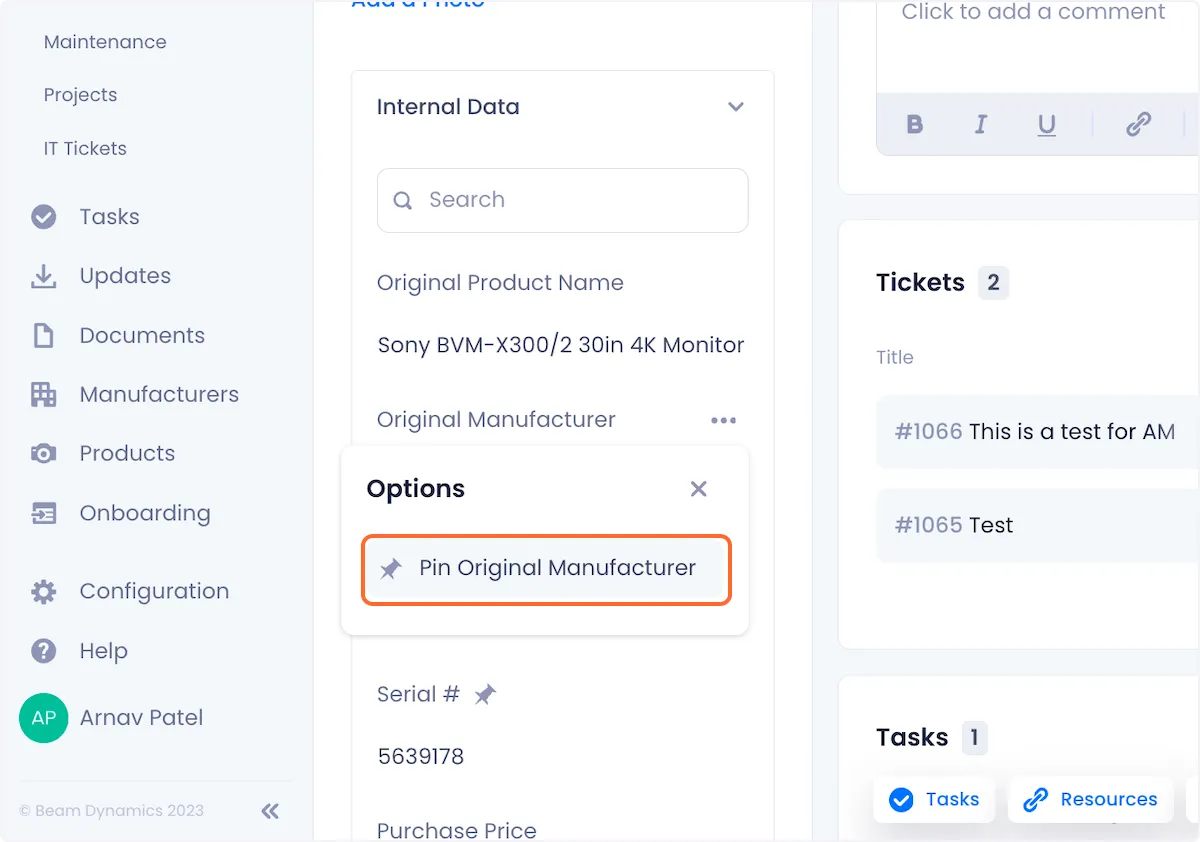
2. From these menus find the field that you want to pin and click on the overflow menu associated with that field.
3. In the overflow menu, click on the Pin [Field Name] option. Depending on what field you are pinning the button text will be different.
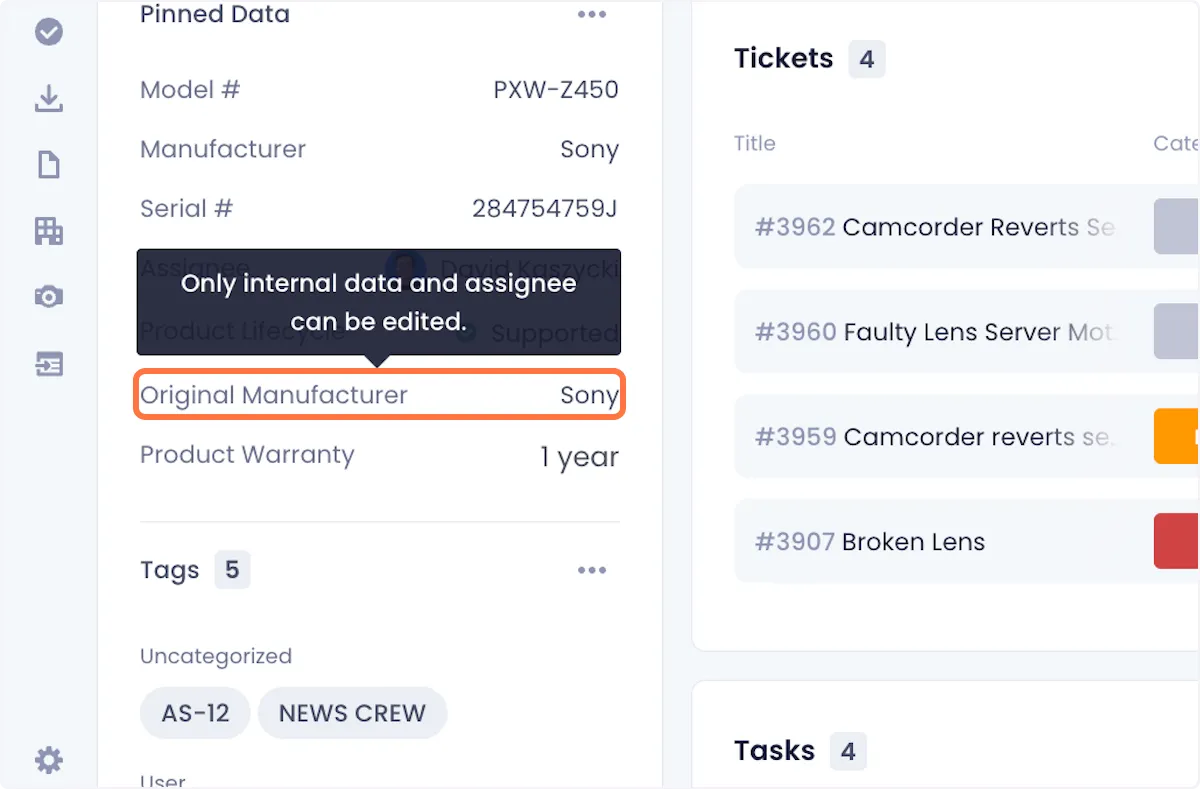
Your newly pinned fields will now be visible in the Pinned Data section of the side panel.
Unpinning Data From The Side Panel
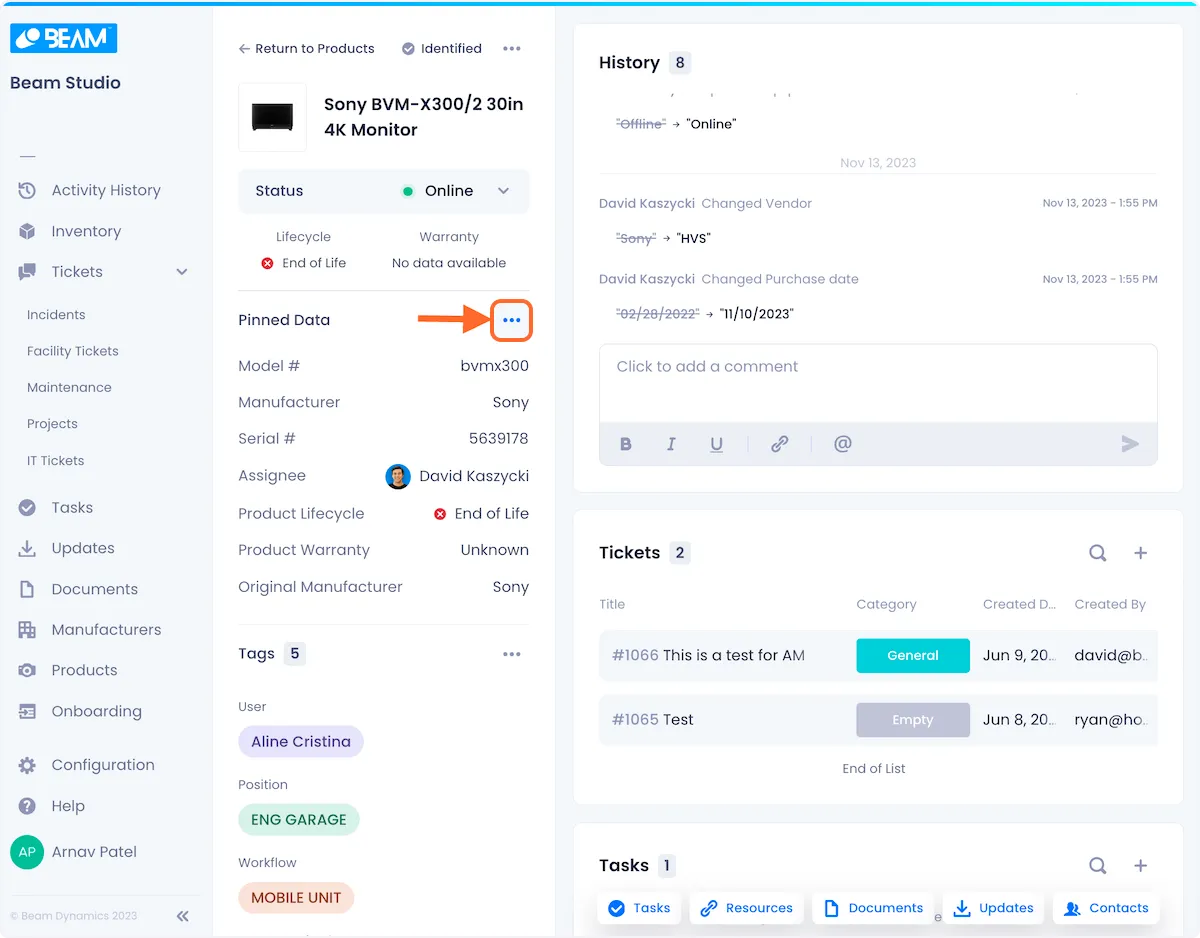
1. Open the overflow menu in the Pinned Data section of the side panel.
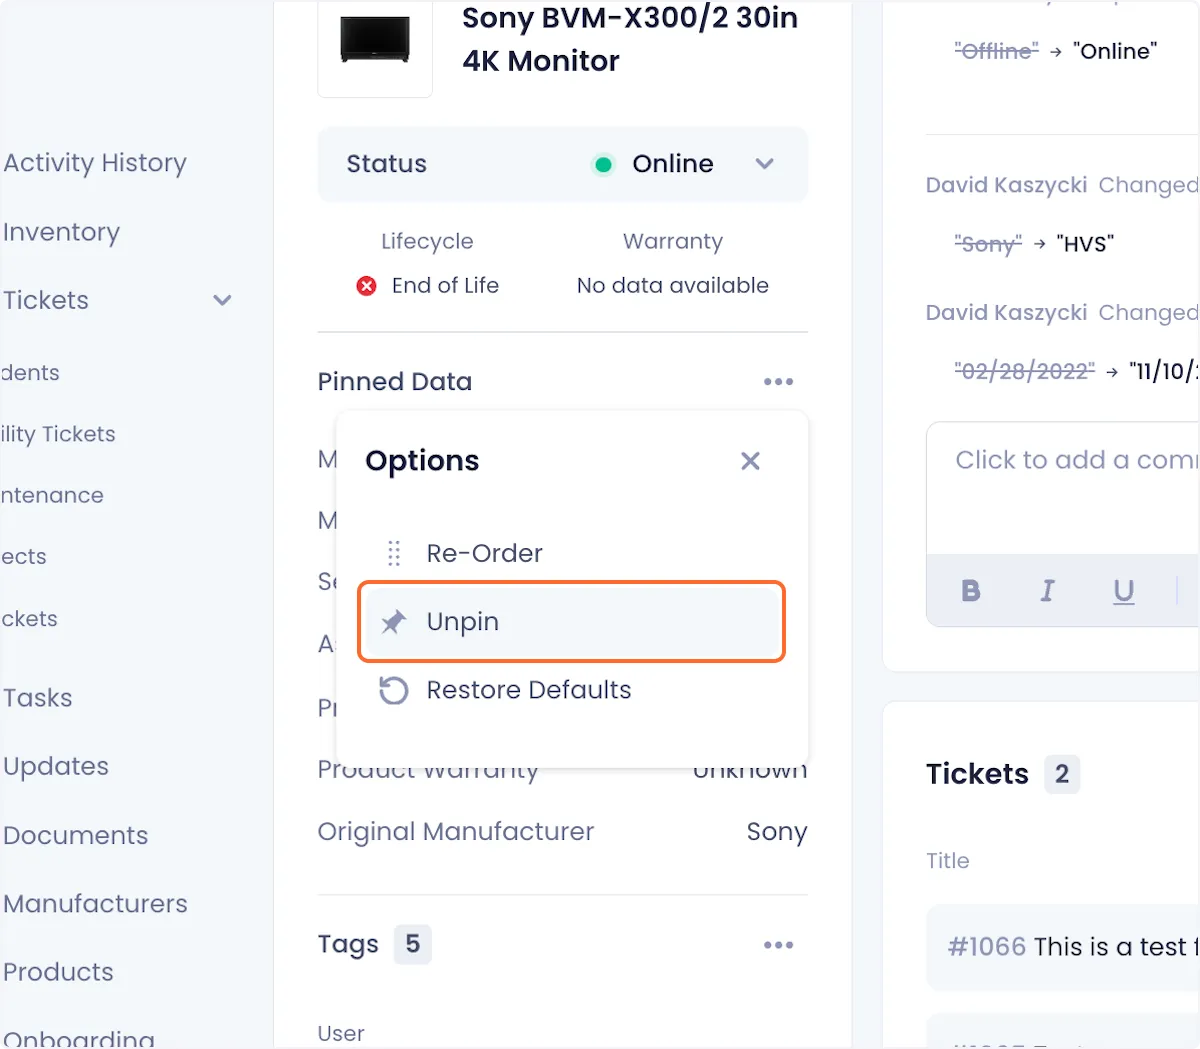
2. Click on Unpin from the dropdown options.
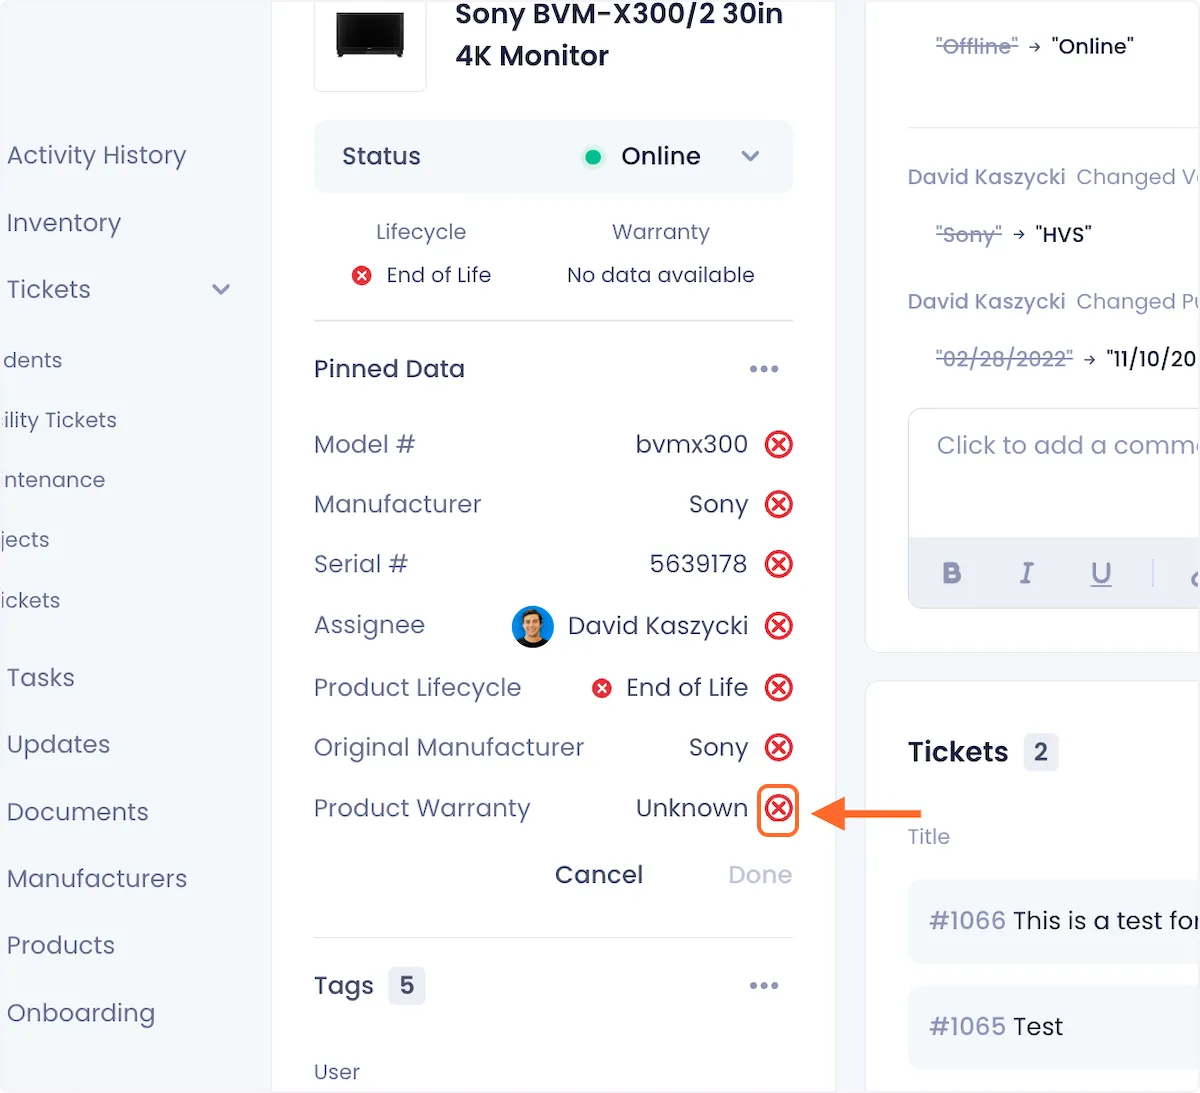
3. Click on the "x" button next to the fields that you want to unpin.
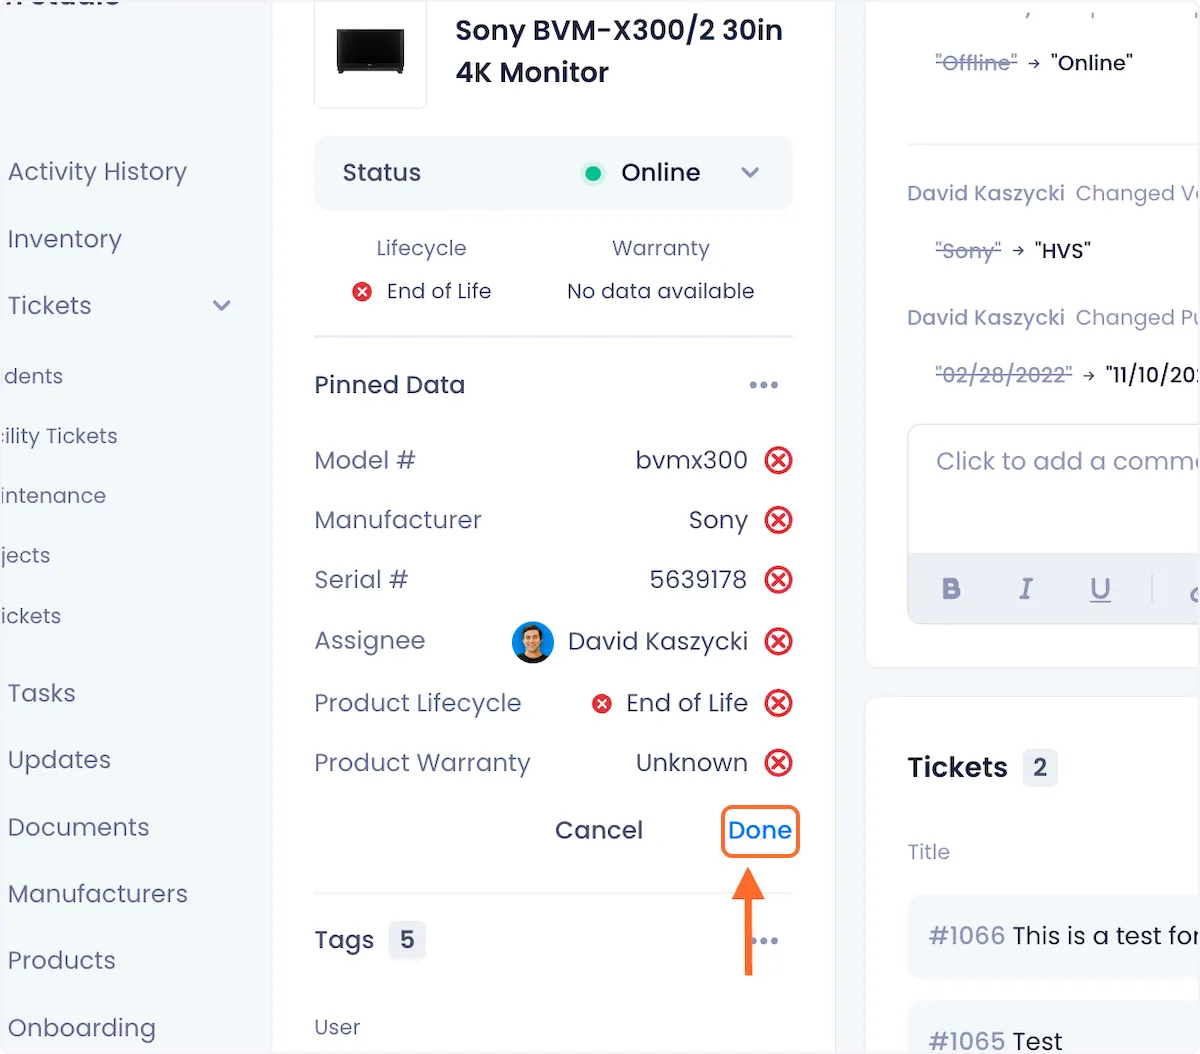
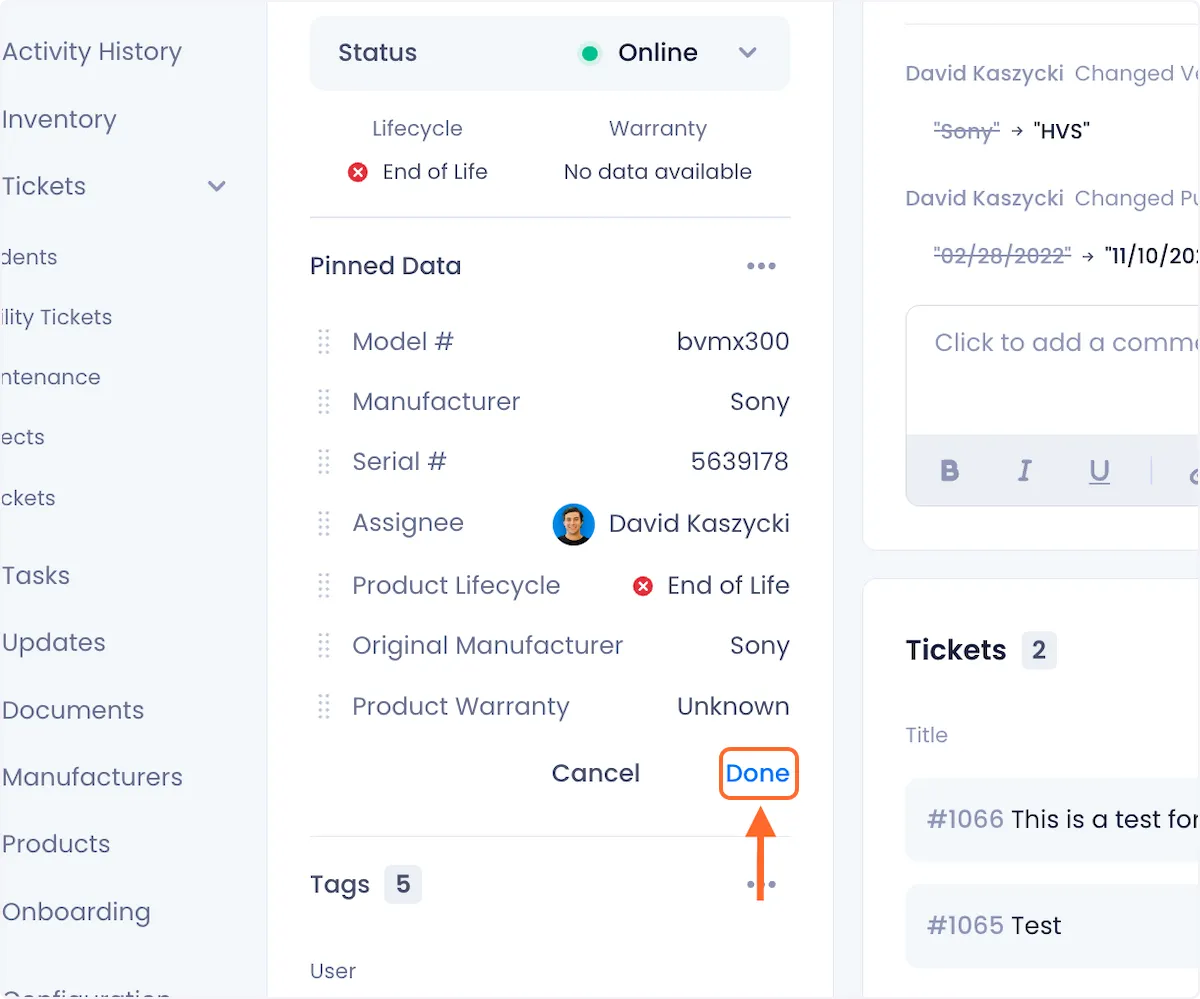
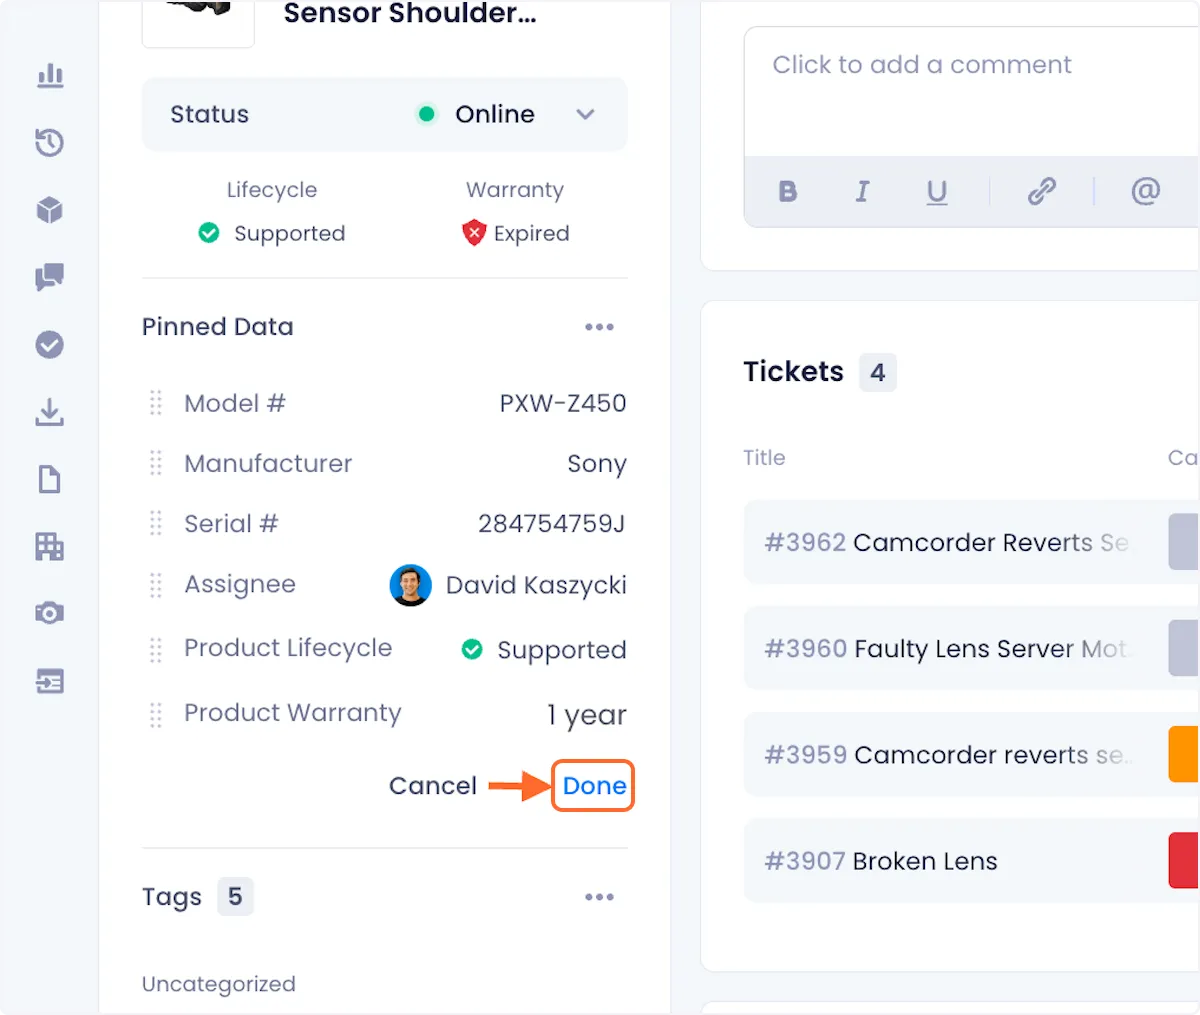
4. Click on Done to execute your choices.
Reordering Pinned Data In The Side Panel
1. Open the overflow menu in the Pinned Data section of the side panel.

2. Click on Re-Order from the dropdown options.

3. Drag data you want to reorder to your desired positions.
4. Click on Done to confirm your changes.
Restore Default Pinned Data
1. Open the overflow menu in the Pinned Data section of the side panel.

2. Click on Restore Defaults from the dropdown options.

3. To confirm the change, click on Done.

Arnav Patel
Product Marketing Specialist