Adding, Editing, Deleting Contacts
Contacts in Beam give you a way to create, and manage profiles with contact details that can be attached to tickets, and assets. In this tutorial, we will show you how to create, edit and delete contacts in your Beam workspace.
5
min read
Accessing The Contact List
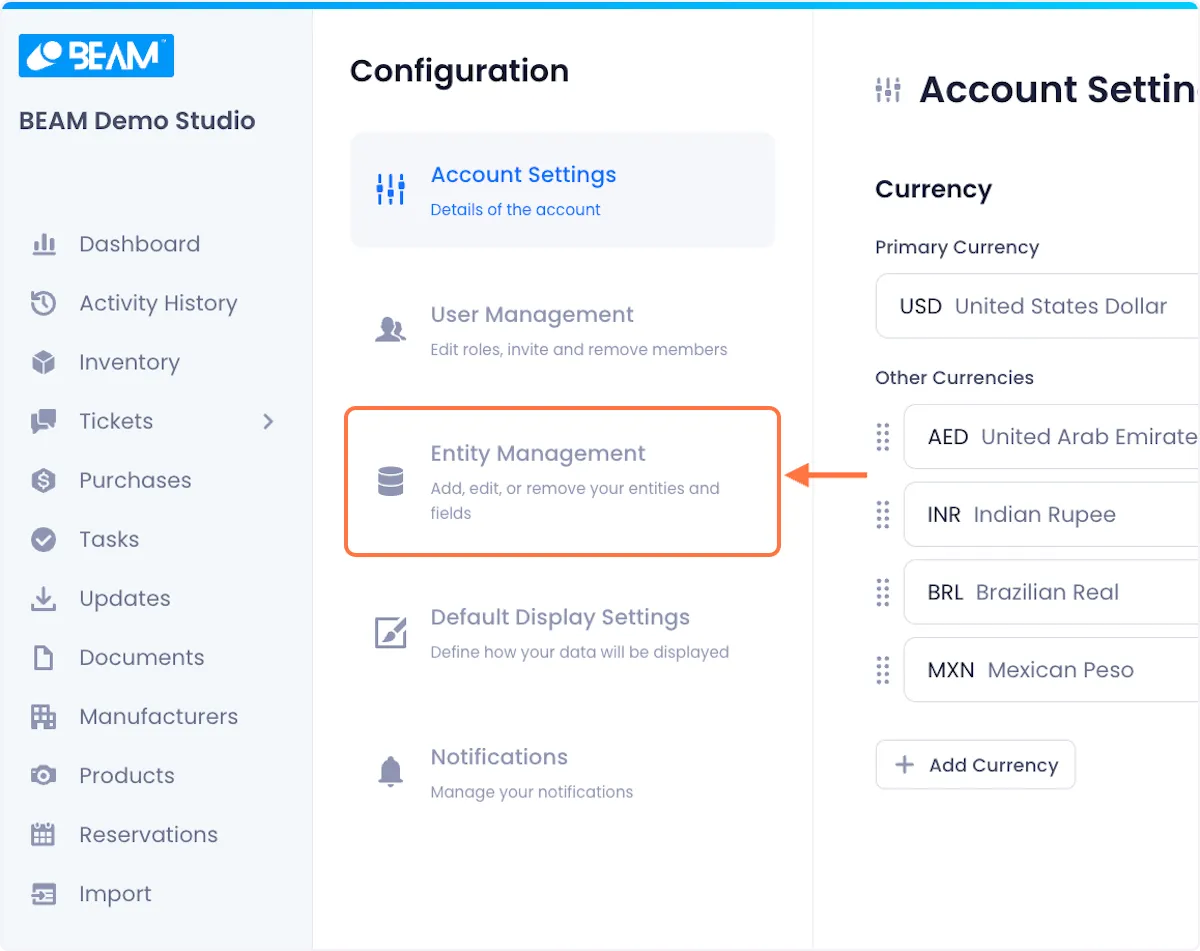
1. Click Configuration in the sidebar of your Beam workspace.

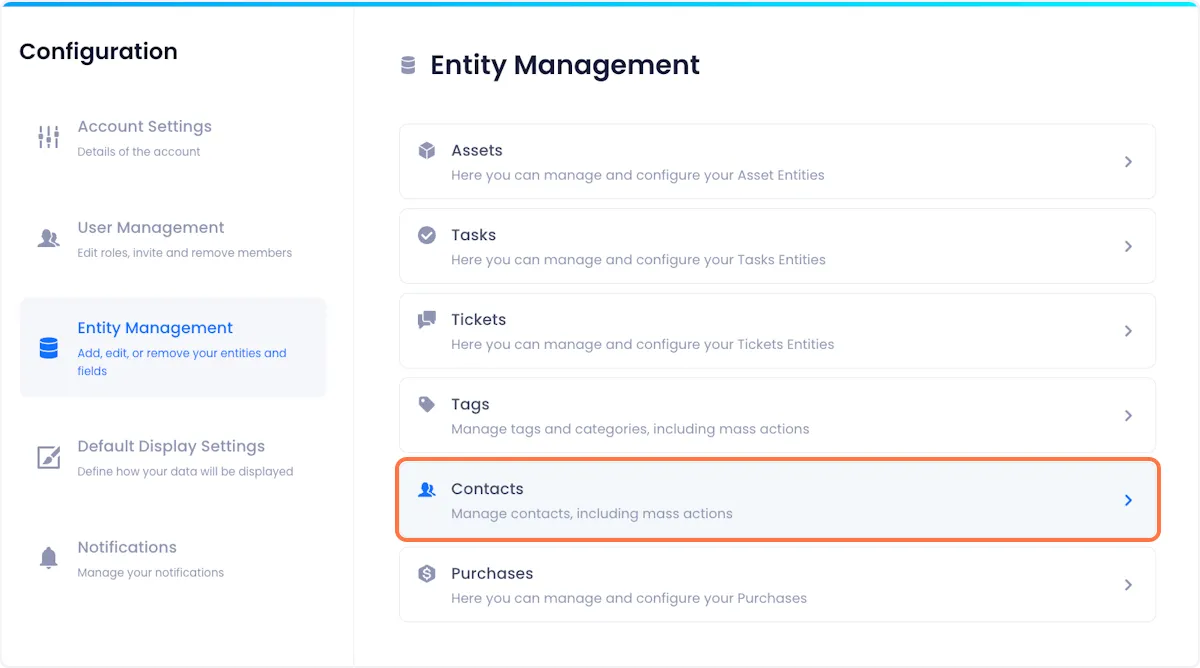
2. Click on Entity Management.
3. Select the Contacts Entity.
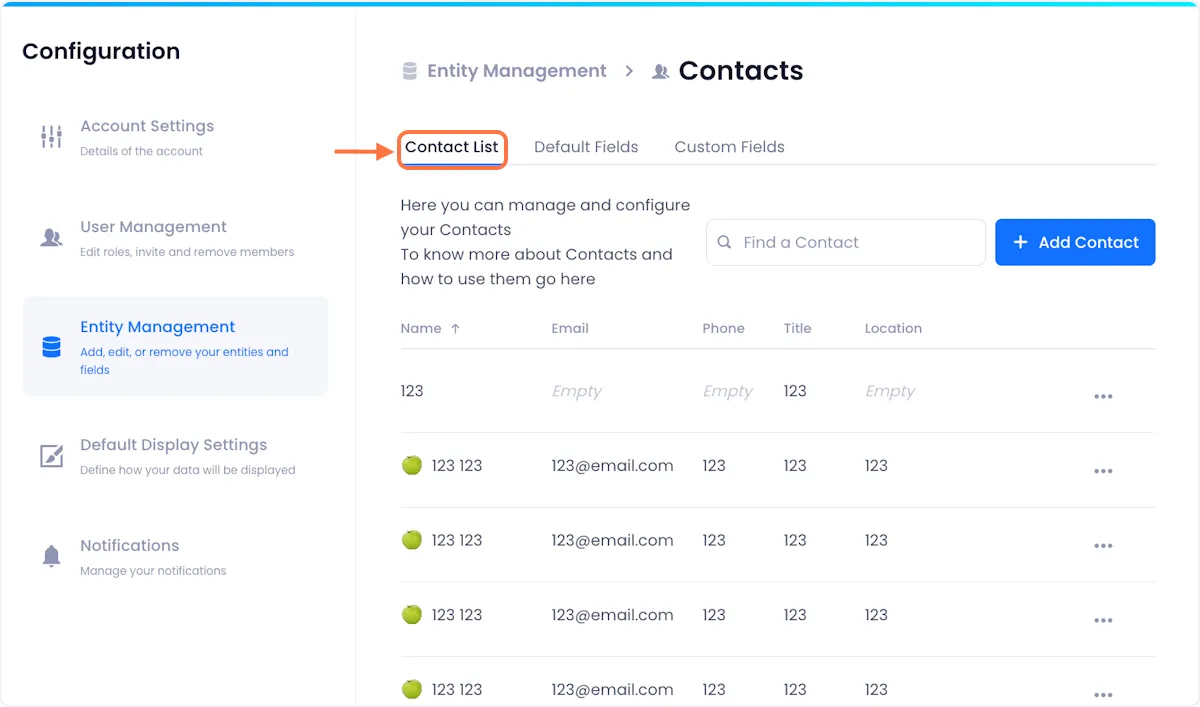
4. This will open a Contact List where you can view and edit the Contacts in your workspace.
Creating a Contact
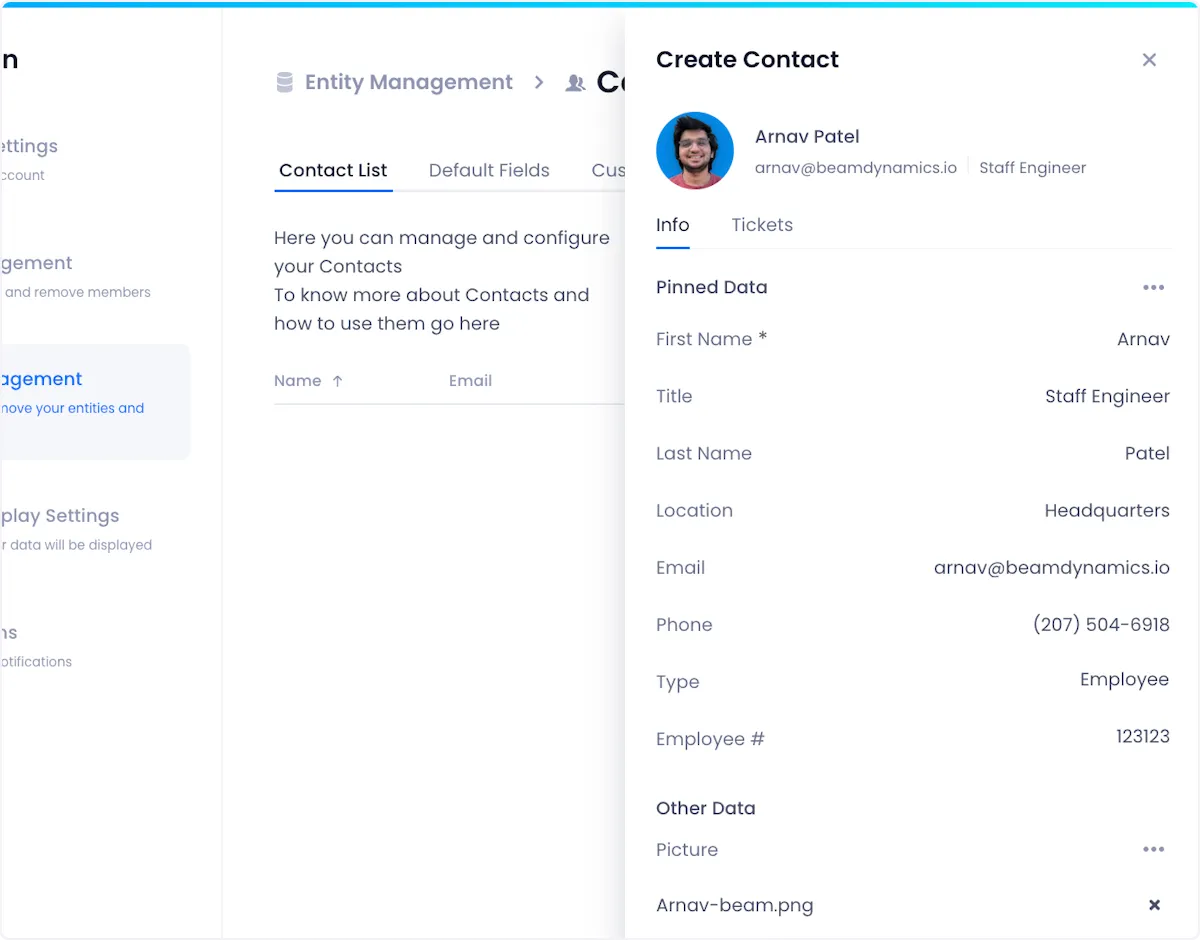
1. Click on Add Contact in the top right corner of the screen.
Doing so will open a side panel where you can configure the details of your contact.
2. Fill in the details of your contact and add a photo to make it recognizable.
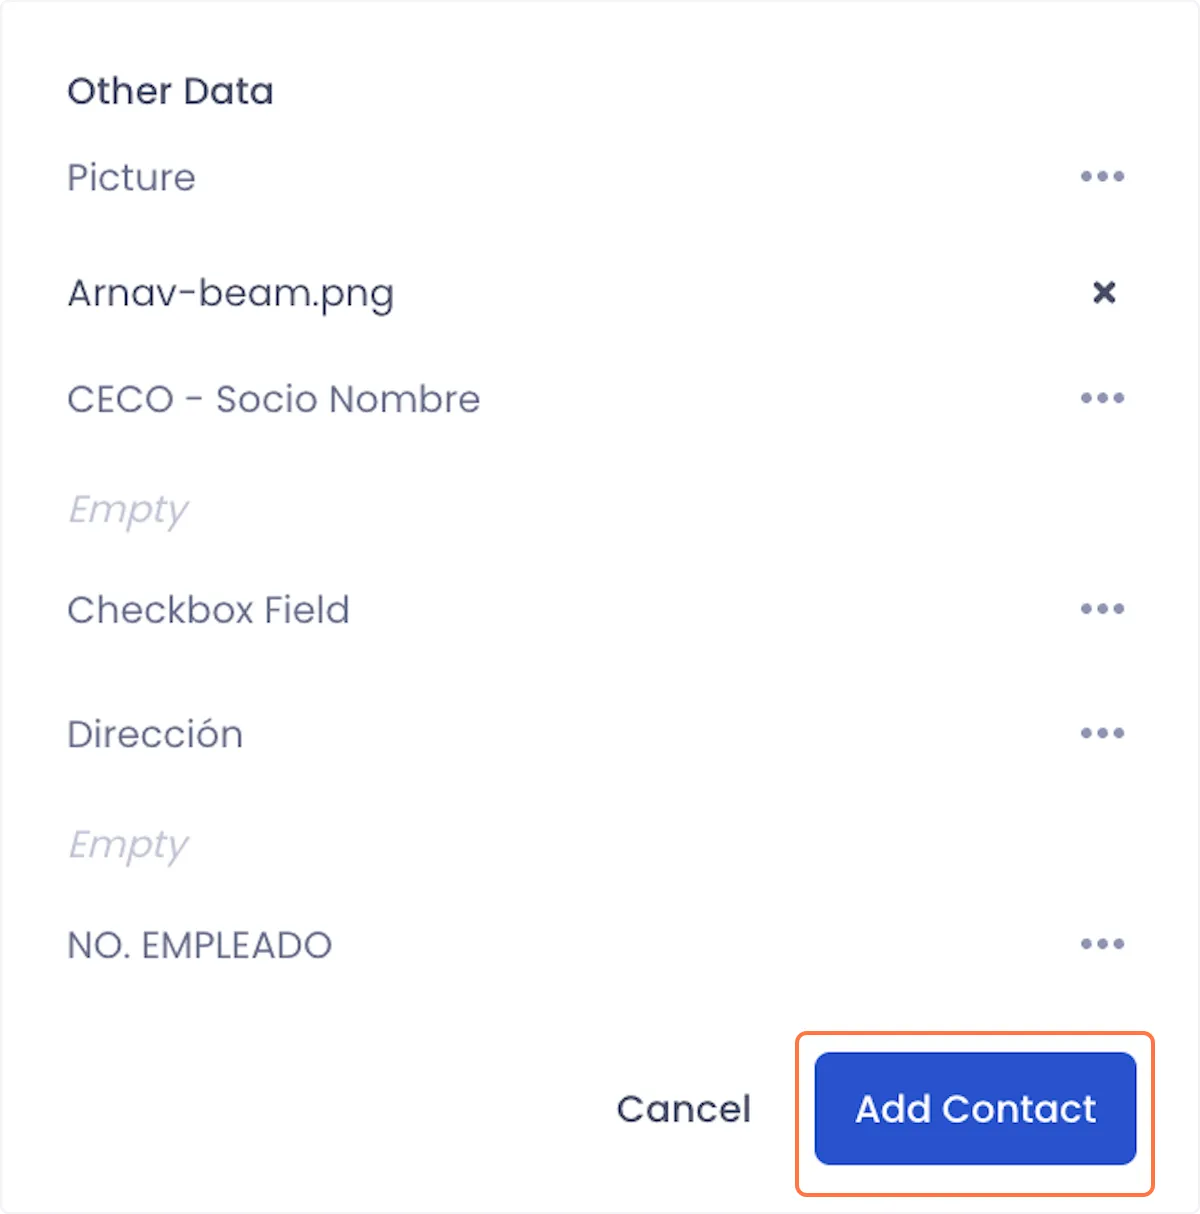
3. When you're satisfied with how your contact is setup, click on Add Contact in the bottom right of the side panel.
Editing A Contact
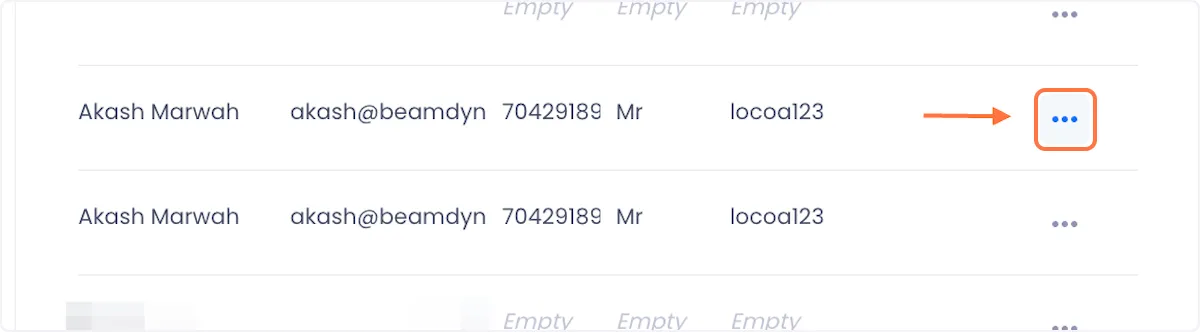
1. Click on the overflow menu next to the status that you want to edit.
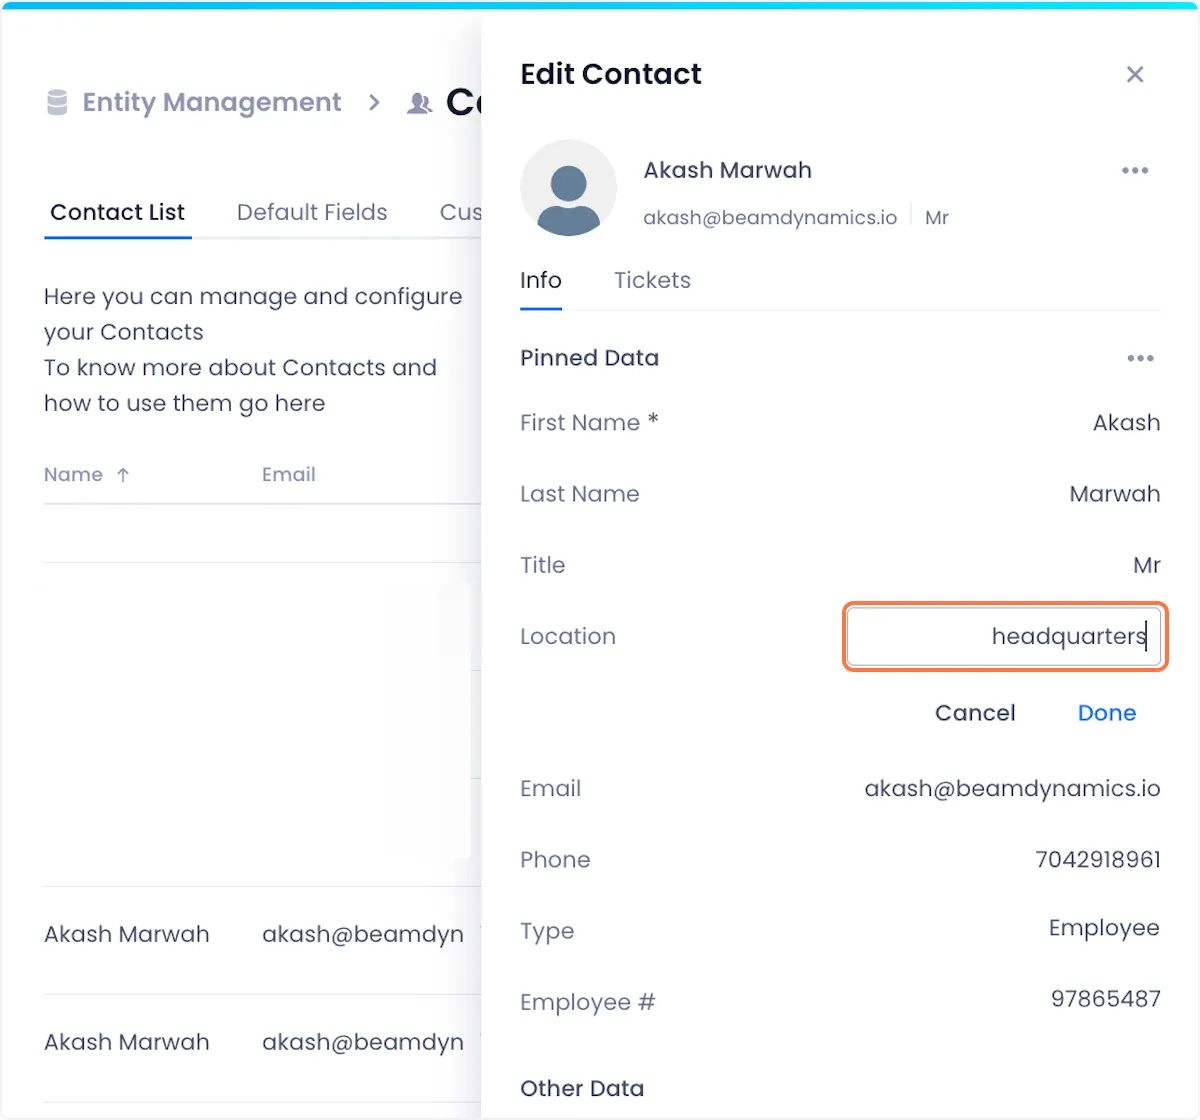
2. Click on Edit.

3. A sidebar will open displaying the contact's details. Edit the field(s) that you want to edit and click on Done when you're satisfied with your changes.
Deleting A Contact
1. Click on the overflow menu next to the status that you want to edit.
2. Click on Delete.

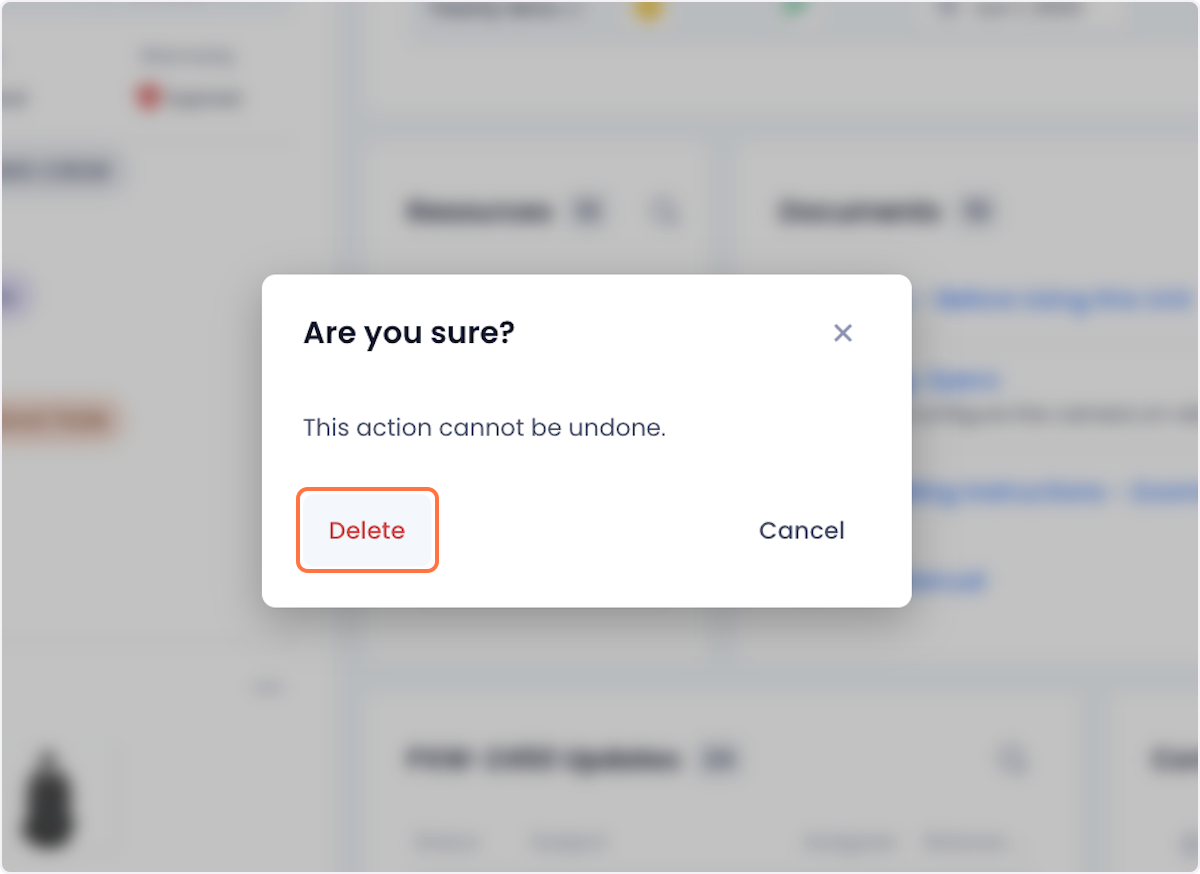
3. Confirm the deletion by clicking delete on the ensuing modal.

Arnav Patel
Product Marketing Specialist