Creating Tickets From The Tickets Page
In Beam, you have access to several ways of creating tickets. In this tutorial, we'll show you the most straightforward option: creating a ticket from the tickets page of the platform.
3
min read
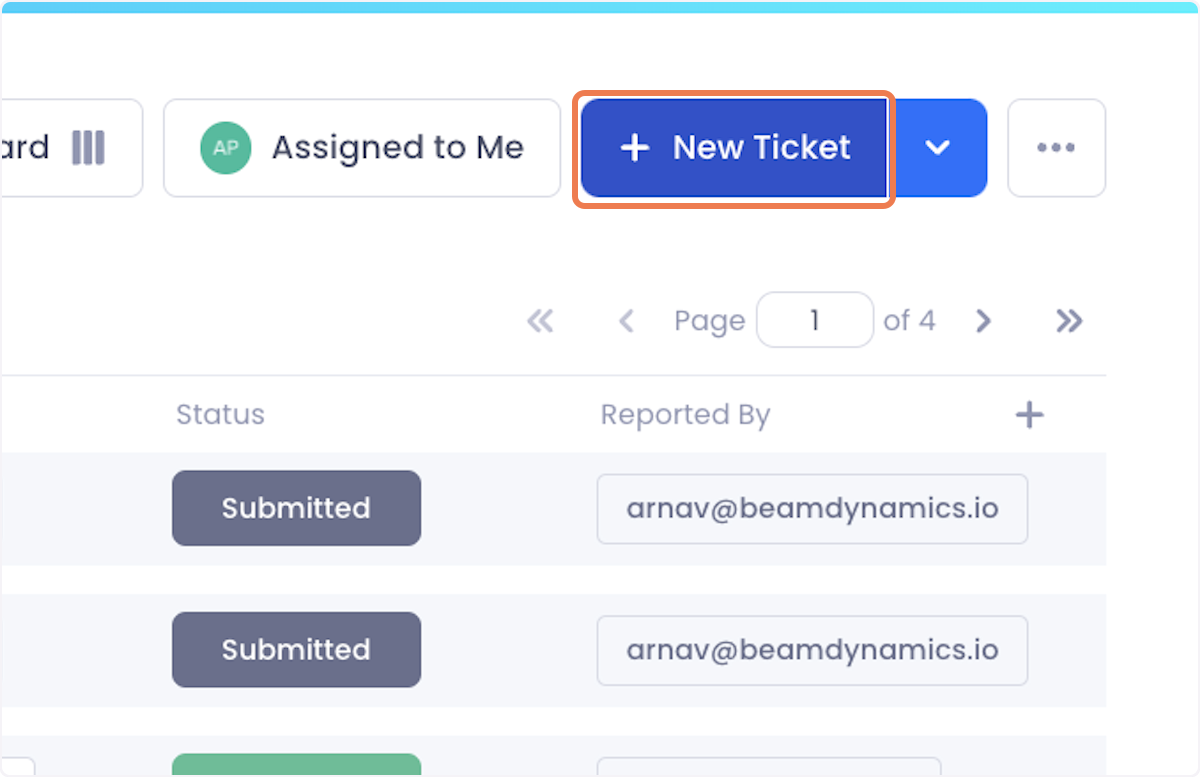
1. Click on New Ticket in the top right corner of the Tickets page
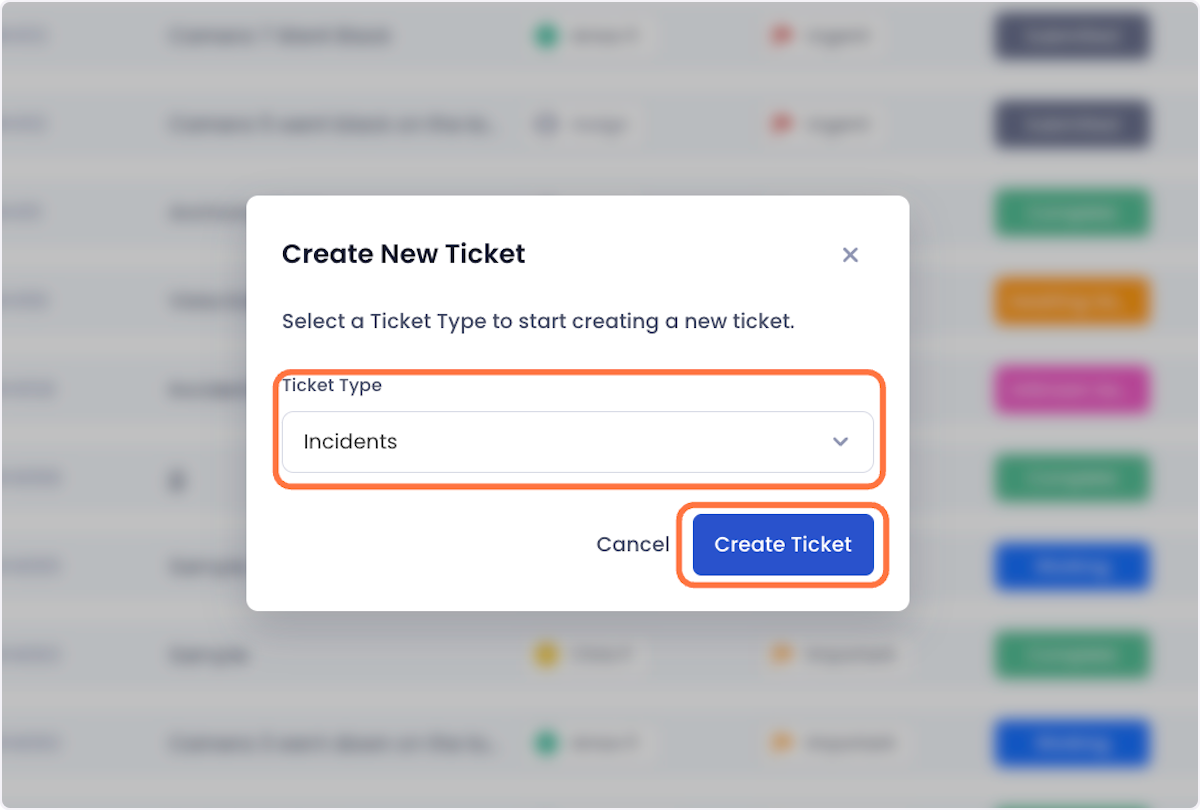
2. In the popup that appears, select what ticket type you want the ticket to belong to and click on Create Ticket.
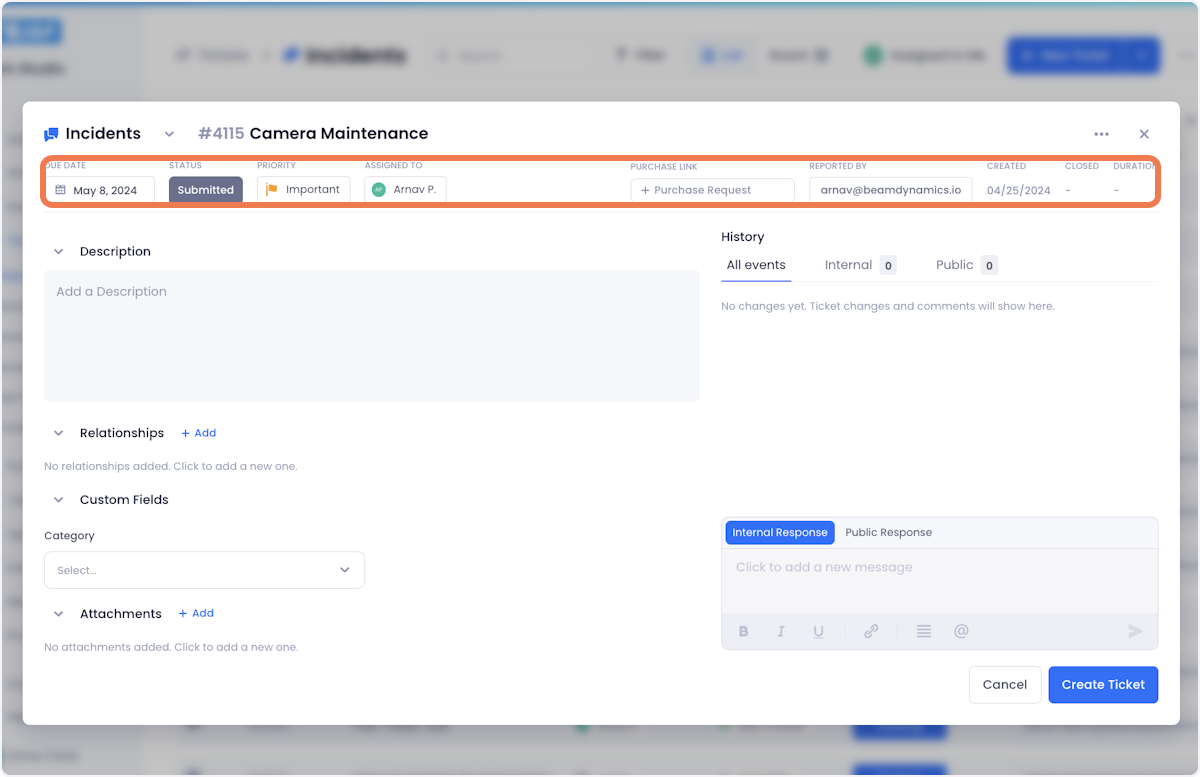
3. Setup the basic details of your ticket.
Give your ticket a Name, Due Date, Status, Priority, and Assignee.
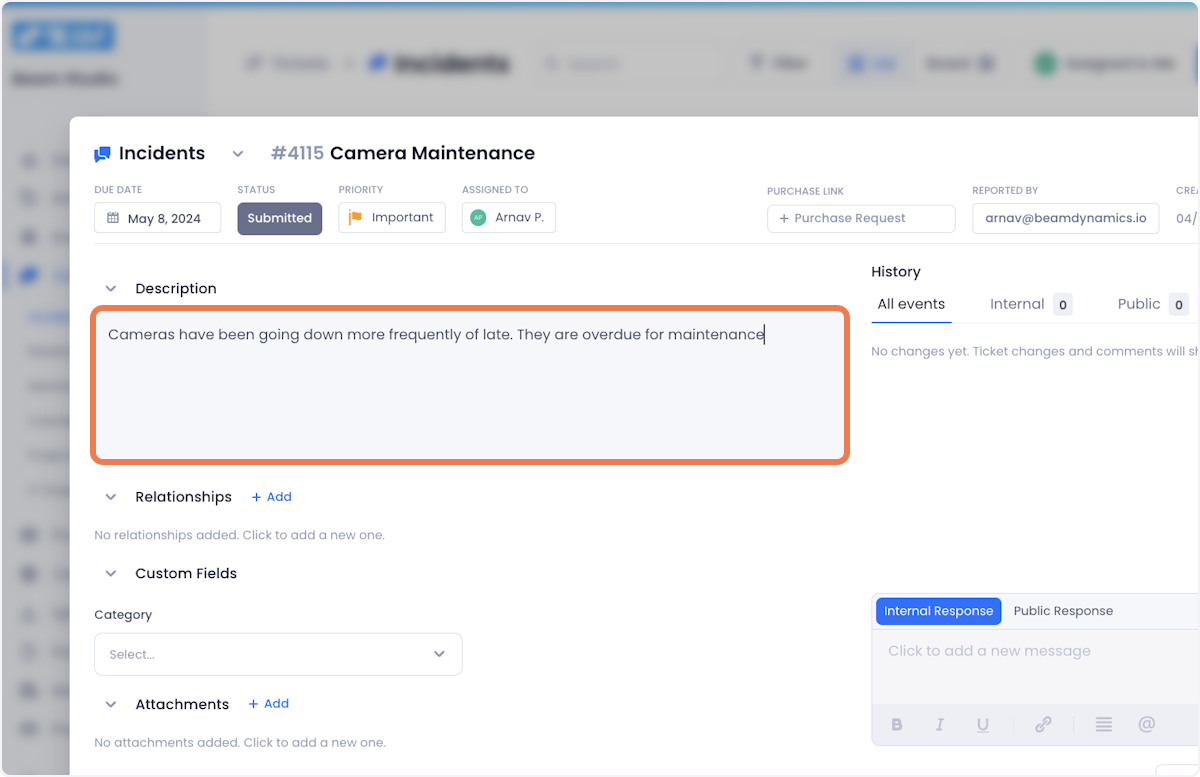
4. While optional, we recommend adding a description to your ticket to give your teammates necessary context.
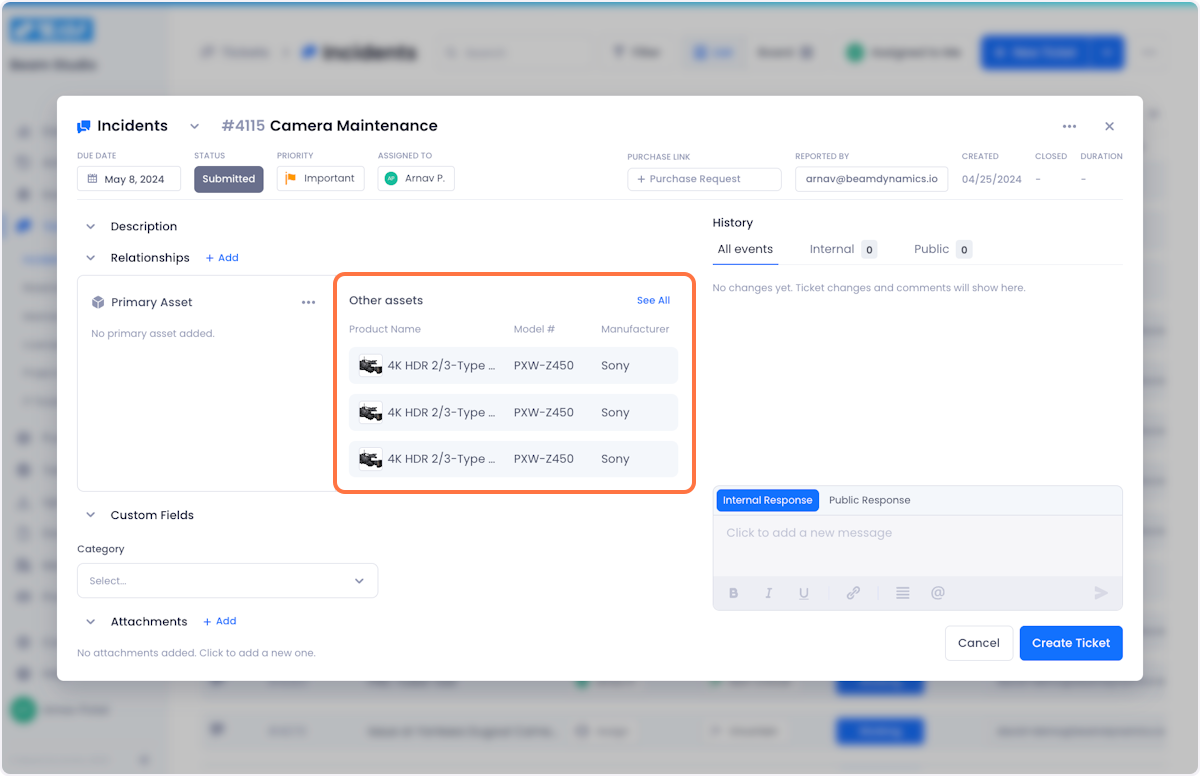
5. If the ticket is related to specific assets, click on the Add button in the Relationships section.
In this tutorial we'll focus on adding multiple assets to a ticket using the Add Assets option. You can, however, relate one Primary Asset to a ticket that will be separately flagged as the primary focus of the ticket. To learn more about how to associate a primary asset with your tickets, check out our documentation on the topic.

6. When you click on Add Assets, a popup will open showing you all the assets in your inventory
Select the assets that you want to associate with your ticket and click Add Selected.
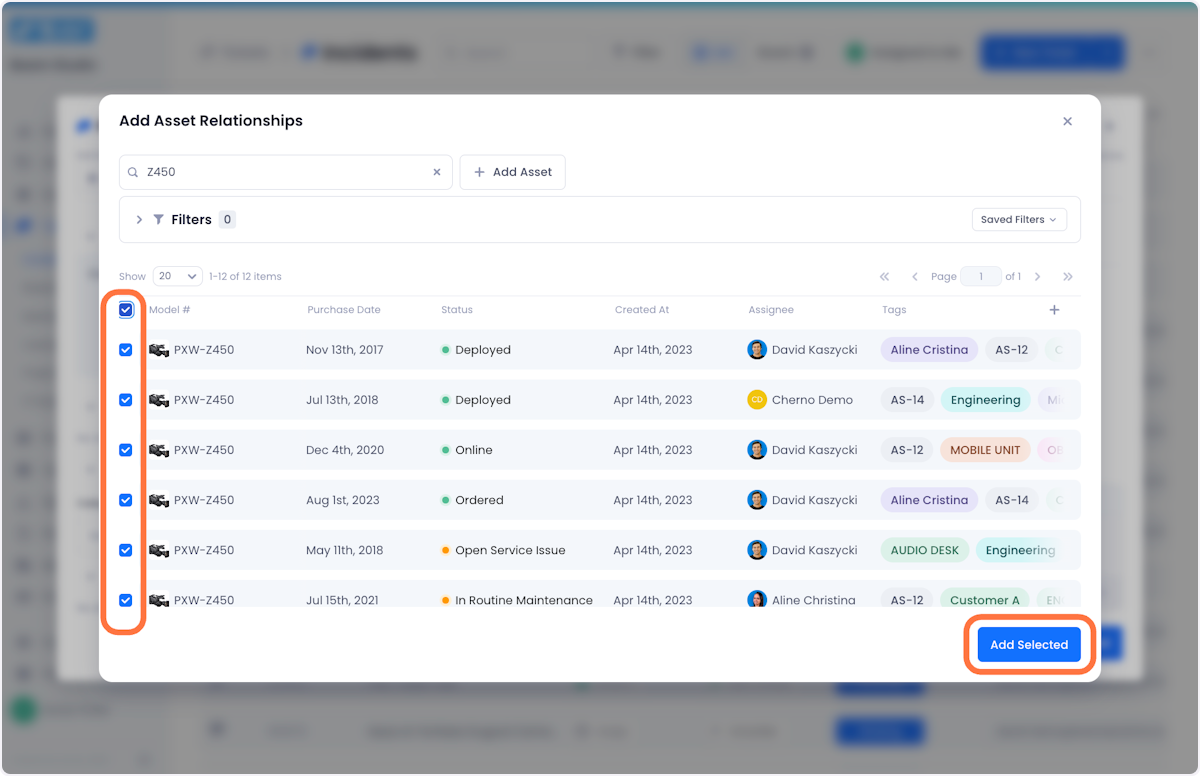
Your related assets will show up in the relationships section.
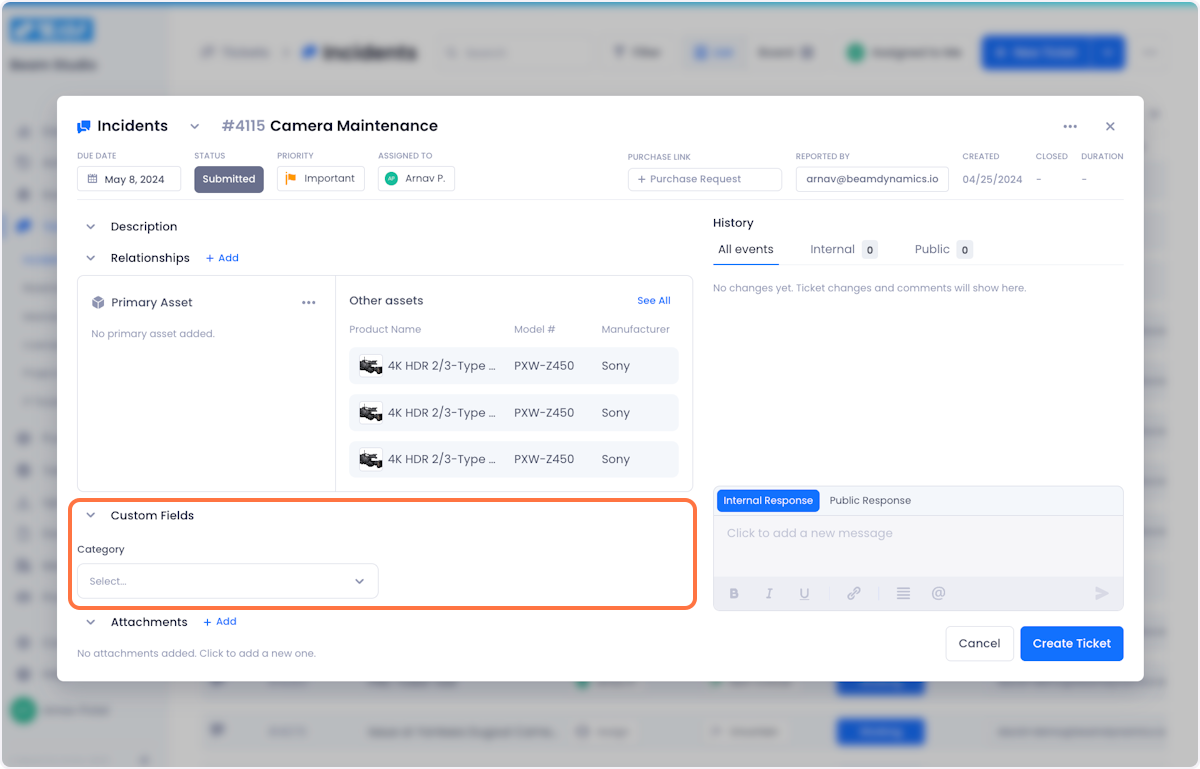
7. Below the asset relationships section, you can set values for any custom ticket fields that exist for the given ticket type in your workspace.
These fields are unique to your workspace and will likely differ from what you see in this tutorial
8. If you want to attach pictures or other files to the ticket, you can do so bly clicking Add in the Attachments section.

9. If you want to link your ticket to a purchase, you can do so by clicking the "+ Purchase Request" button.
Tickets and Purchases have 1:1 relationships with each other, meaning each ticket can only relate to one purchase and vice versa.

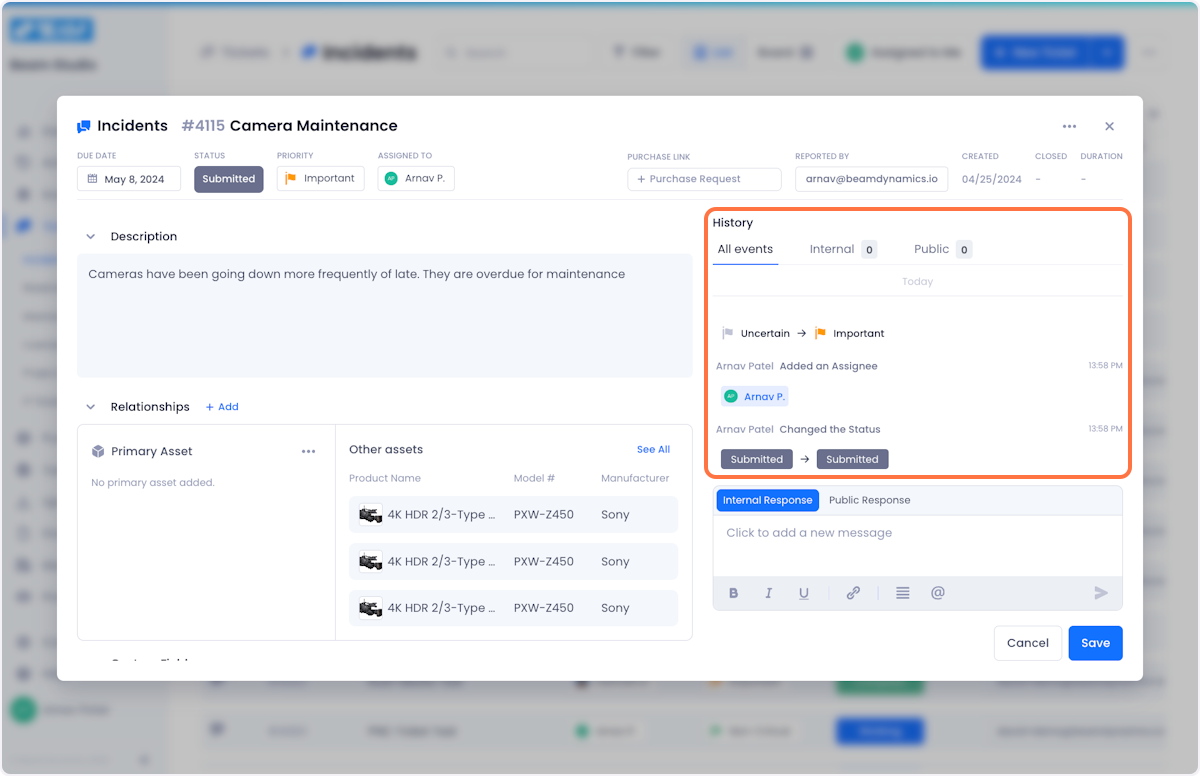
10. When you're satisfied with how your ticket is setup, click Create Ticket to complete the process.

Your ticket will be created and all the changes you made to it in the setup process will populate in the History section.

Arnav Patel
Product Marketing Specialist