Navigating the Asset Page
Every asset in your Beam inventory has a dedicated asset page that aggregates all the associated data, tickets, documents, tasks and contacts associated with that asset.
Accessing The Asset Page
The most common way to access an asset page is from the Inventory page.
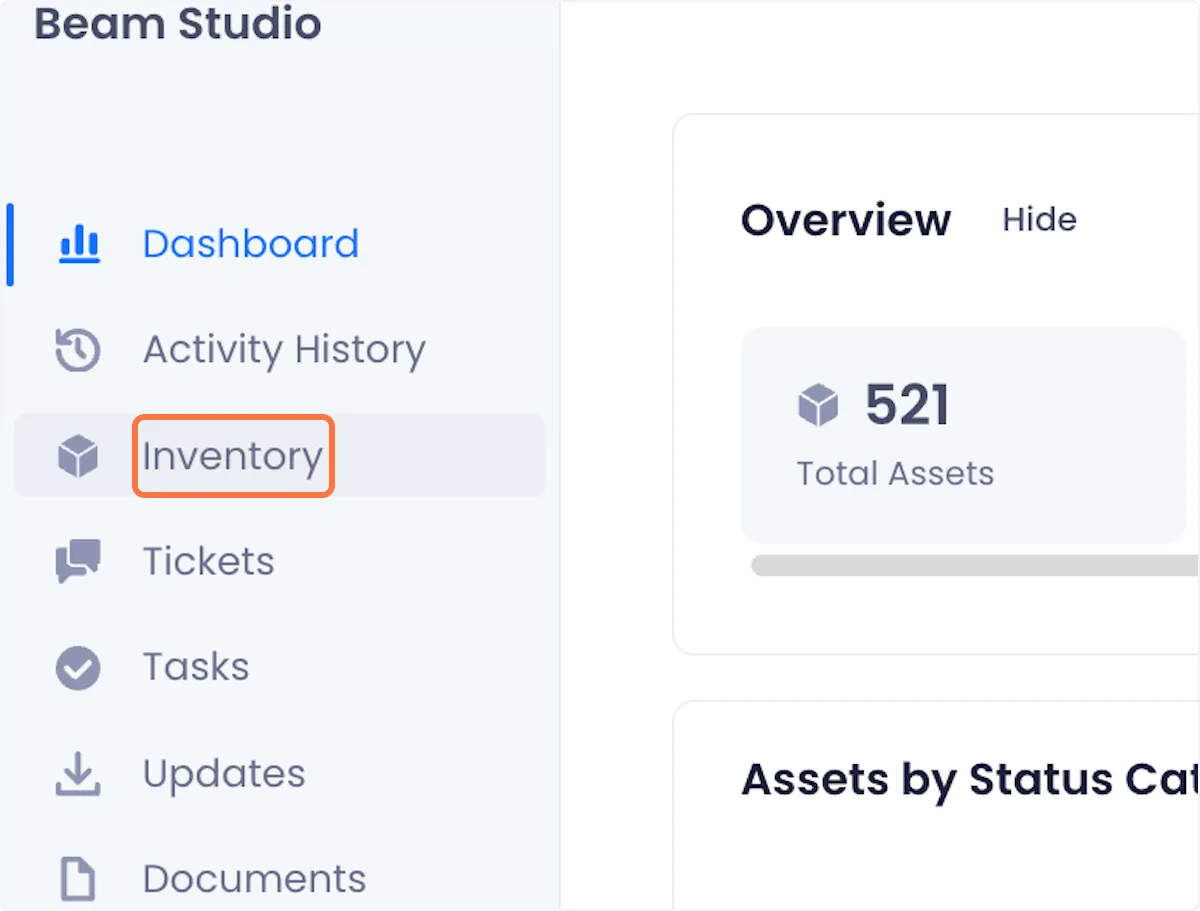
On the inventory page, you will see a list of assets. By default this list shows every asset in your inventory, but you can filter this list using Beam's search and & filter functionality.
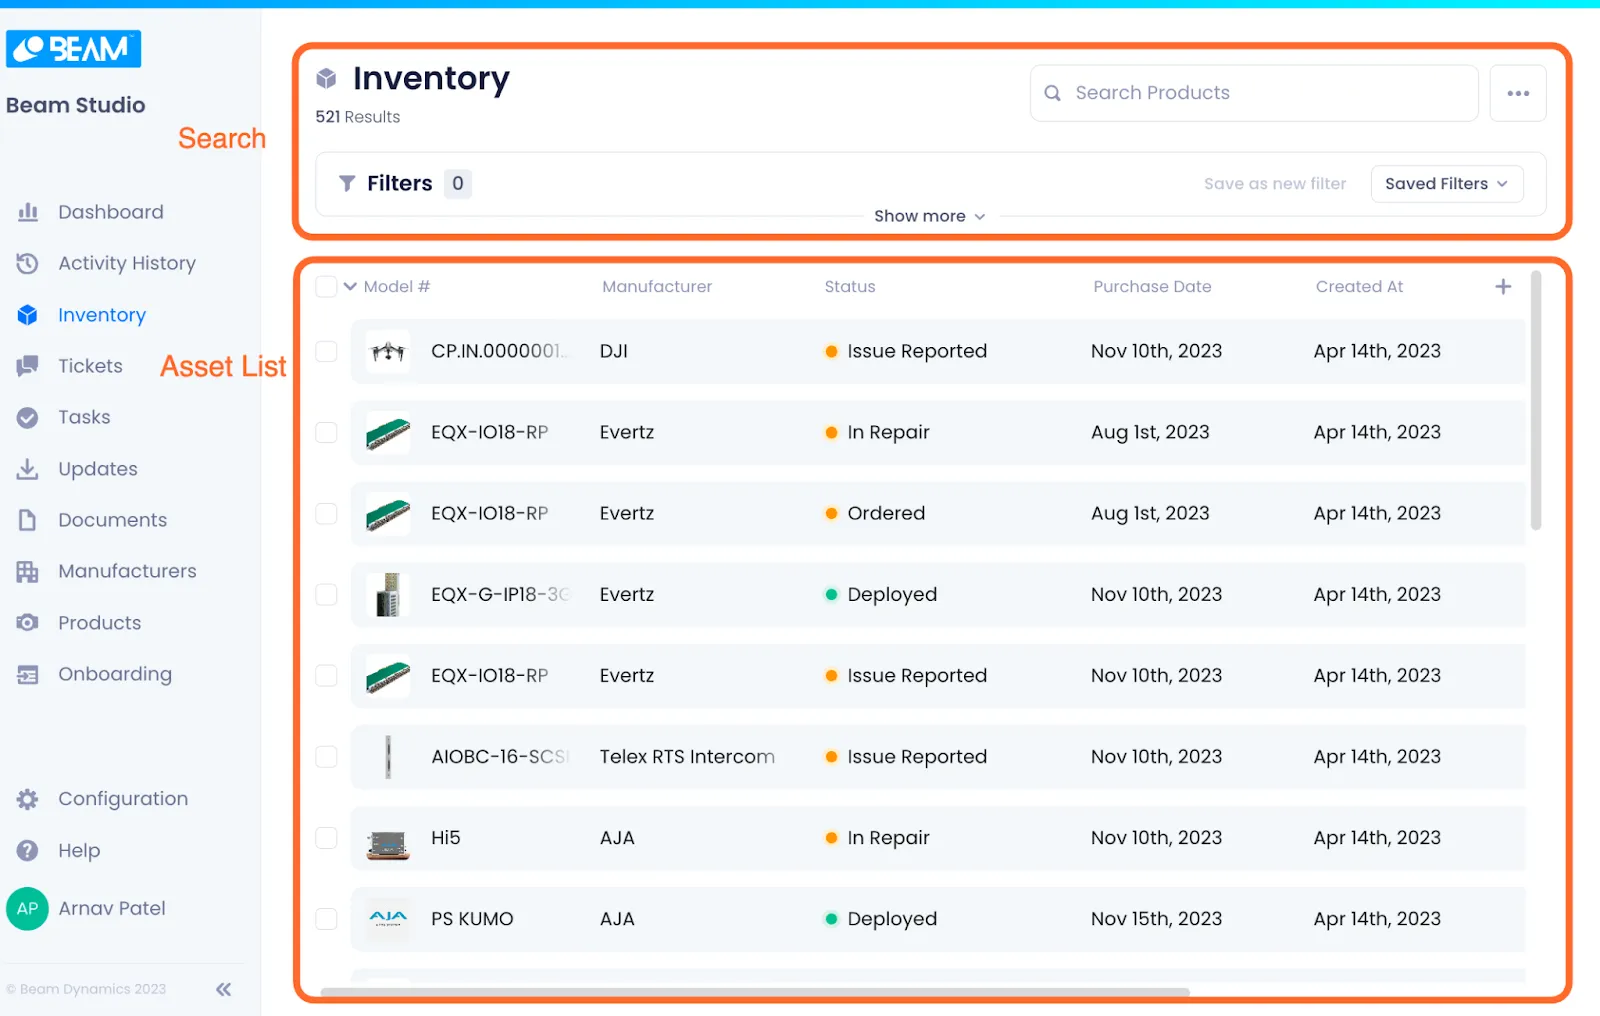
Click on any of the rows in this list to open up the associated asset page.

If you are accessing Beam from your phone, you can open up asset pages using Beam Lens, our barcode scanner app. Check out out the Beam Lens App on App Store and Play Store to learn more.
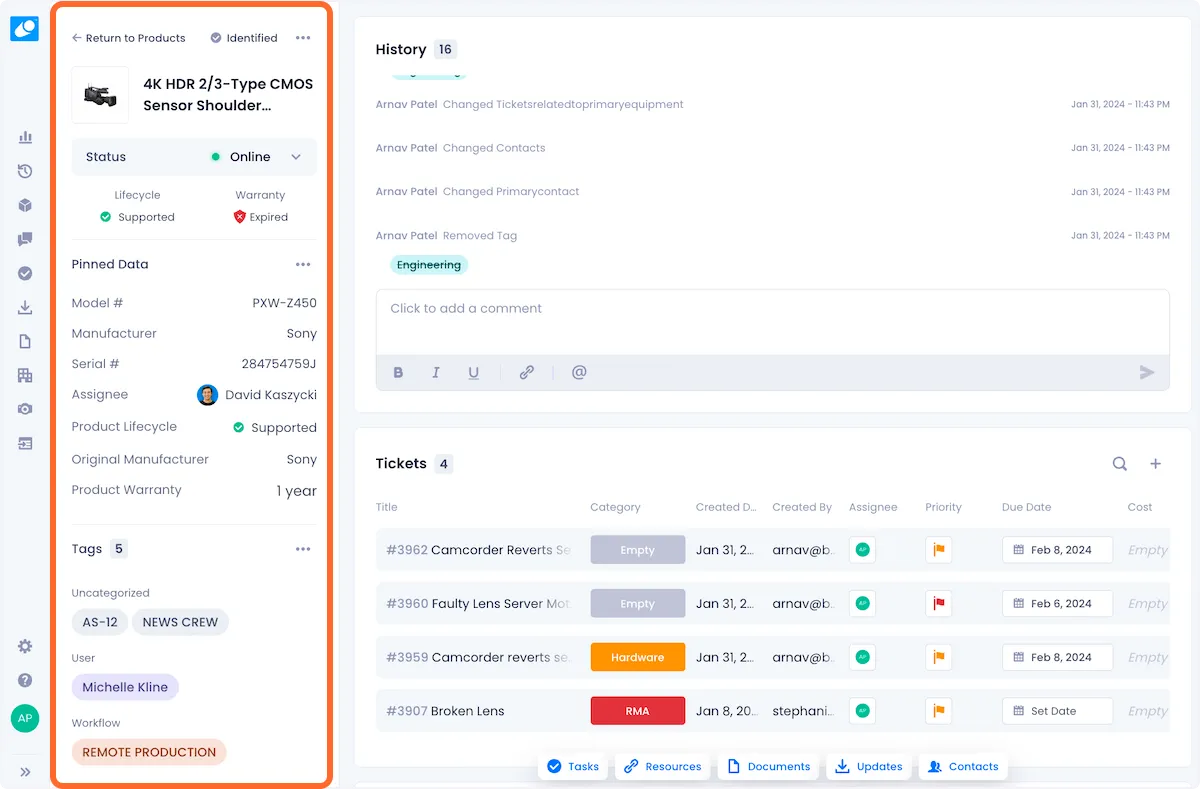
Side Panel
On the left side of each of the asset page is a panel that displays the data associated with the selected asset, the data is segmented into multiple categories such as Tags, Photos, and Product specific data
Statuses
The top of the side panel displays an overview of the asset's status. Specifically it displays the uptime status, warranty status, and lifecycle status of the product.
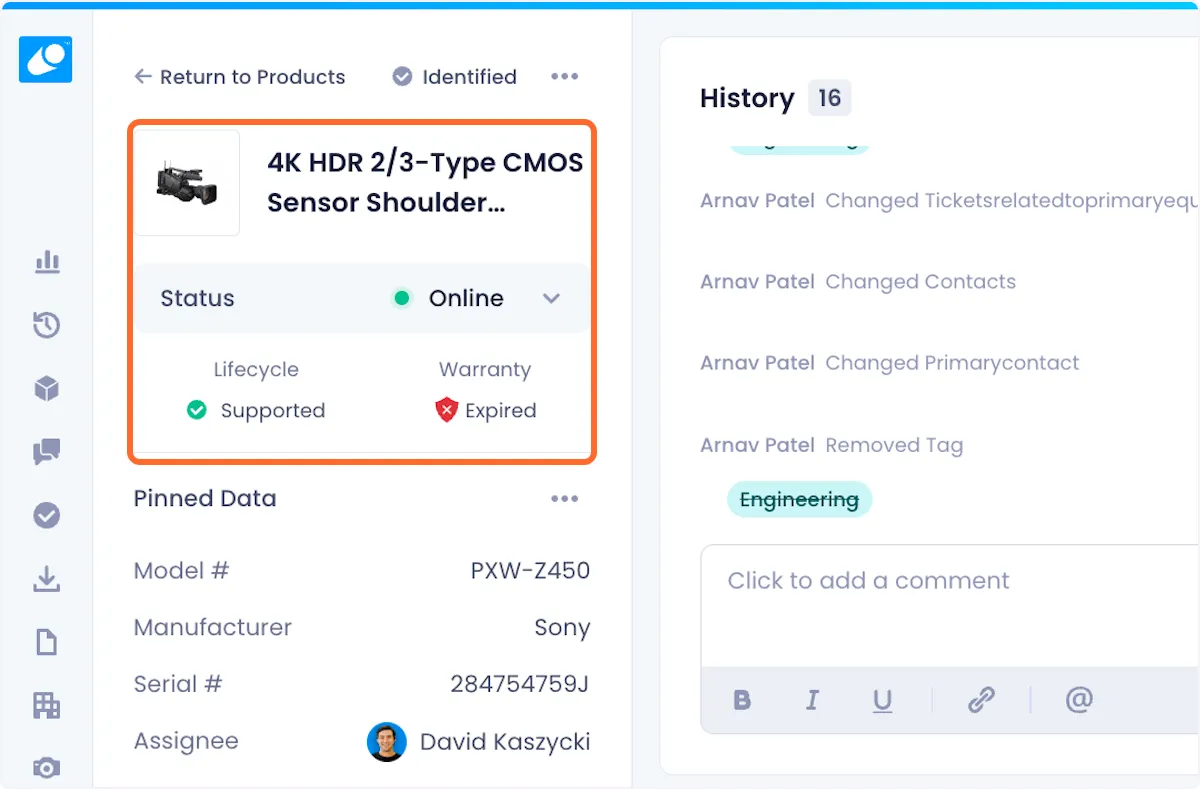
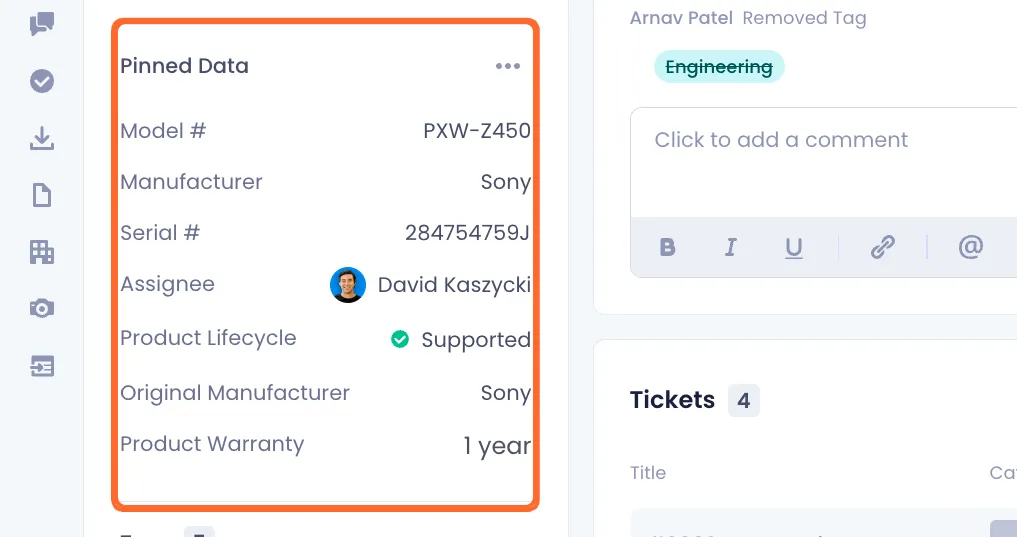
Pinned Data
Below the status section, the side panel displays essential asset attributes that you frequently reference while interacting with the asset.
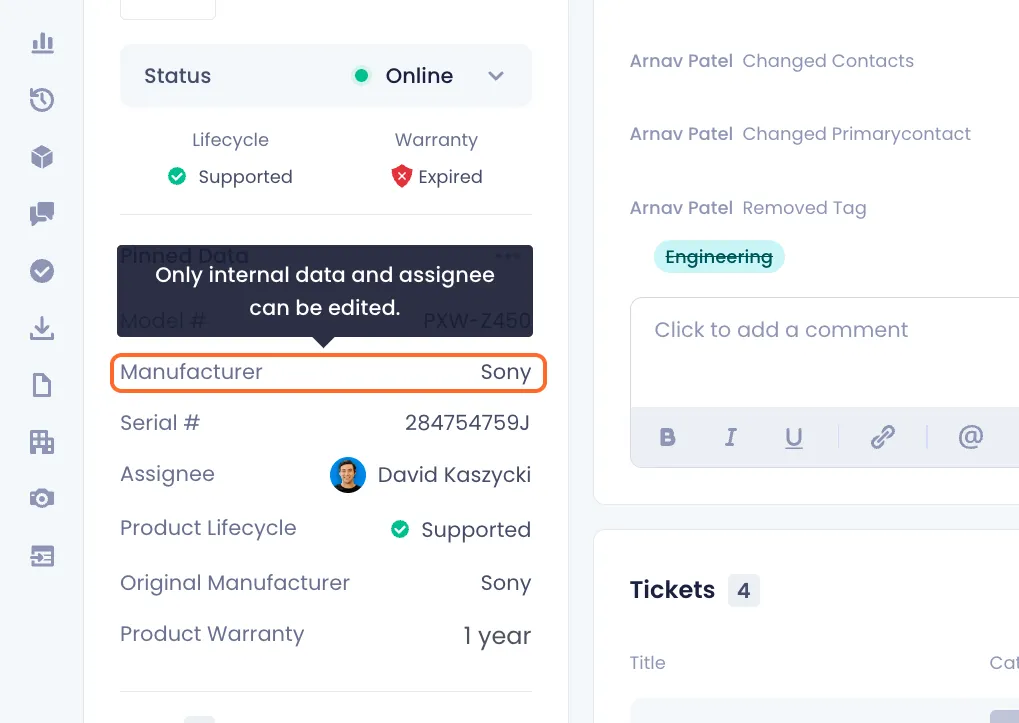
Any internal data and assignees displayed in the pinned data section are editable by clicking on the value.
Data that is pulled from the vendor (e.g. manufacturer, warranty length) are uneditable.
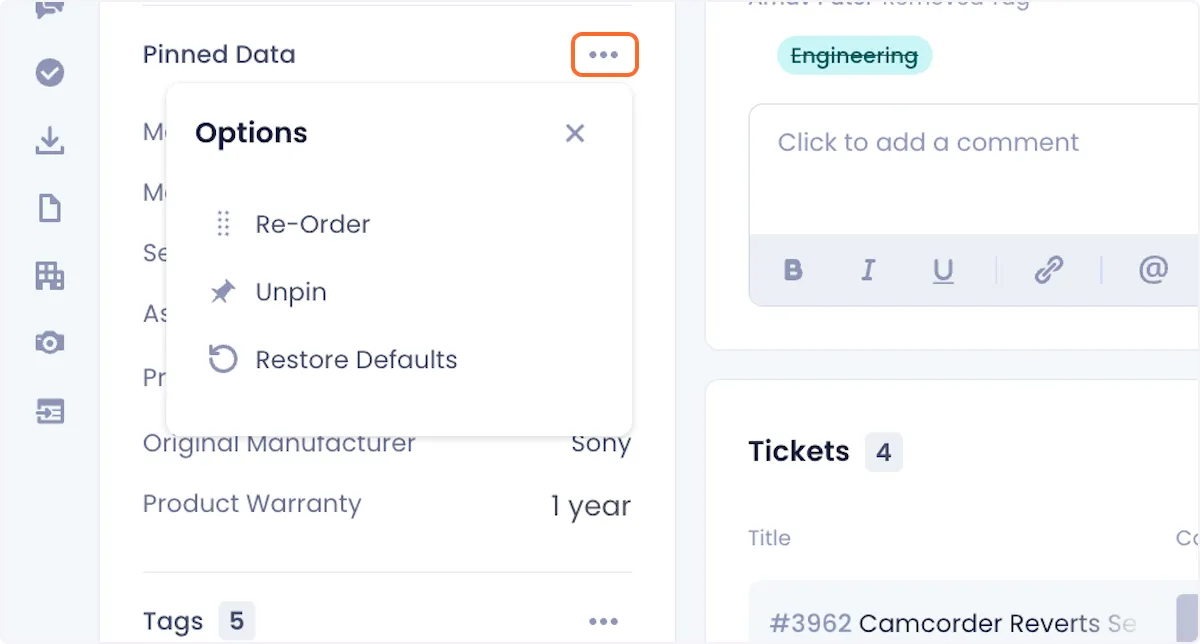
You can edit what data attributes are shown in the pinned data section using the overflow menu in the top right of the section. To learn more about customizing pinned data read our documentation on Customizing Pinned Data On The Asset Page.
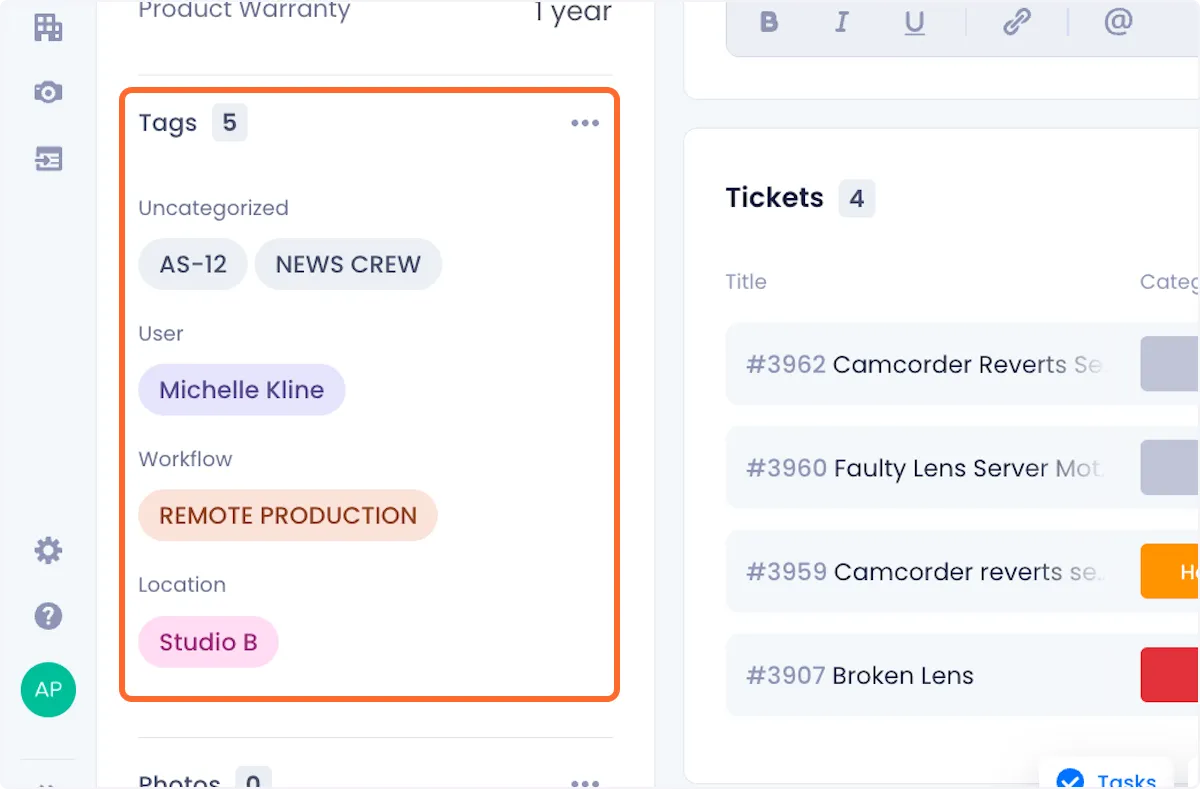
Tags
Below the Pinned Data, the side panel displays all the asset's associated tags grouped by category.
You can manage the tags associated with an asset using the overflow menu in the top right of the section.
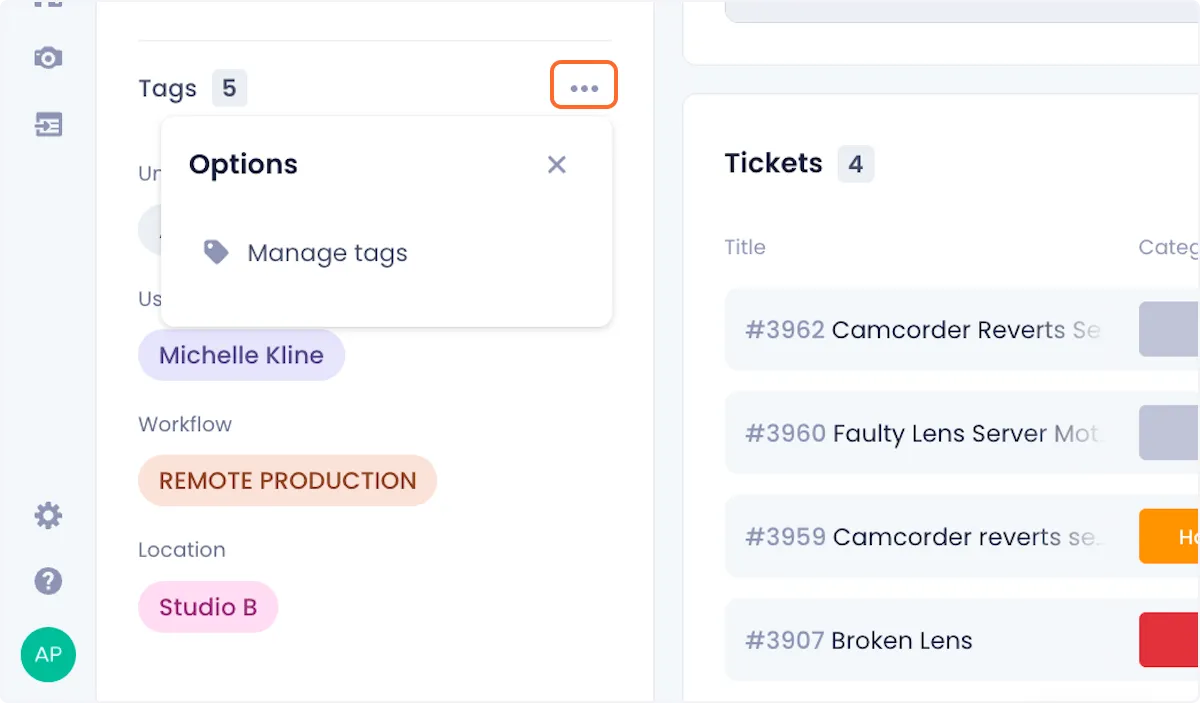
To learn more about customizing asset tags read our documentation on Managing The Tags Associated With An Asset.
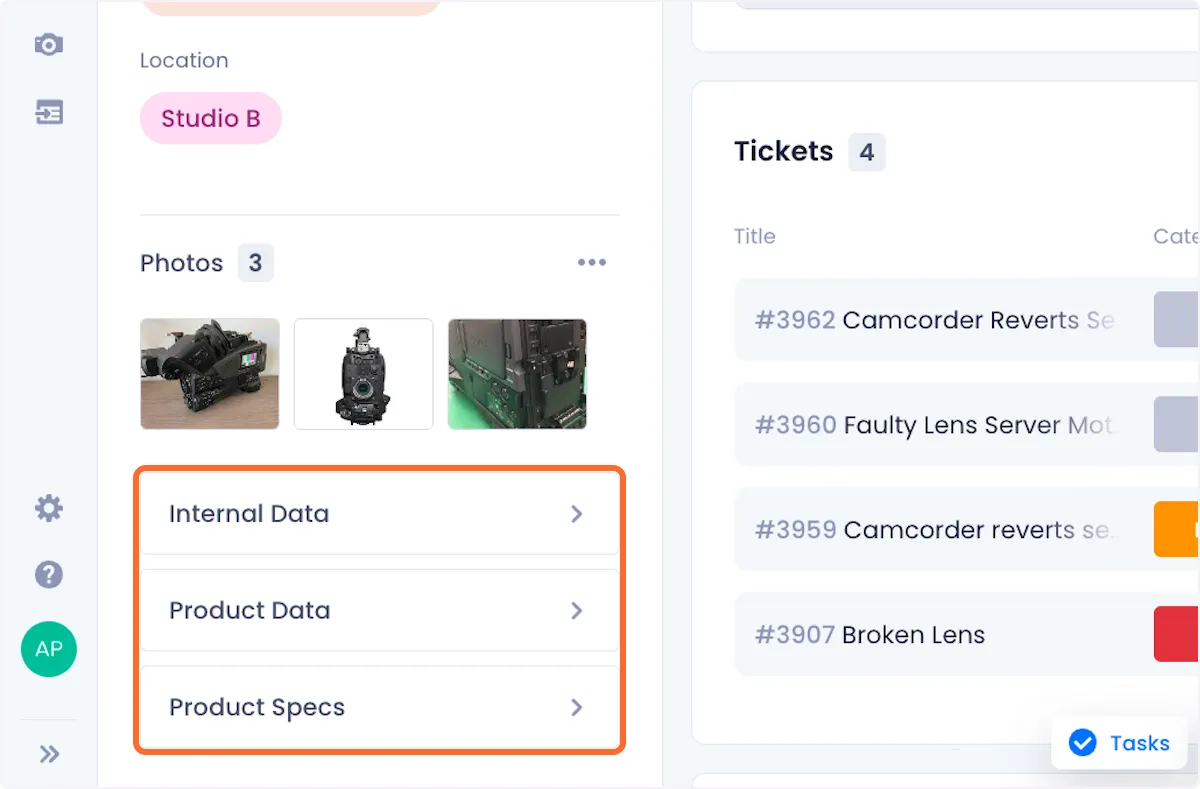
Photos
Below the tags, you can view any attached photos associated with the asset.
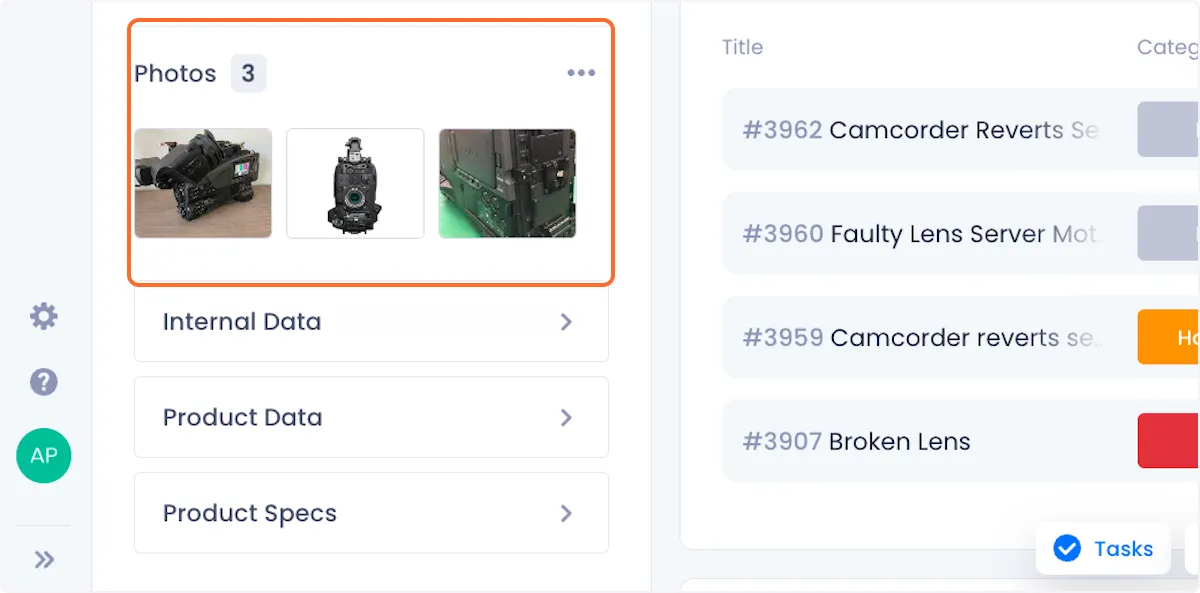
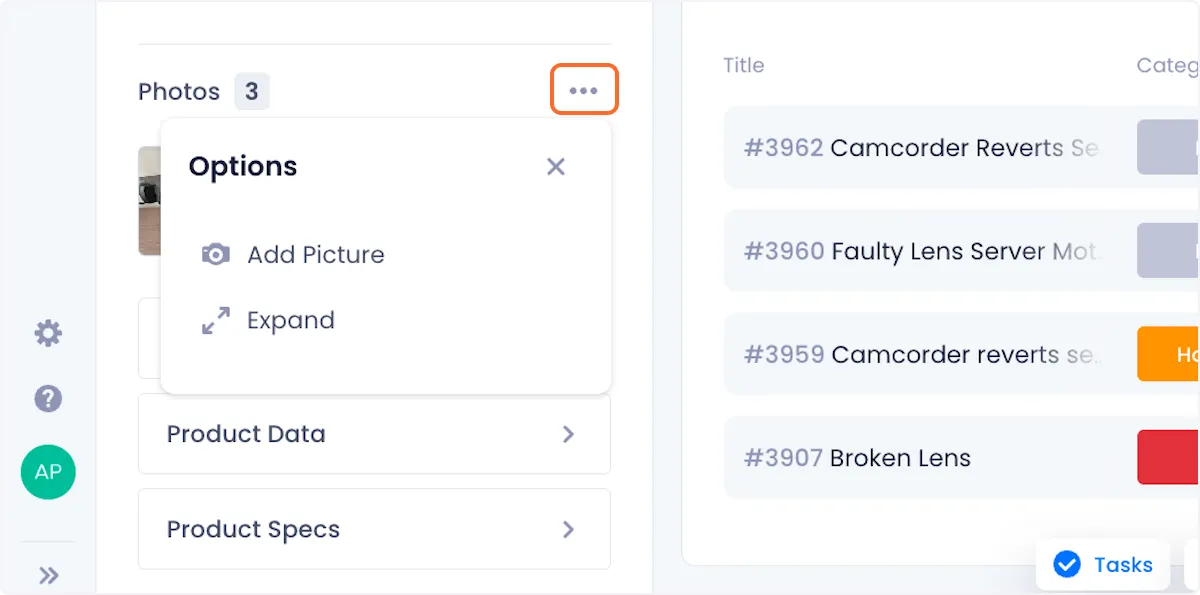
To add an image to the asset, click on Add a Photo or use the overflow menu at the top right of the section
Additional Data
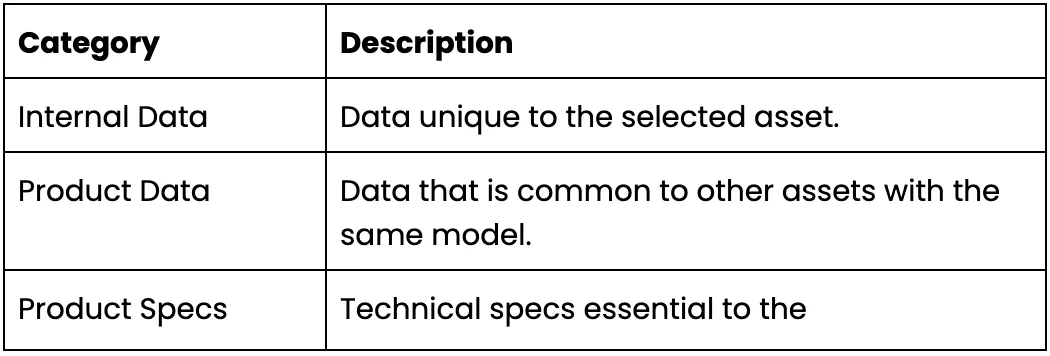
All additional data associated with your products can be found in the three categories below photos:
These are how we define each category:
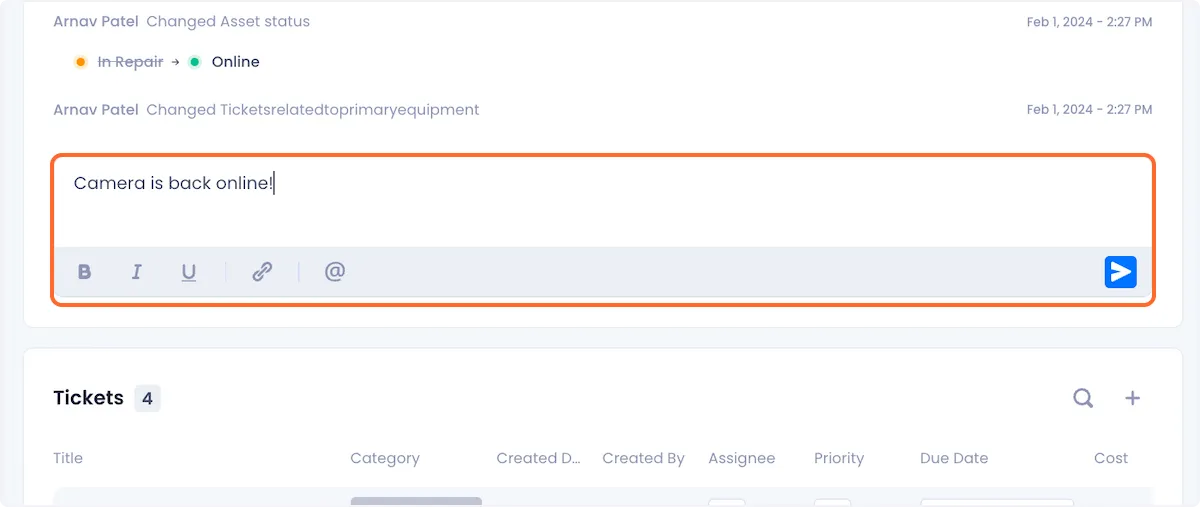
Asset History
The Asset History section of the asset page is a comprehensive record of every change that you or your teammates have made to the asset.
Using the comment box at the bottom of the panel add comments into the asset history to communicate with teammates.
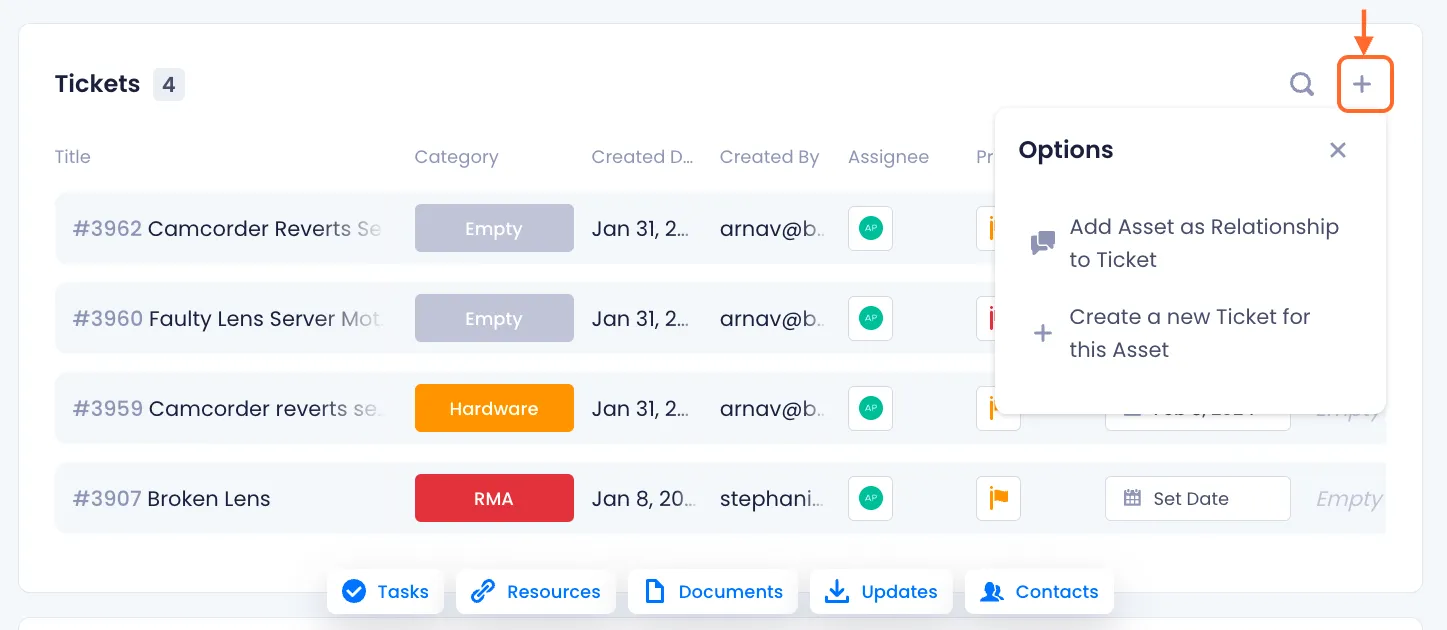
Tickets
The tickets section of the asset page shows you all the tickets associated with the asset.

Any field displayed in the table that has discrete values (e.g. categories, dates, assignees), can be edited directly from the asset page by clicking the value and selecting from the ensuing dropdown.
To edit all other values (or to view fields not displayed in the table), click on the ticket. This will open up a modal where you can view/edit all fields associated with the selected ticket.
To associate additional tickets (either existing or new) to the asset, use the overflow menu in the top right of the section.
To learn more about relating assets to tickets, check out our tutorial on Managing The Tickets Associated With An Asset.
Tasks
The tasks section of the asset page displays a list of all tasks associated with the given asset.
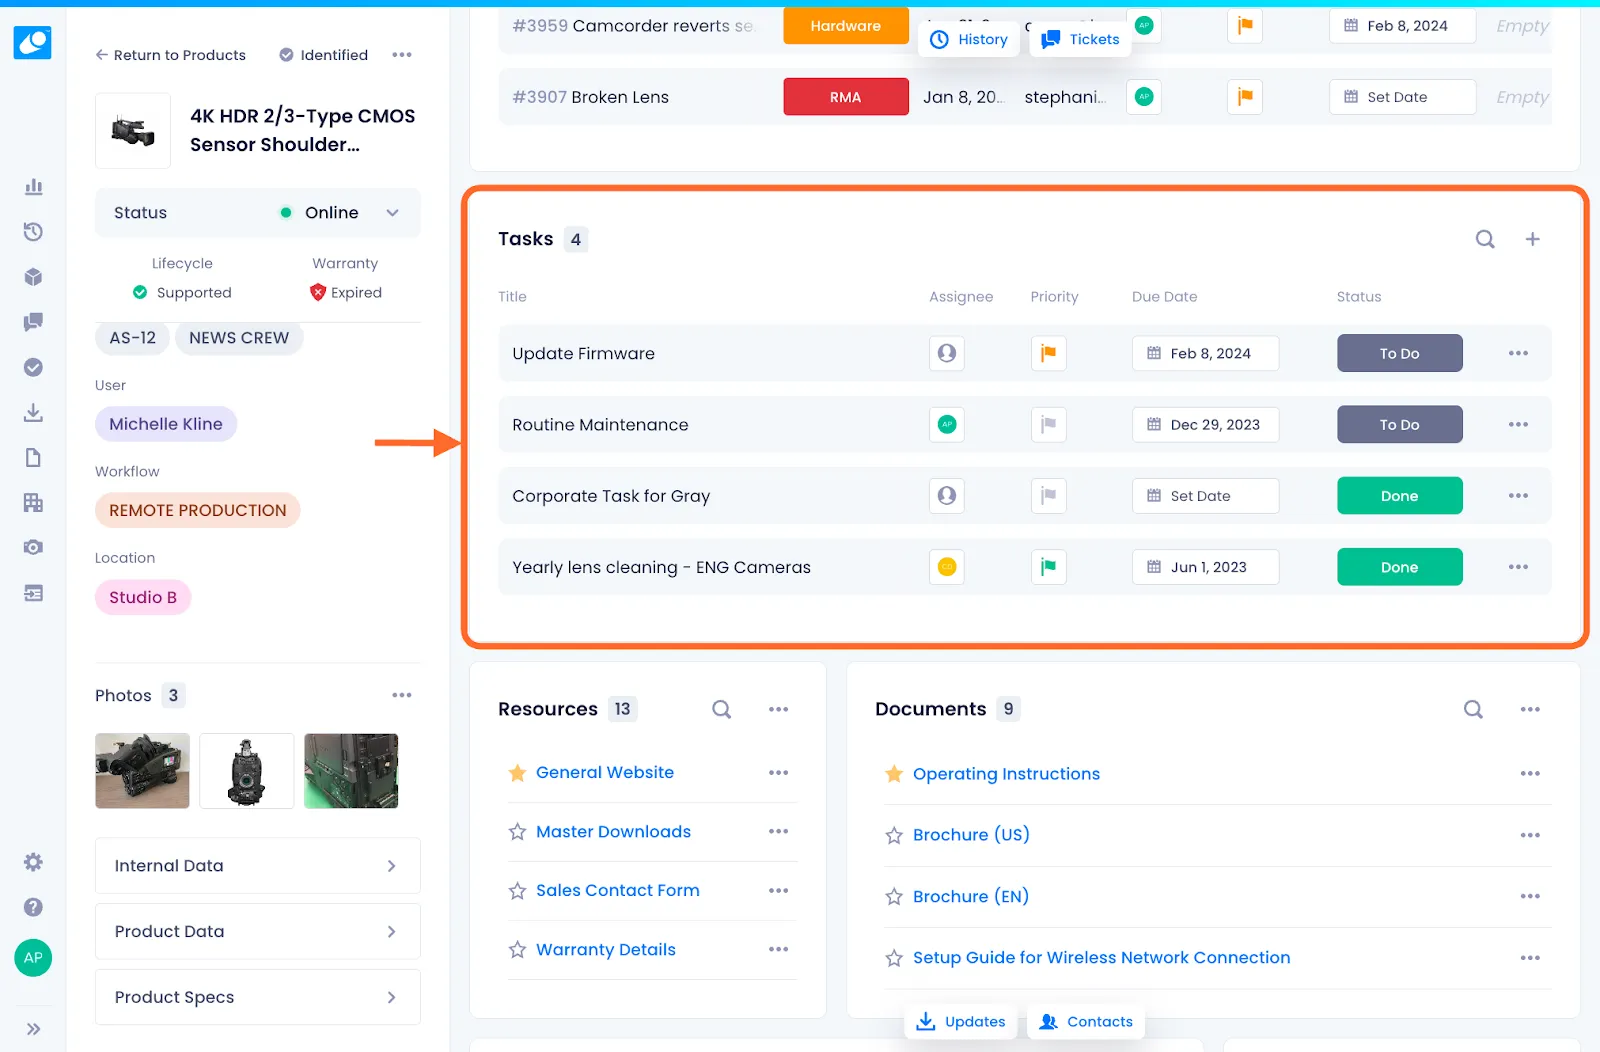
Any field displayed in the table that has discrete values (e.g. categories, dates, assignees), can be edited directly from the asset page by clicking your the field and selecting your desired value from the ensuing dropdown.

To edit all other values (or to view fields not displayed in the table), click on the task. This will open up a modal where you can view/edit all fields associated with the selected task.
To associate additional tasks (either existing or new) to the asset, use the overflow menu in the top right of the section.
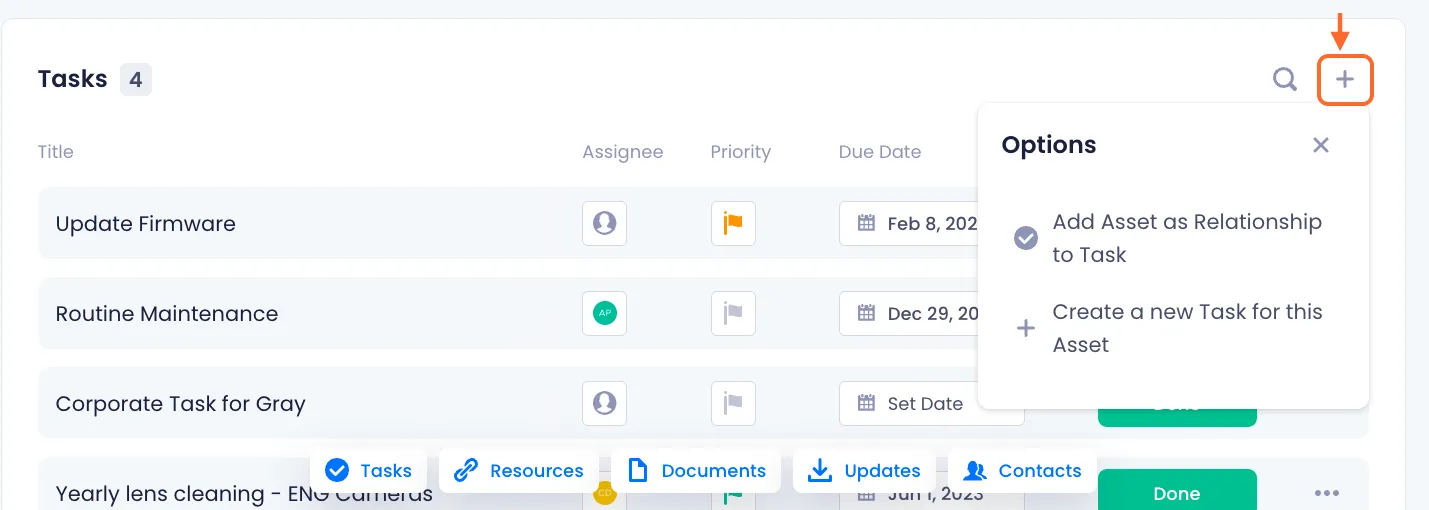
To learn more about relating assets to tasks, check out our tutorial on Managing The Tasks Associated With An Asset.
Resources
The Resources section of the asset page aggregates essential vendor links associated with the product.
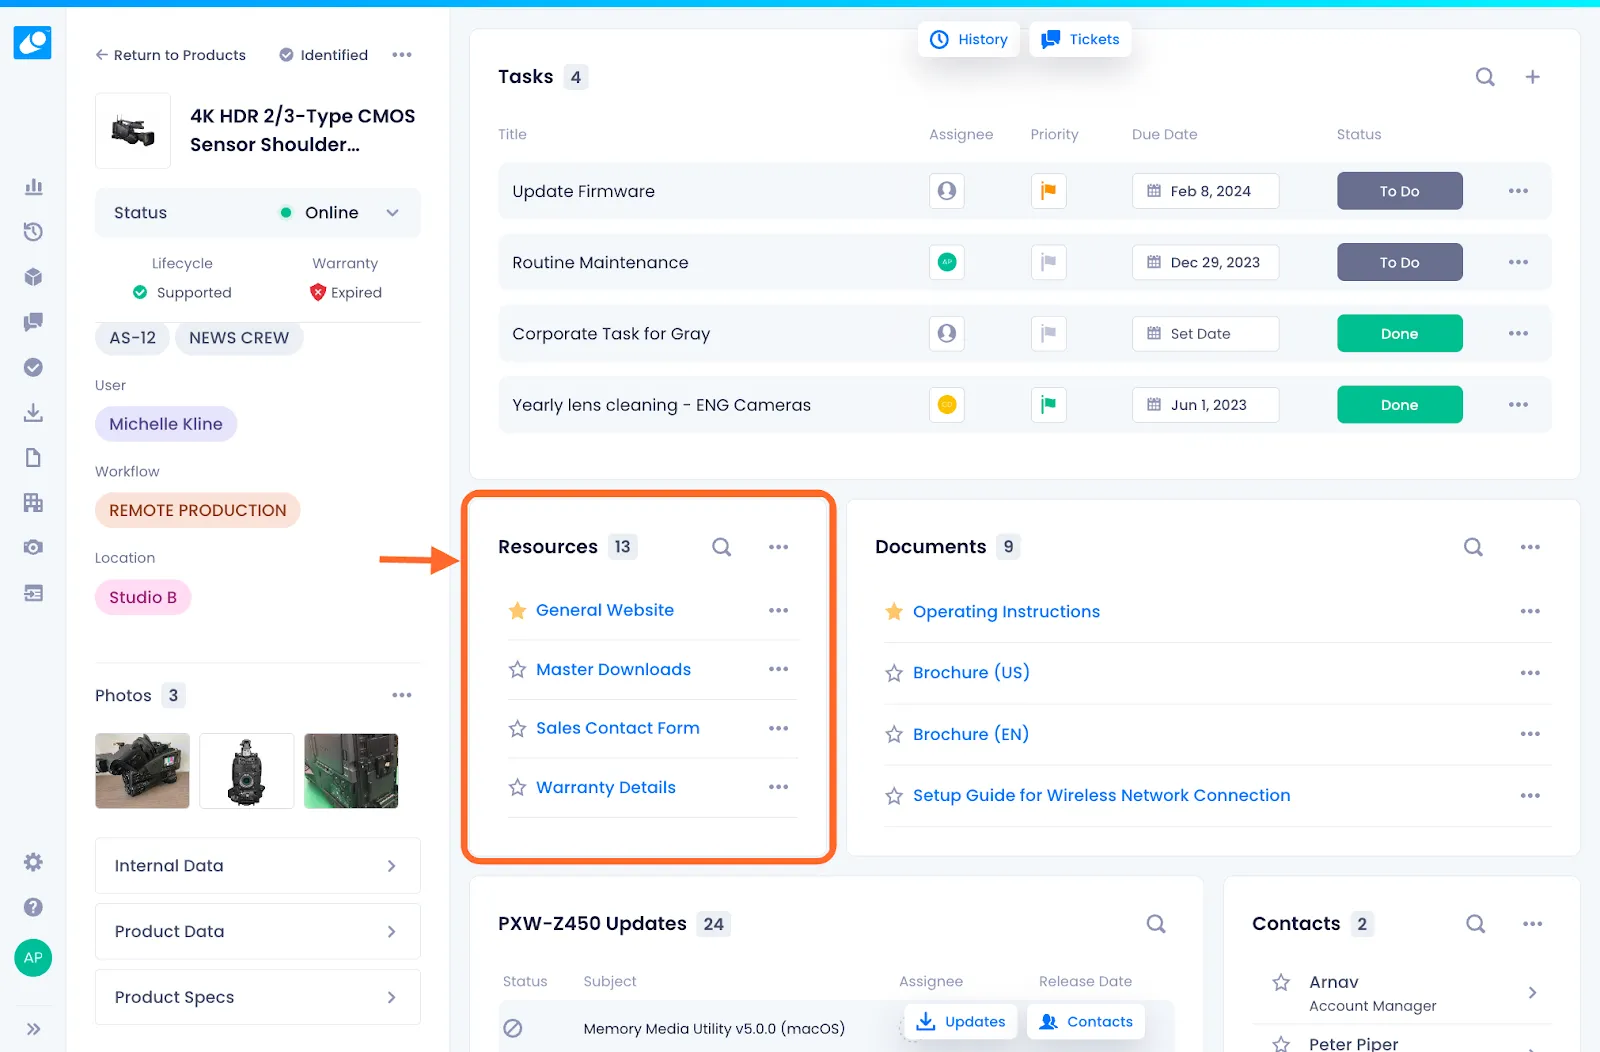
Beam's product matching algorithm identifies these URLs related to your assets when you first import the asset and frequently updates the list if it finds new links that are relevant to your asset.
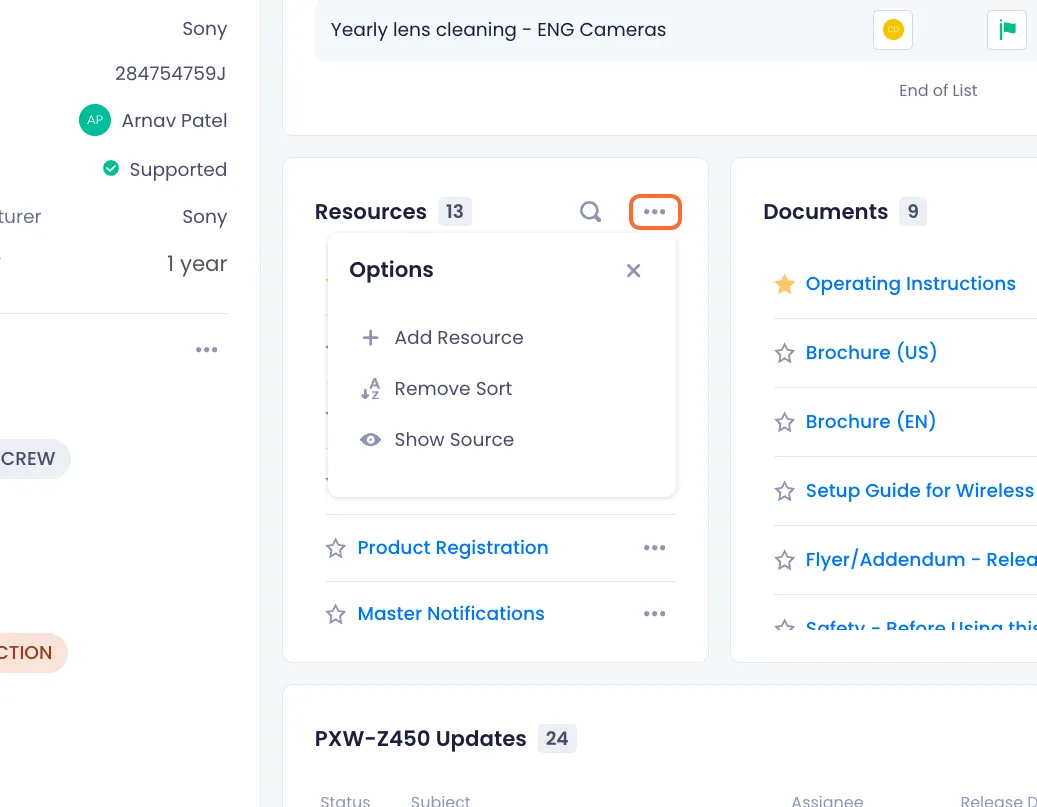
You can also manually add resources to this list by clicking on Add Resource in the overflow menu in the top right of the section.
To learn more about adding resources to your assets, check out our guide on Managing The Resources Associated With An Asset.
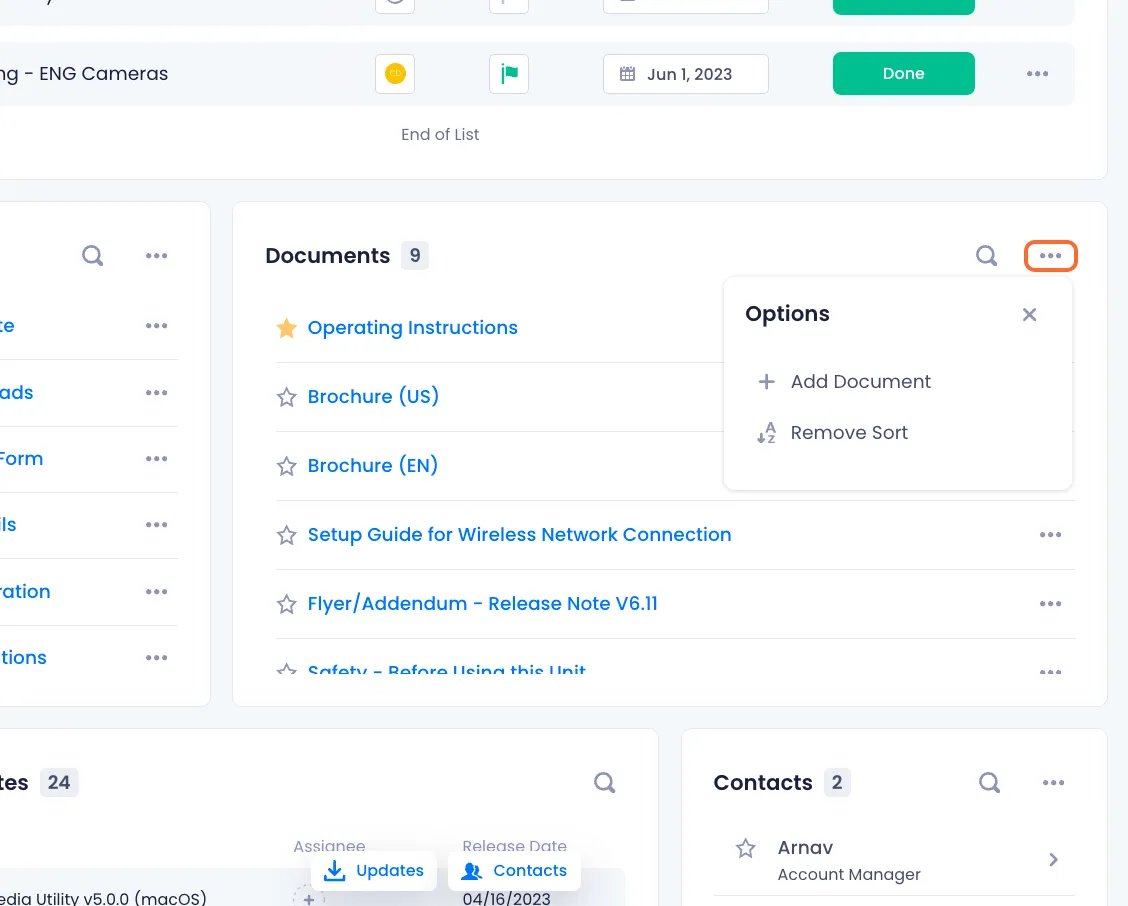
Documents
The Documents section of the asset page aggregates all manuals, guides, and brochures that the asset's manufacturer has published.
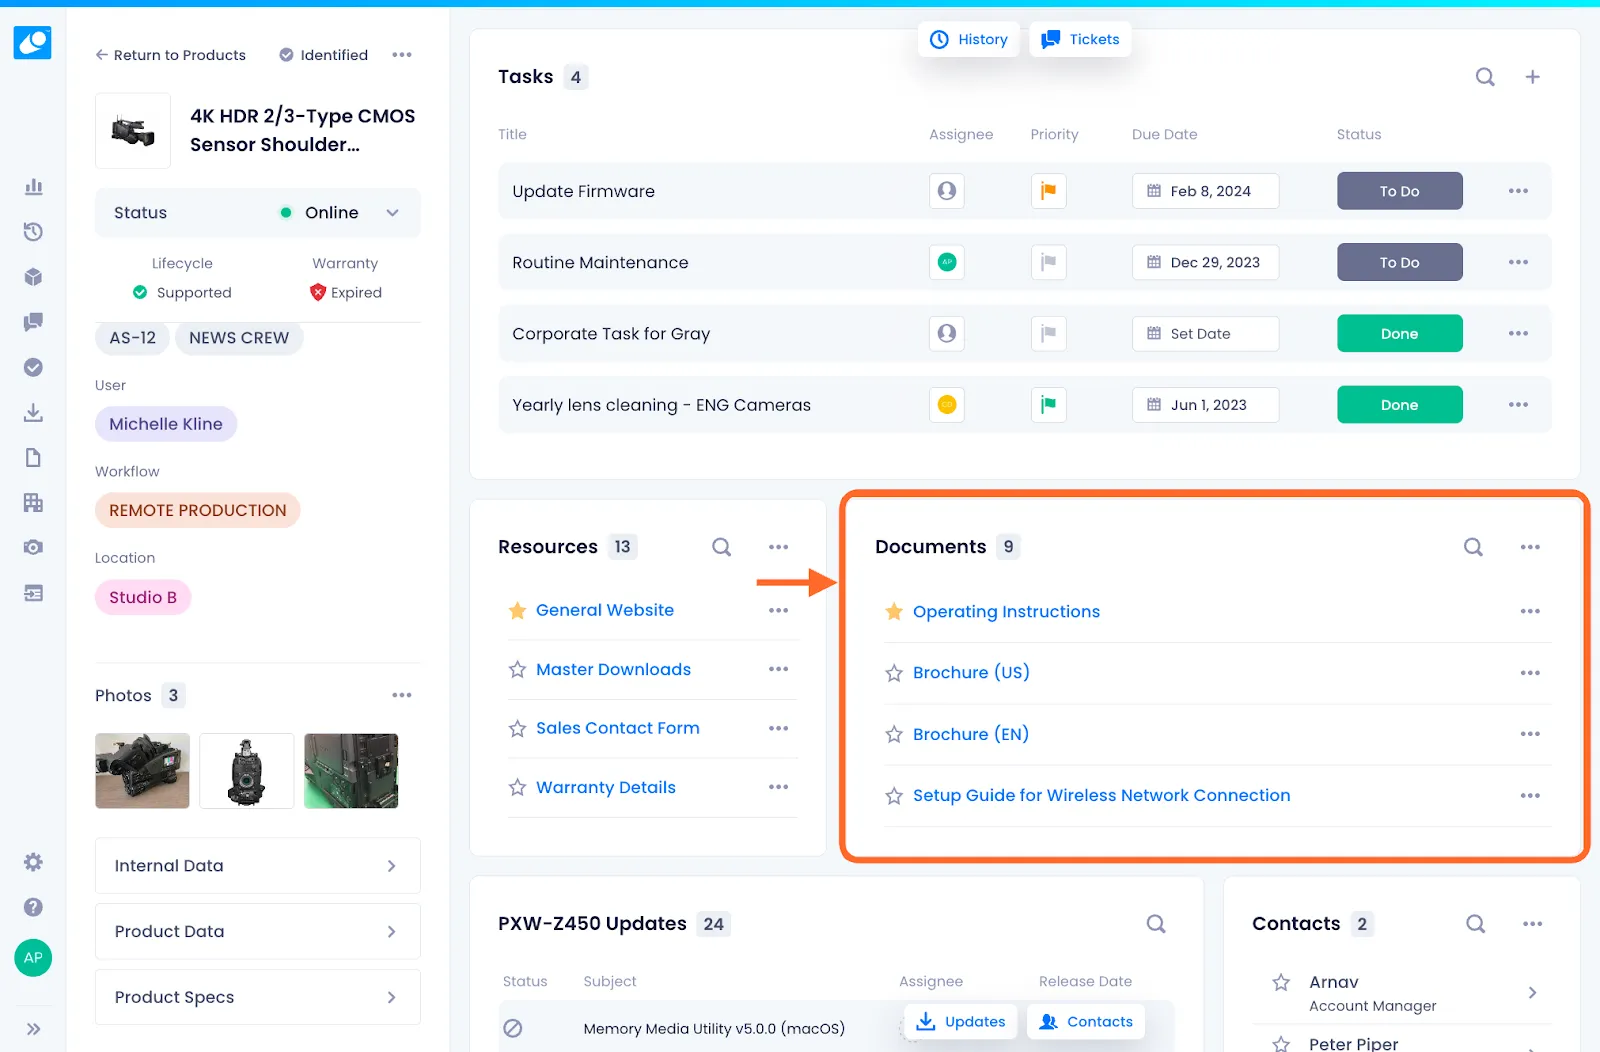
These documents are identified at the time of import and refreshed with new documents as the Beam algorithm monitors the product.
You can also manually add documents to this list by clicking on Add Document in the overflow menu in the top right of the section.
To learn more about adding documents to your assets, check out our guide on Associating A Document With An Asset.
Updates
The Updates section of the asset page aggregates all firmware, software, and security updates that arise for the given asset.
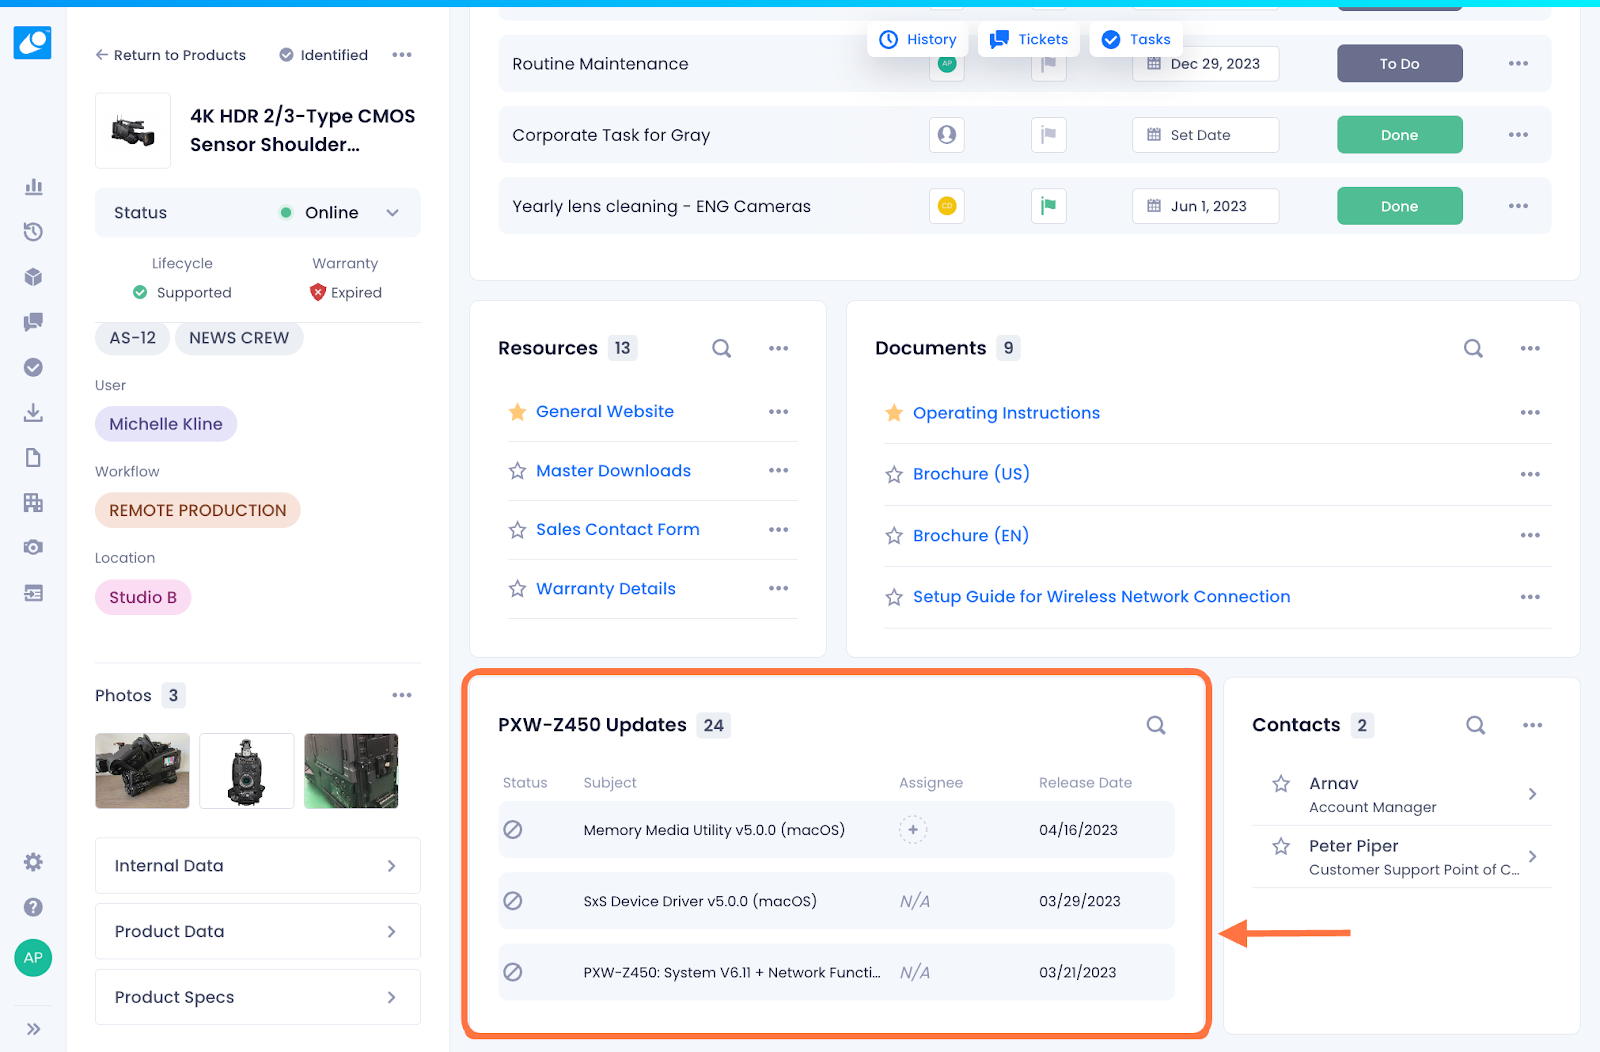
This list is maintained automatically by Beam's product matching algorithm. Click on any of the displayed updates to open up additional details about it:
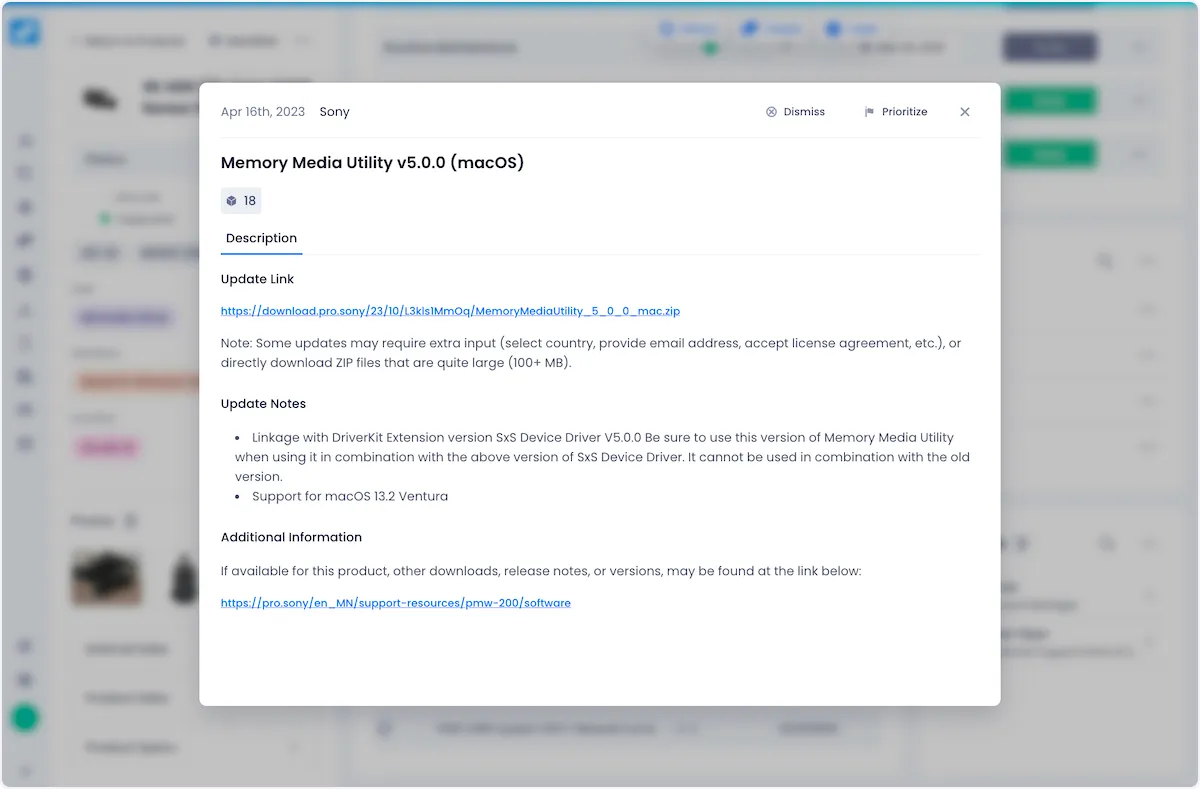
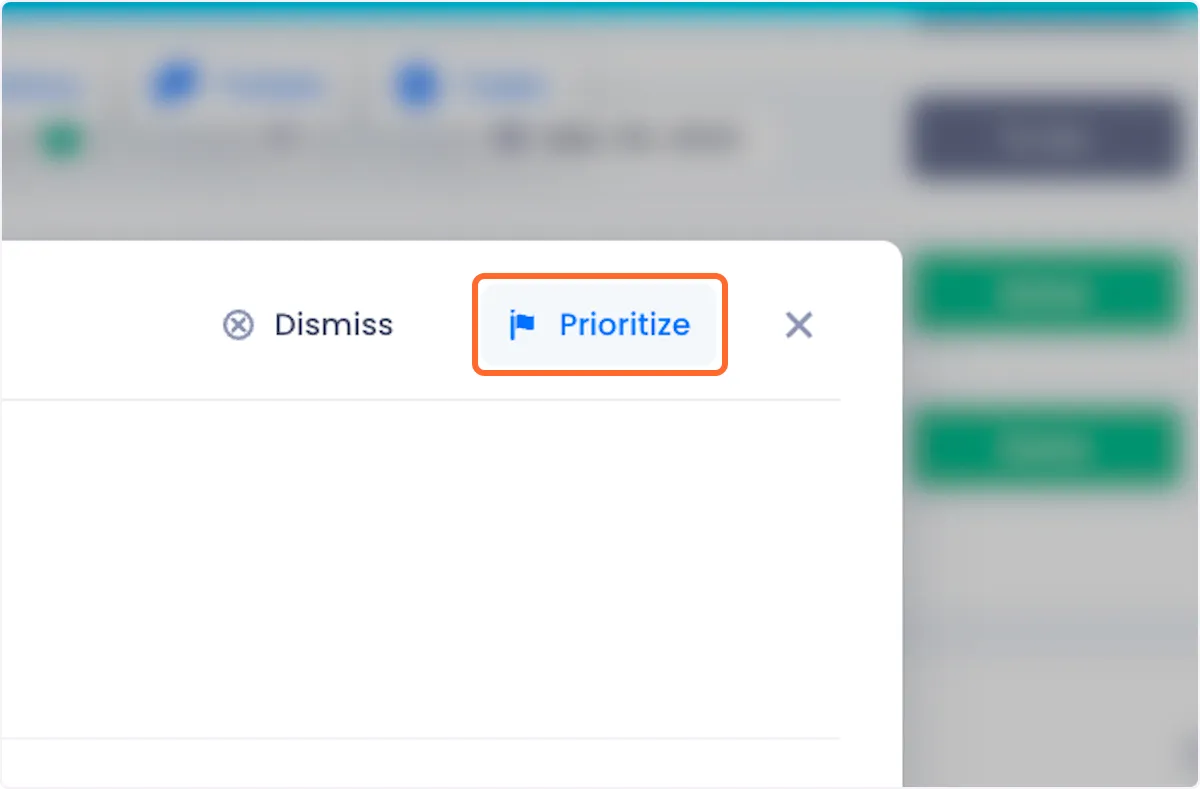
You can set the priority, assignee, due date of the update by clicking on the priority button in the top right corner of the modal
Contacts
The Contacts section of the asset page gives you a space to aggregate any relevant contacts that you might need to contact over the course of owning the asset.

Clicking on a contact in this list will reveal an associated phone number and/or email address.

You can add additional contact to a given asset by clicking Add Contact in the overflow menu in the top right.

To learn more about adding contacts to your assets, check out our guide on Associating A Contact With An Asset.
