Managing Tickets Associated With An Asset
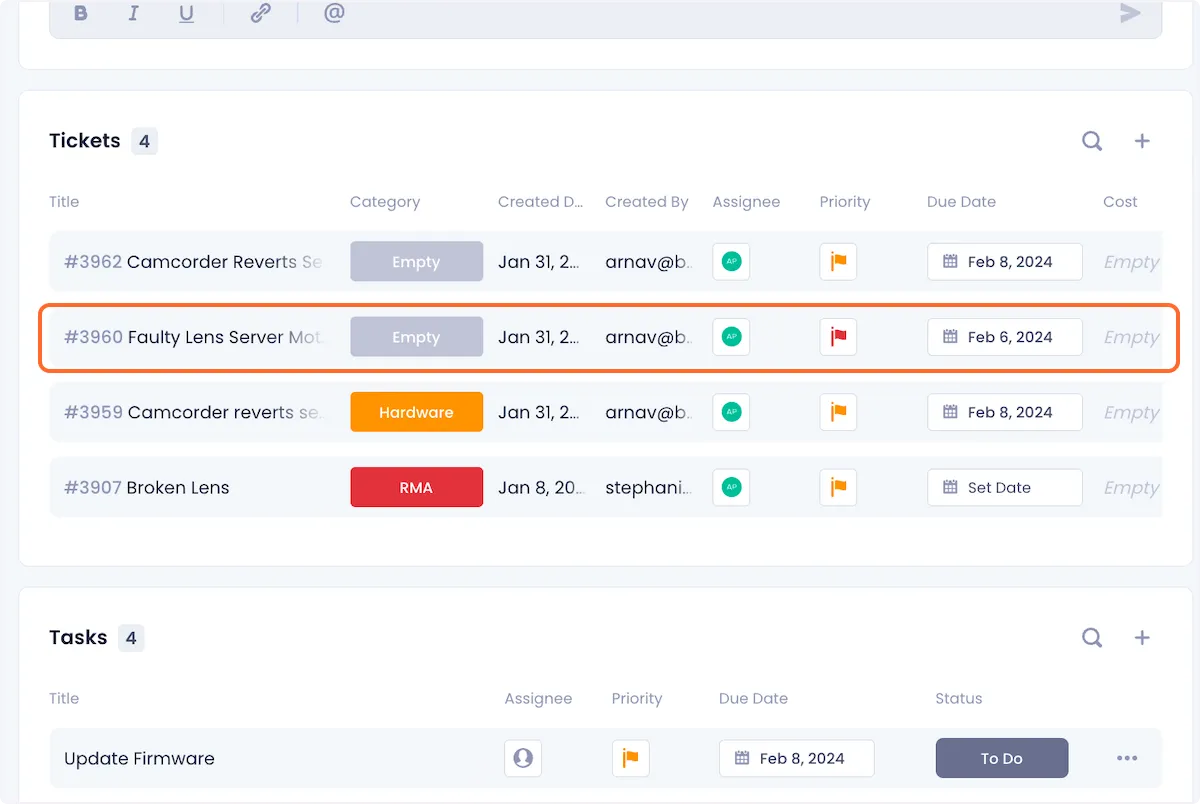
Beam asset pages display all tickets associated with the selected asset. In this tutorial we will show you how you can add or delete tickets to/from an asset directly from its asset page.
5
min read
Adding An Existing Ticket To An Asset
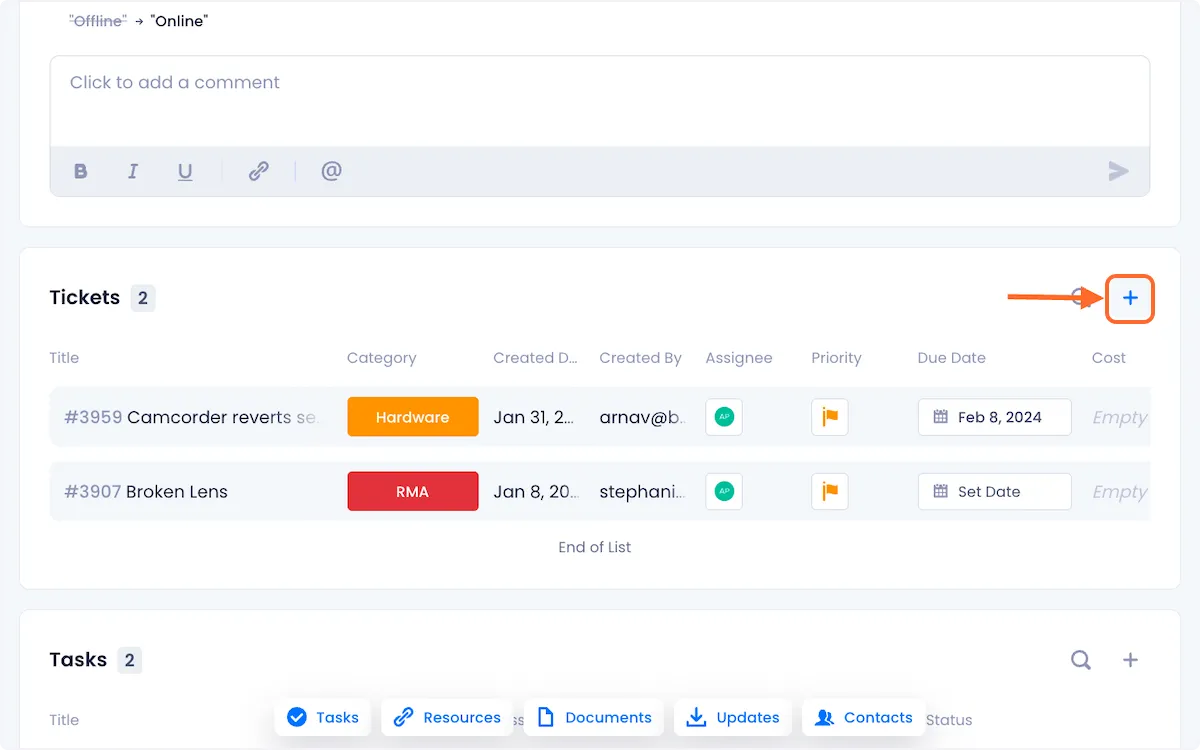
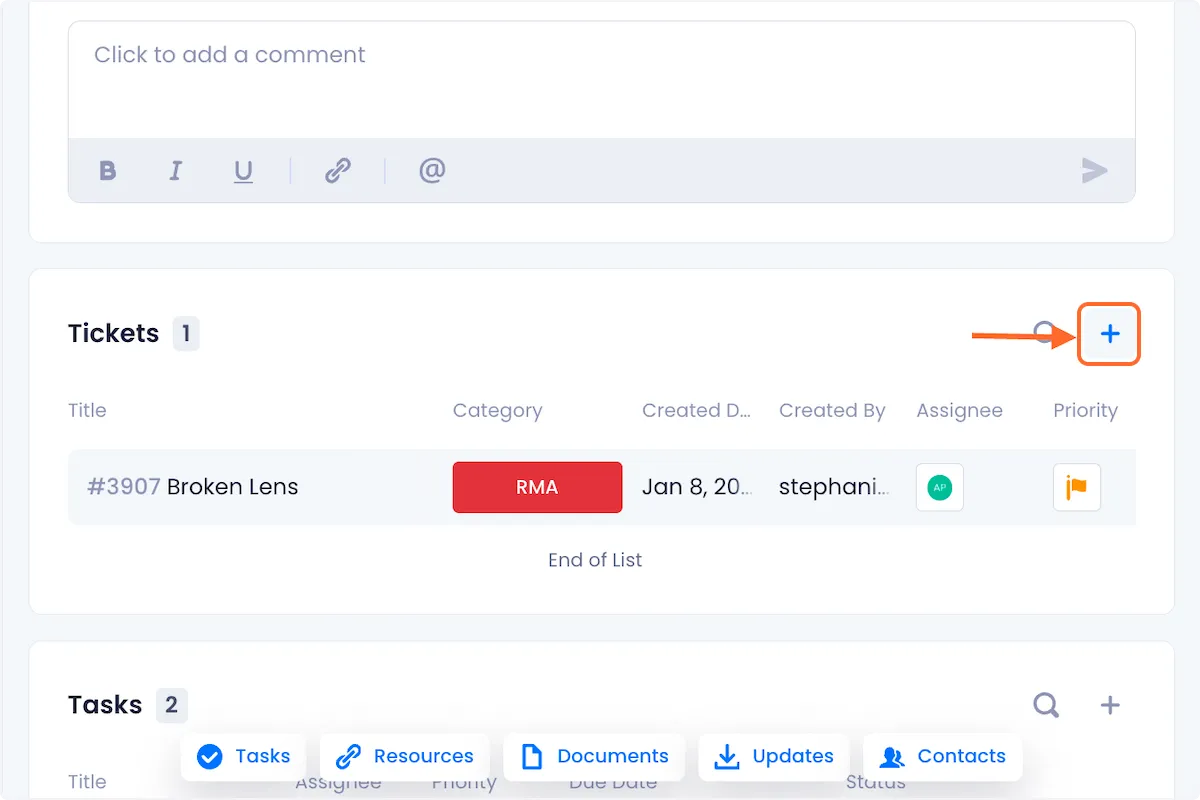
1. Click the "+" button in the top right of the ticket list.
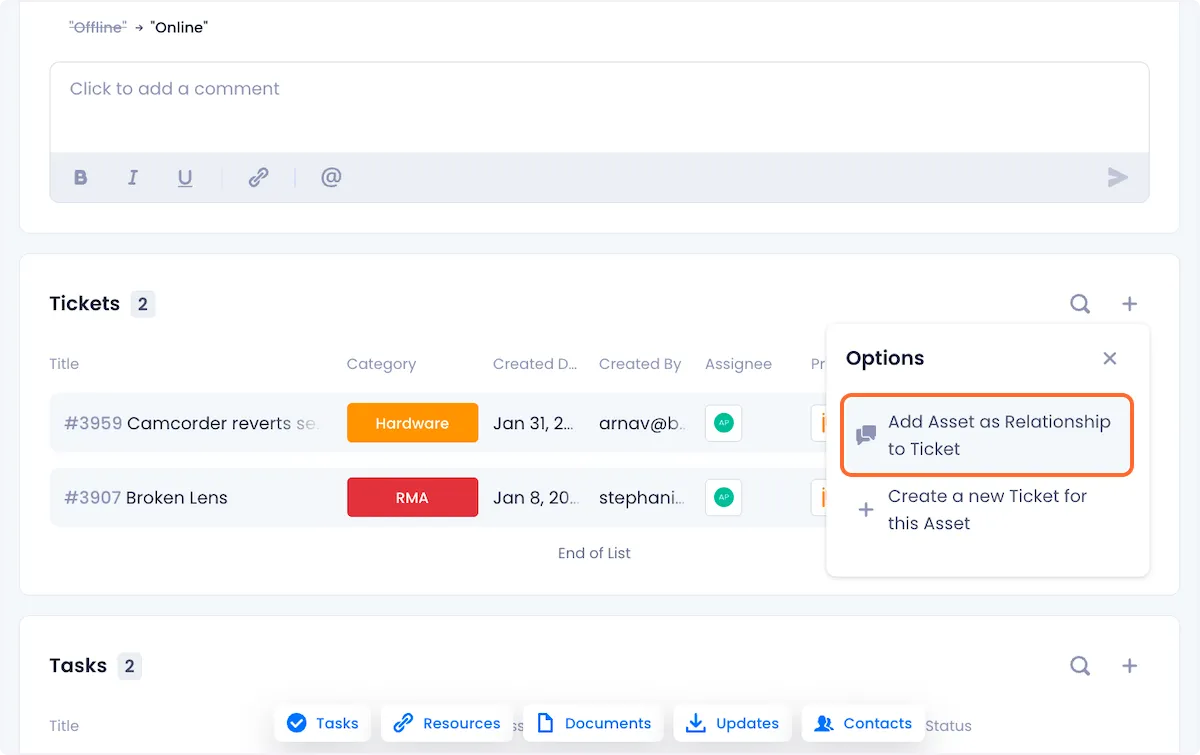
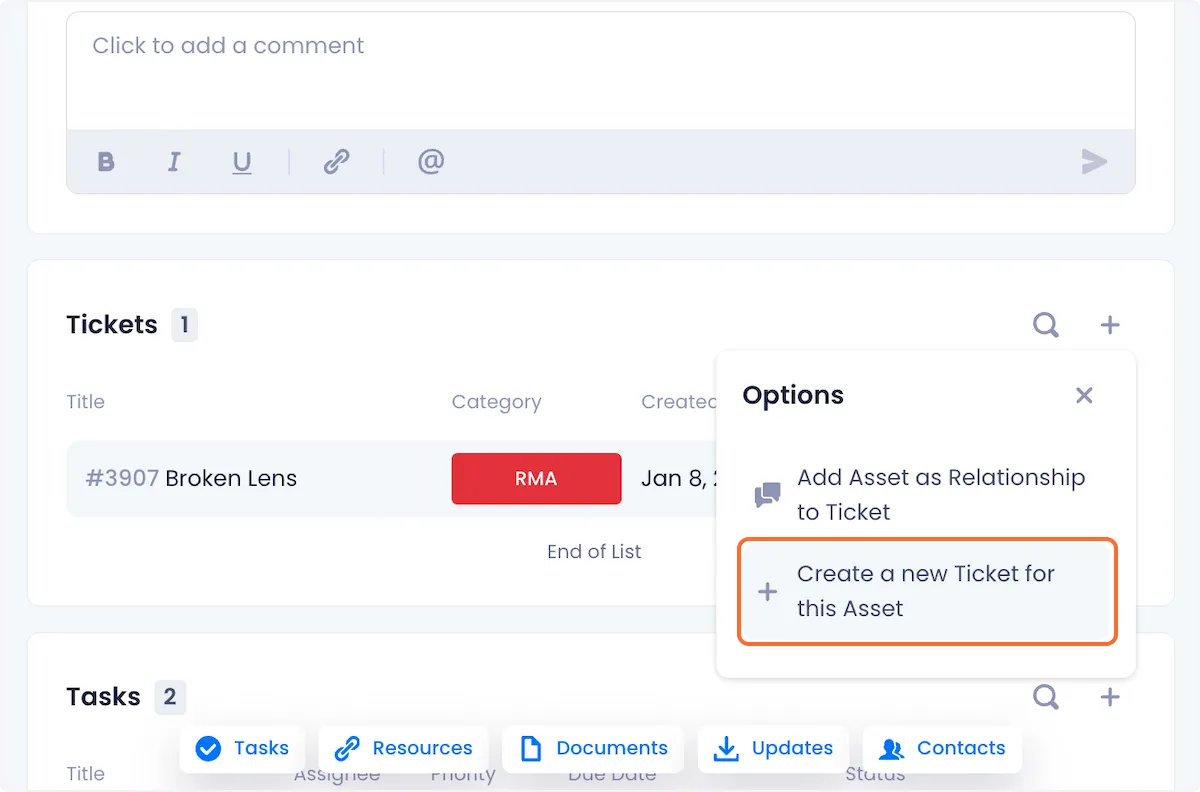
2. Click on Add Asset as Relationship to Ticket from the dropdown options.
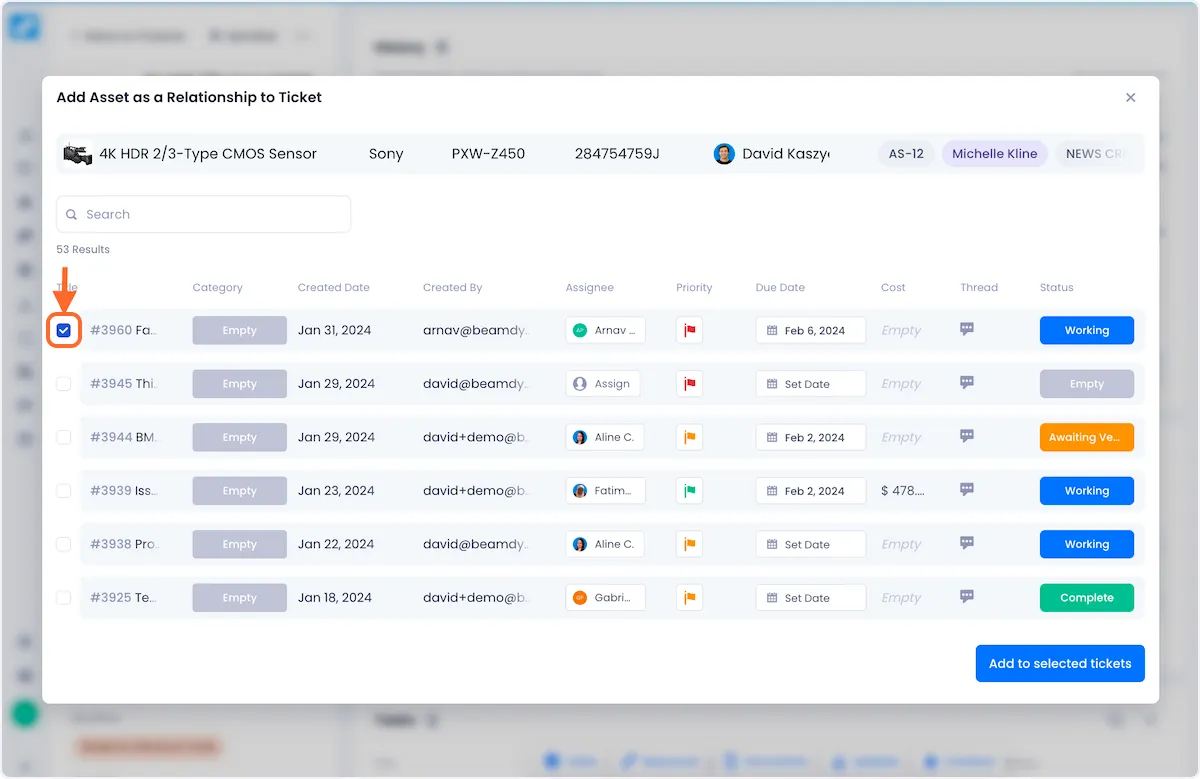
3. The ensuing modal will show you a list of all the tickets that exist in your workspace. You can use the checkboxes on the left to select which tickets you want to associate with the asset, additionally, you can also use the Search bar on the modal to search for a specific ticket.
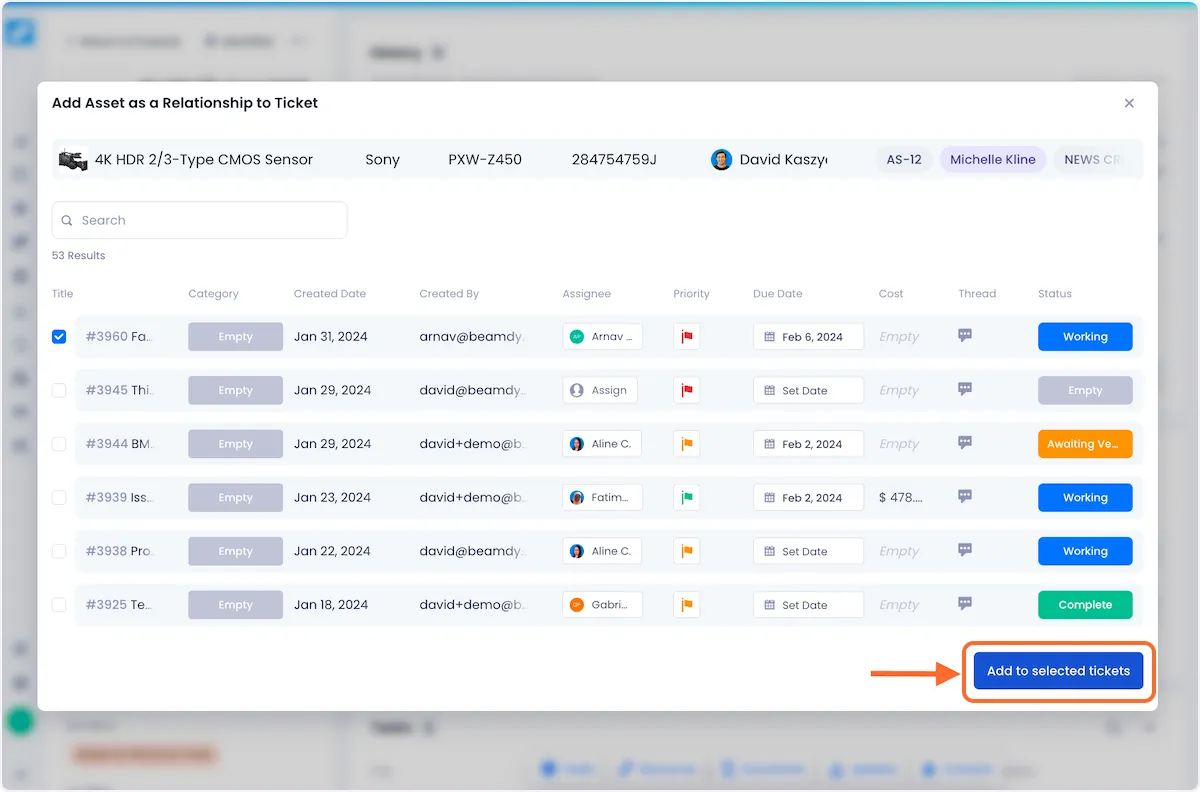
4. When you're satisfied with your selection, click on Add to selected tickets in the bottom right of the modal.
The tickets you've associated with your asset will now be visible in the ticket list.
Adding A New Ticket To An Asset
1. Click on the "+" button in the top right corner of the ticket list.
2. Click on Create a new Ticket for this Asset from the dropdown options.
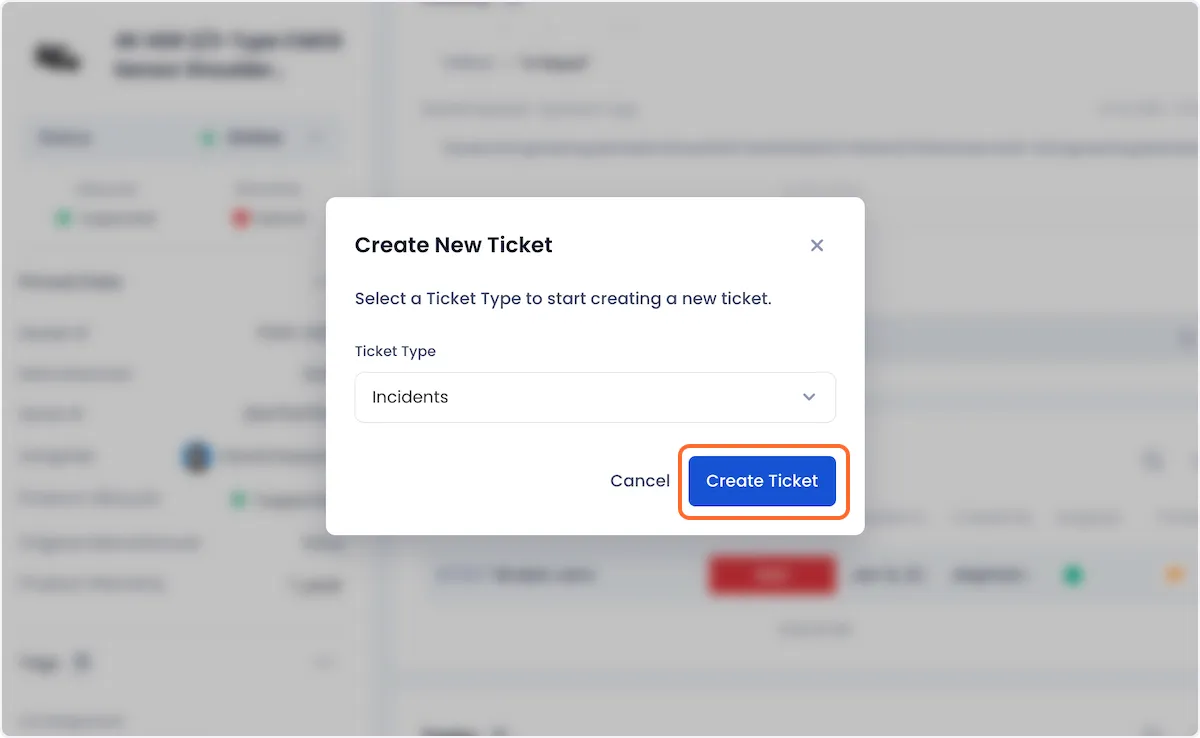
3. In the modal that opens up, select your desired ticket type.

4. Click on Create Ticket when you're satisfied with your selection.
5. Configure your new ticket in the ensuing ticket creation modal.
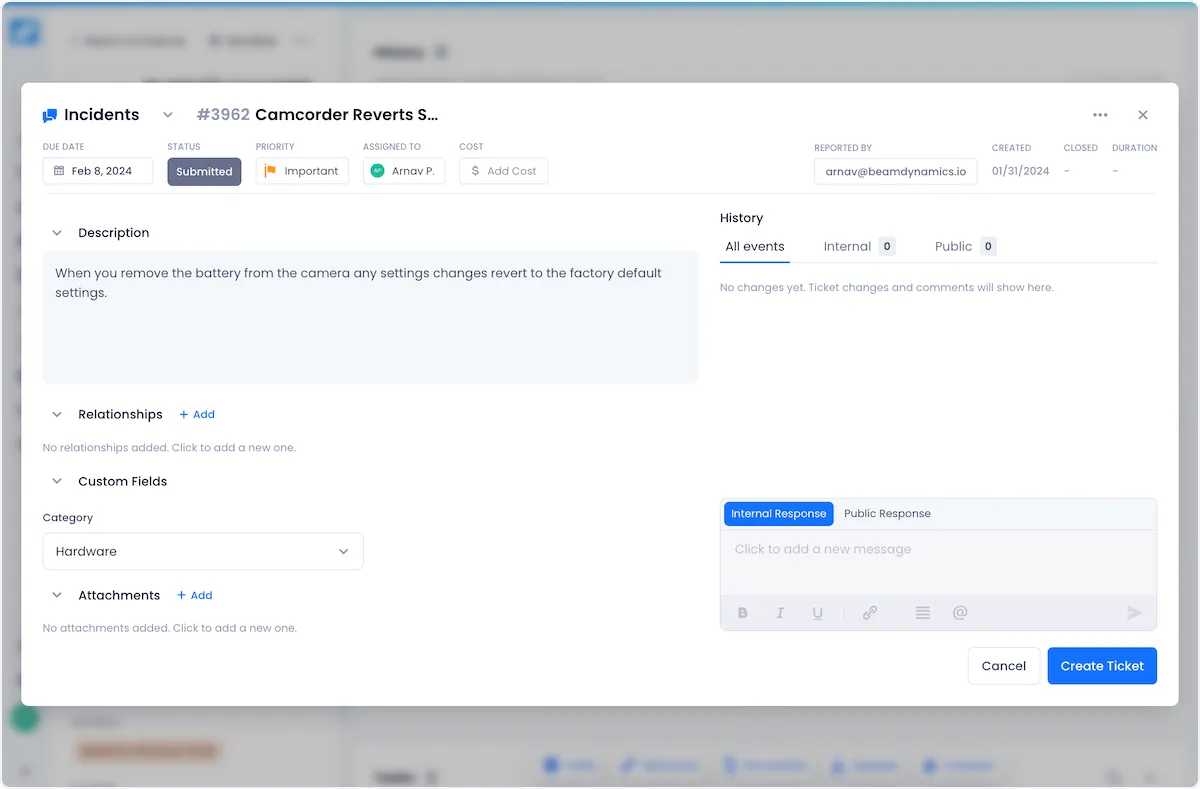
6. Click on Create Ticket in the bottom right of the modal to complete the ticket creation process.
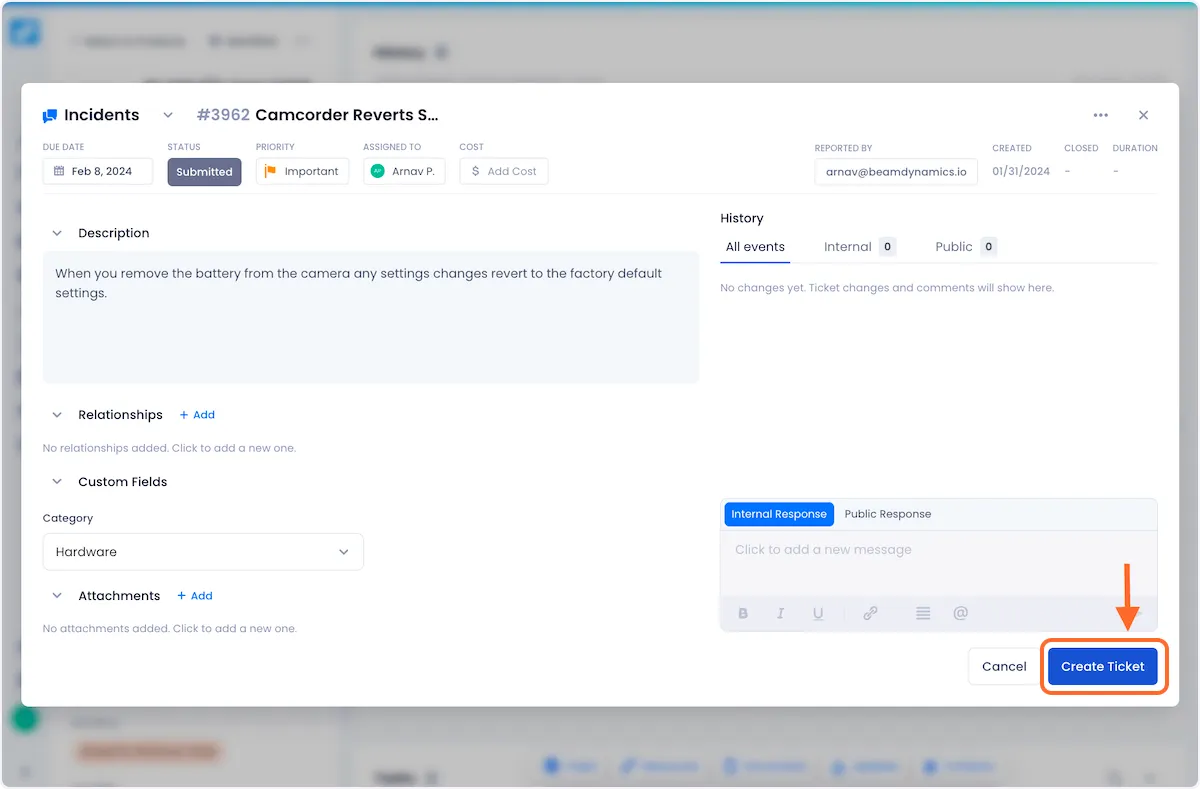
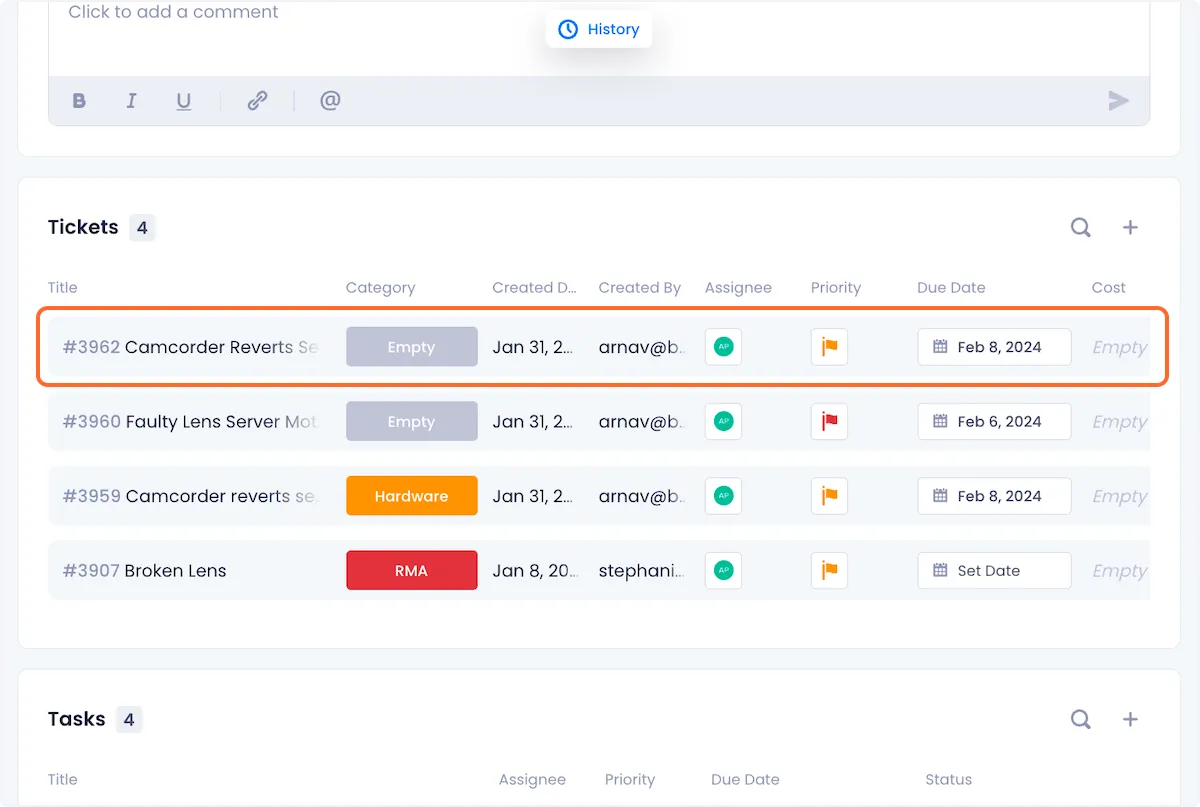
The new ticket will now be visible in the ticket list.
Deleting A Ticket From An Asset
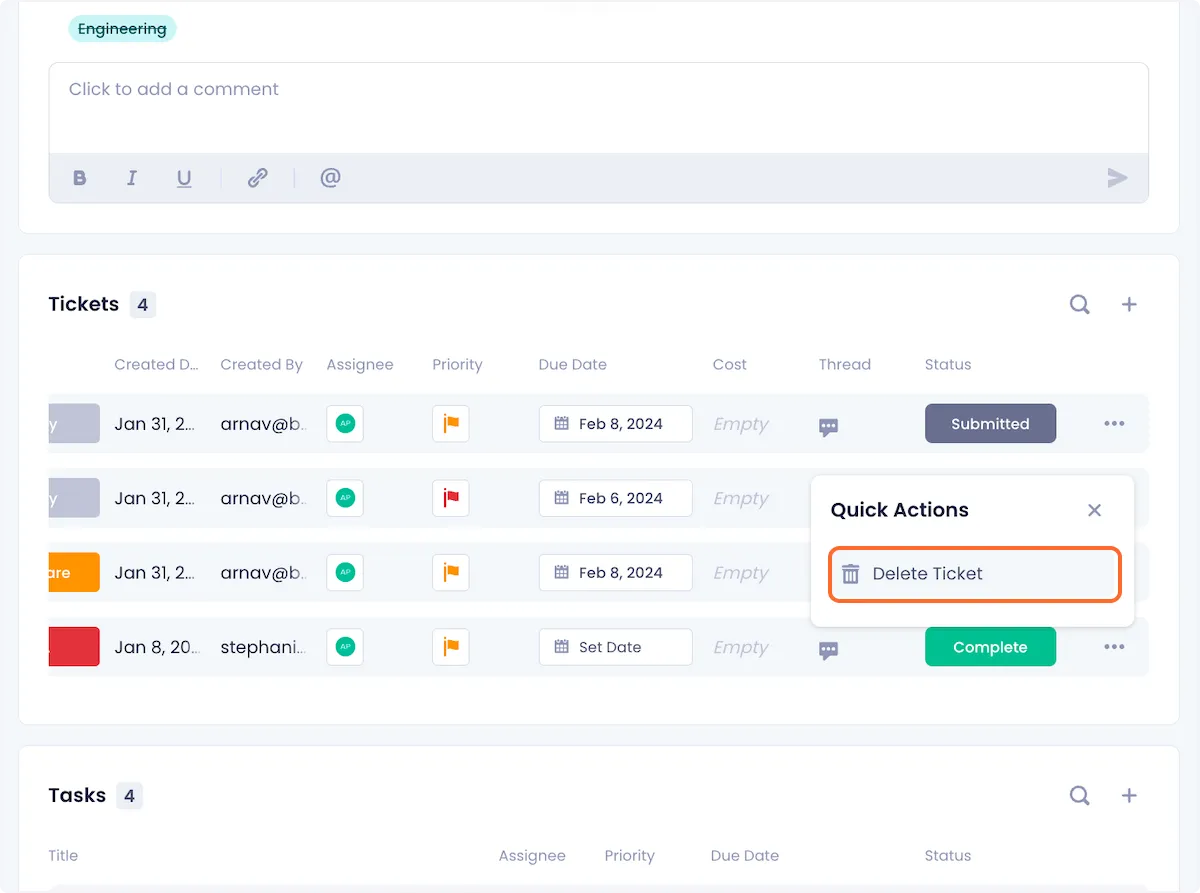
1. Open the overflow menu of the ticket you want to delete.
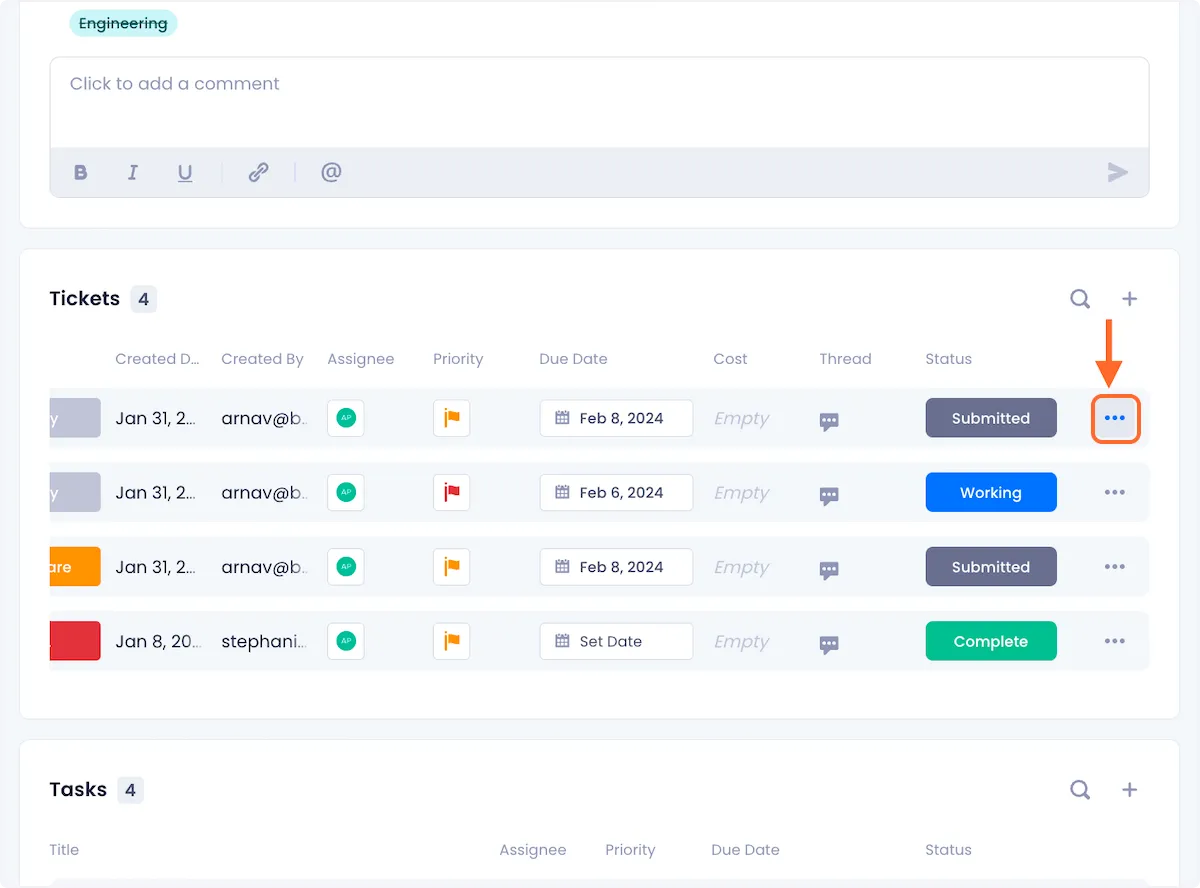
2. Click on Delete Ticket from the dropdown menu.
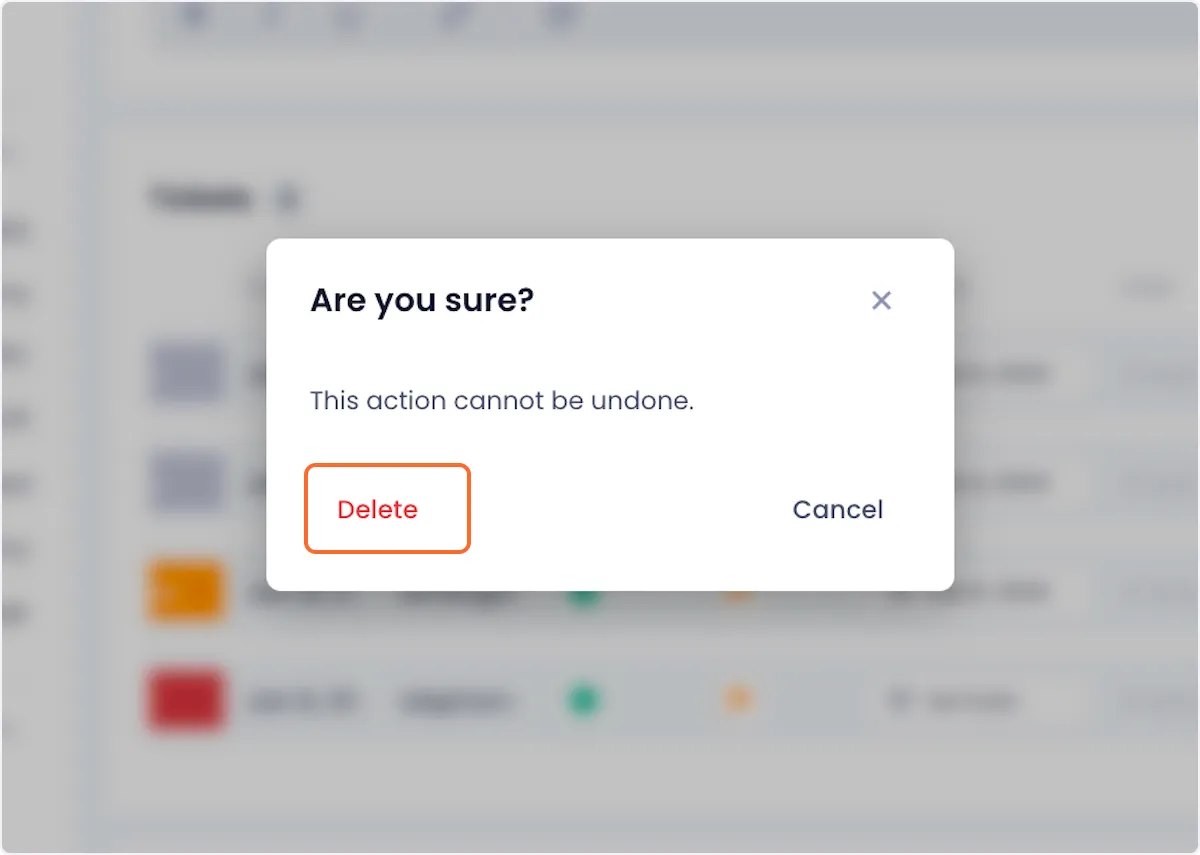
3. Confirm your deletion by clicking on Delete in the ensuing modal.

Arnav Patel
Product Marketing Specialist