Managing Purchase Categories
Purchases created in Beam can be assigned categories to organize your purchases. In this tutorial, we will show you how to customize the purchase categories in your workspace so that they fit the needs of your company's workflows.
4
min read
Accessing Purchase Category Configuration
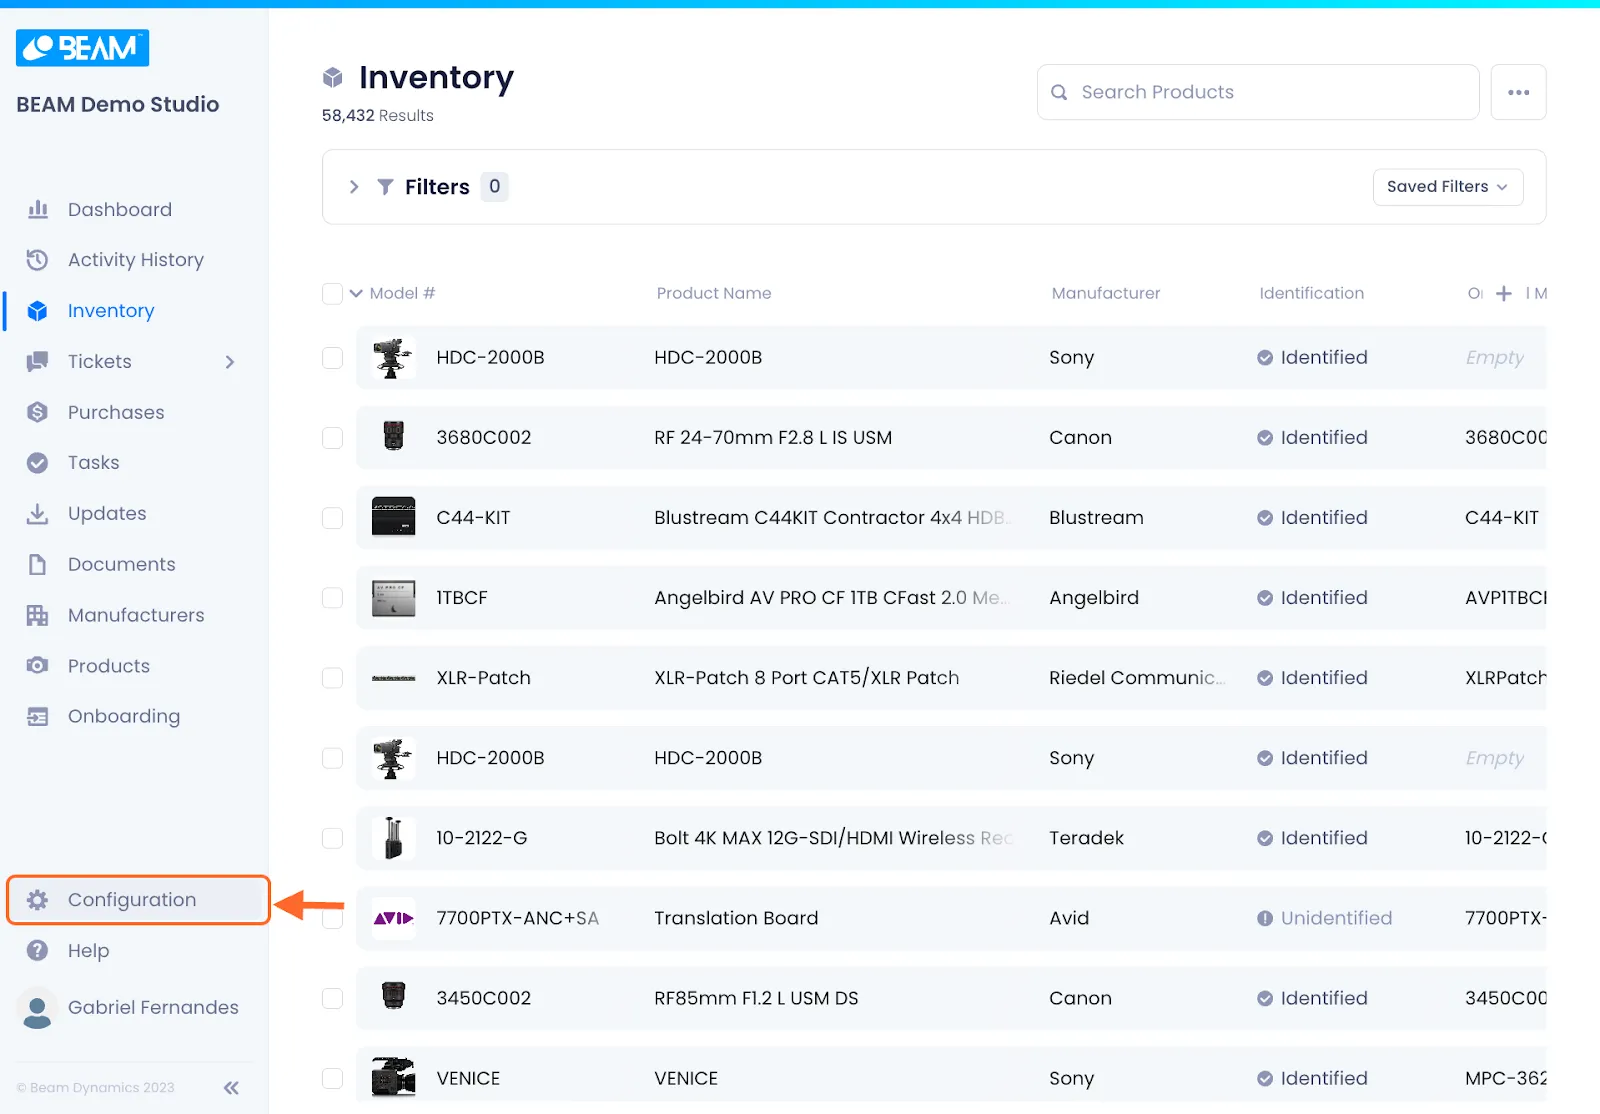
1. Click Configuration in the sidebar of your Beam workspace.
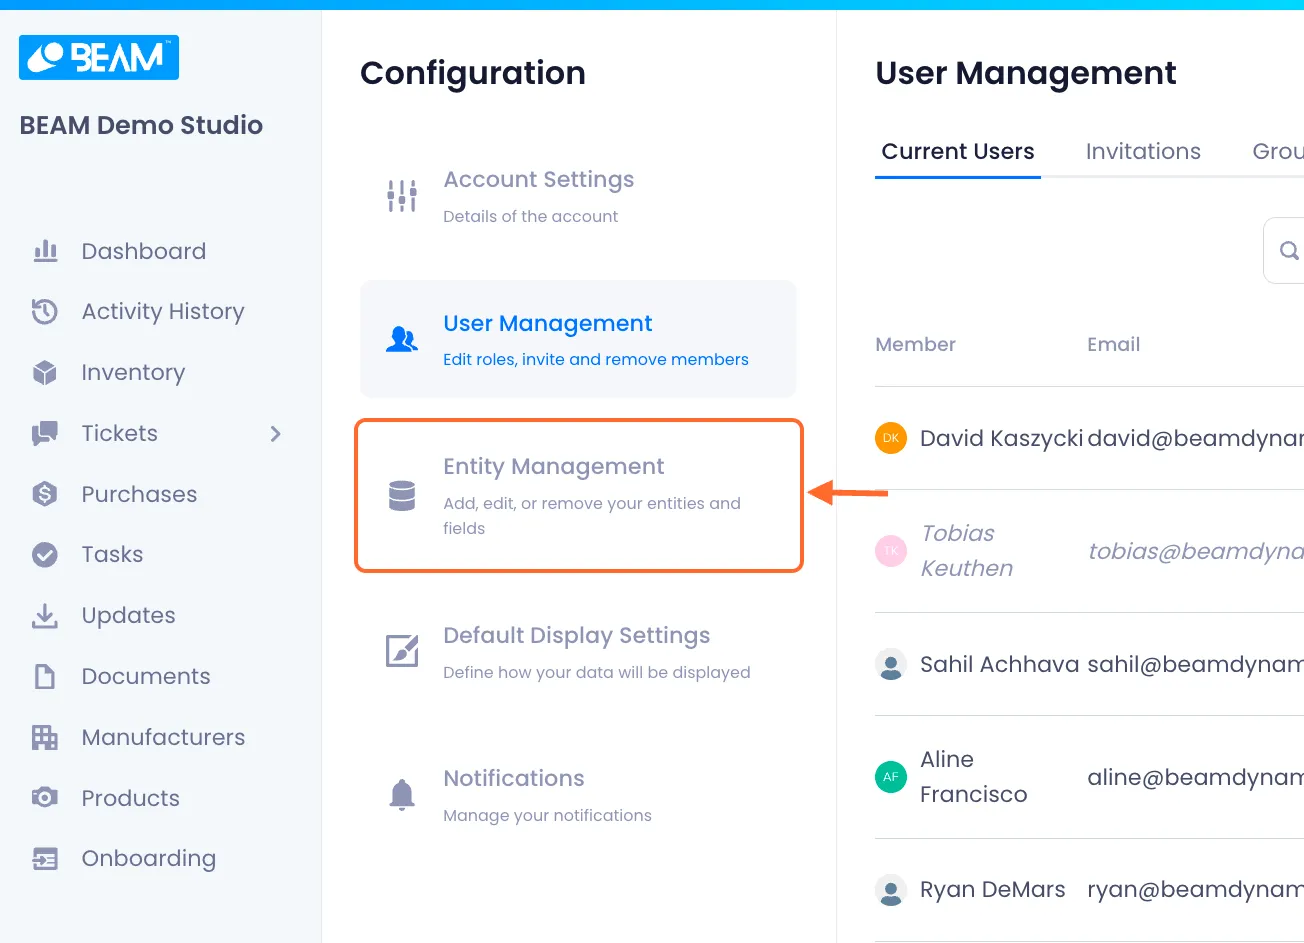
2. On the configuration screen, click Entity Management.
3. Select the Purchases Entity.

4. Click on the Category tab at the top of the screen.

Creating A Category
1. Click Add Category.

2. Give your category a name.

3. Set a Description for the Category.

4. Make the category visually identifiable by giving it a distinct color.

5. When you're satisfied, click confirm to complete the process.

Editing A Category
1. Click the overflow menu next to the category that you want to edit.

2. Click Edit.

3. Edit the category.
A modal will open up with all of your selected category's attributes in editable fields.

4. When you're satisfied with your edits, click Save.

Deleting A Category
1. Click the overflow menu next to the category that you want to edit.

2. Click on Delete.

3. Confirm the deletion by clicking Delete on the ensuing modal.


Arnav Patel
Product Marketing Specialist