Access Default Ticket Fields
In this tutorial, we'll show you how and where you can view the default ticket fields in your Beam workspace.
1
min read
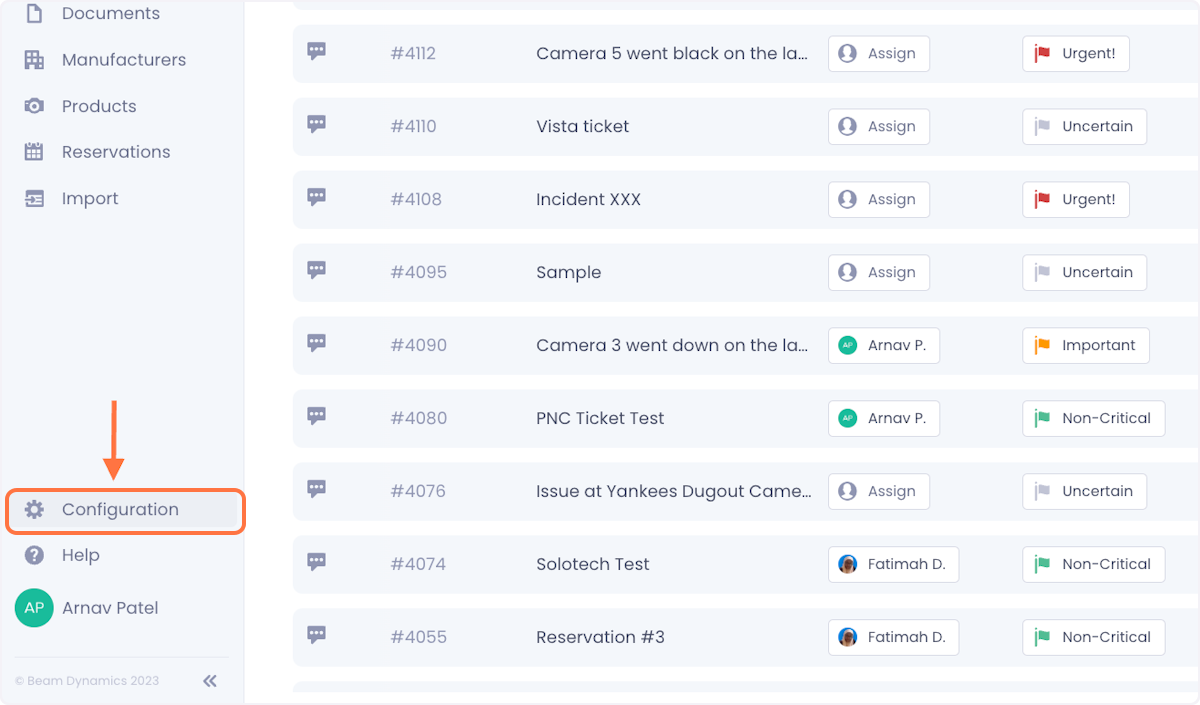
1. Click on Configuration in the side panel of your Beam workspace.
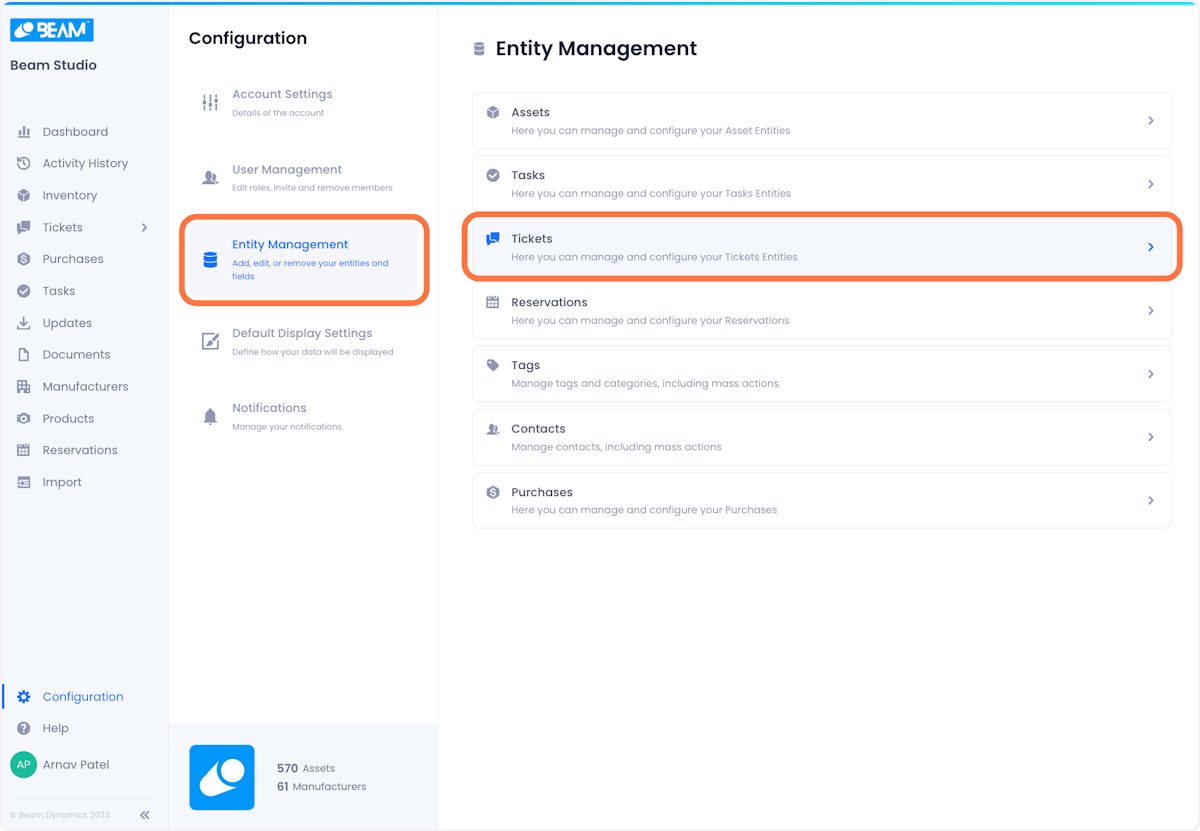
2. On the configuration page, click on Entity Management and then select Tickets from the list of entities.
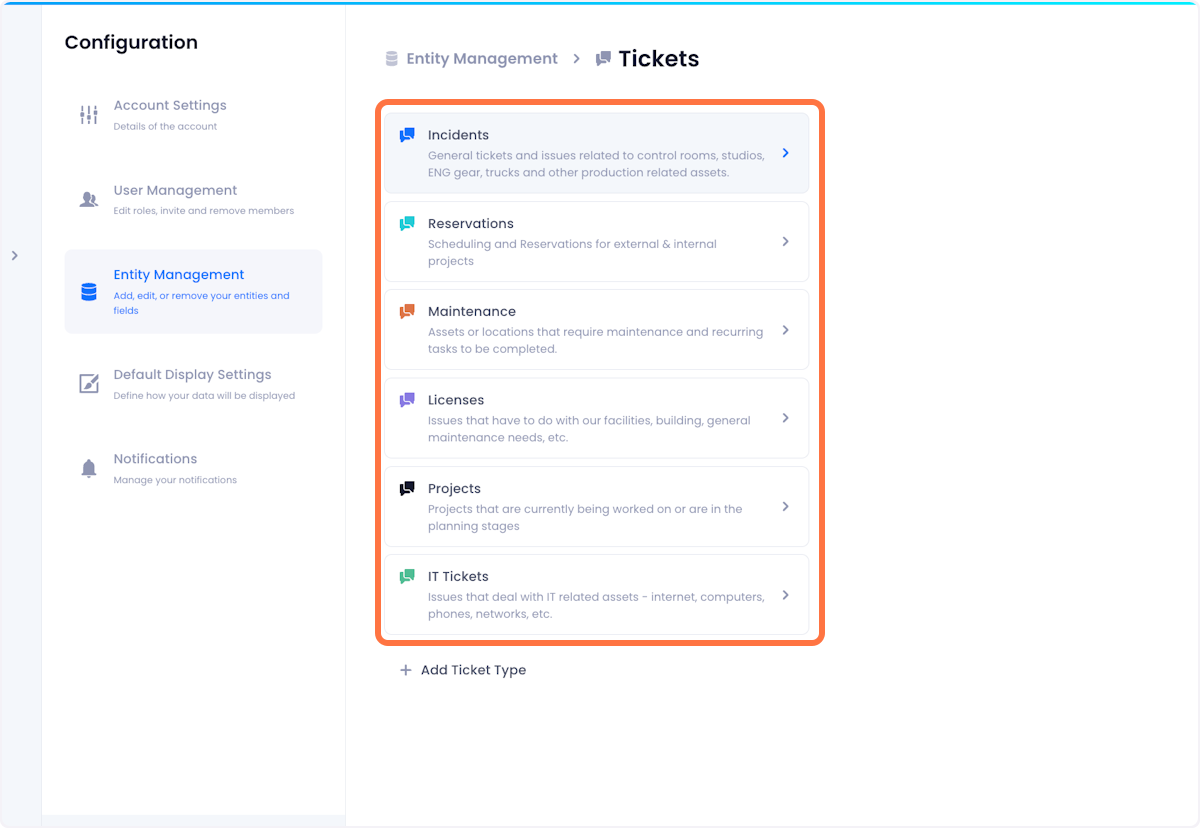
3. Each ticket type is managed separately and can have its own set of statuses. Click on the ticket type whose statuses you want to edit.
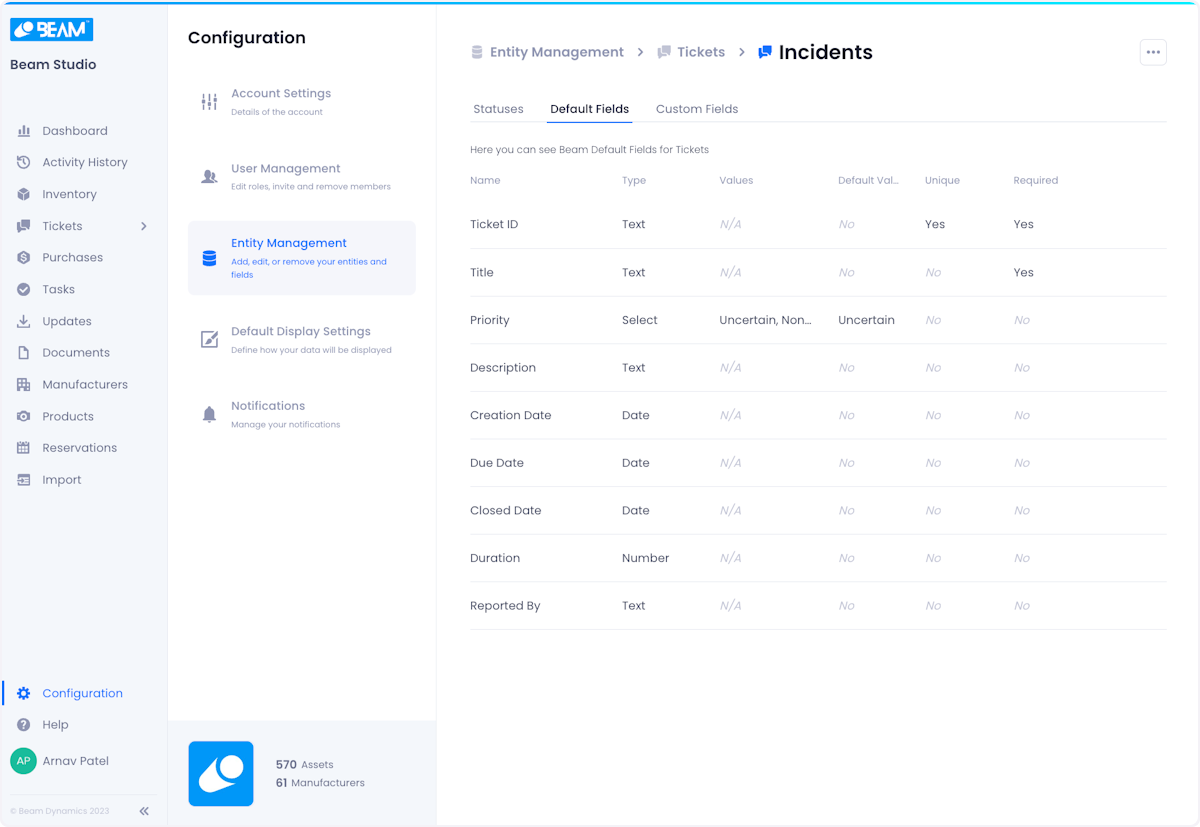
4. On the ticket type configuration page, click on the Default Fields tab at the top of the page
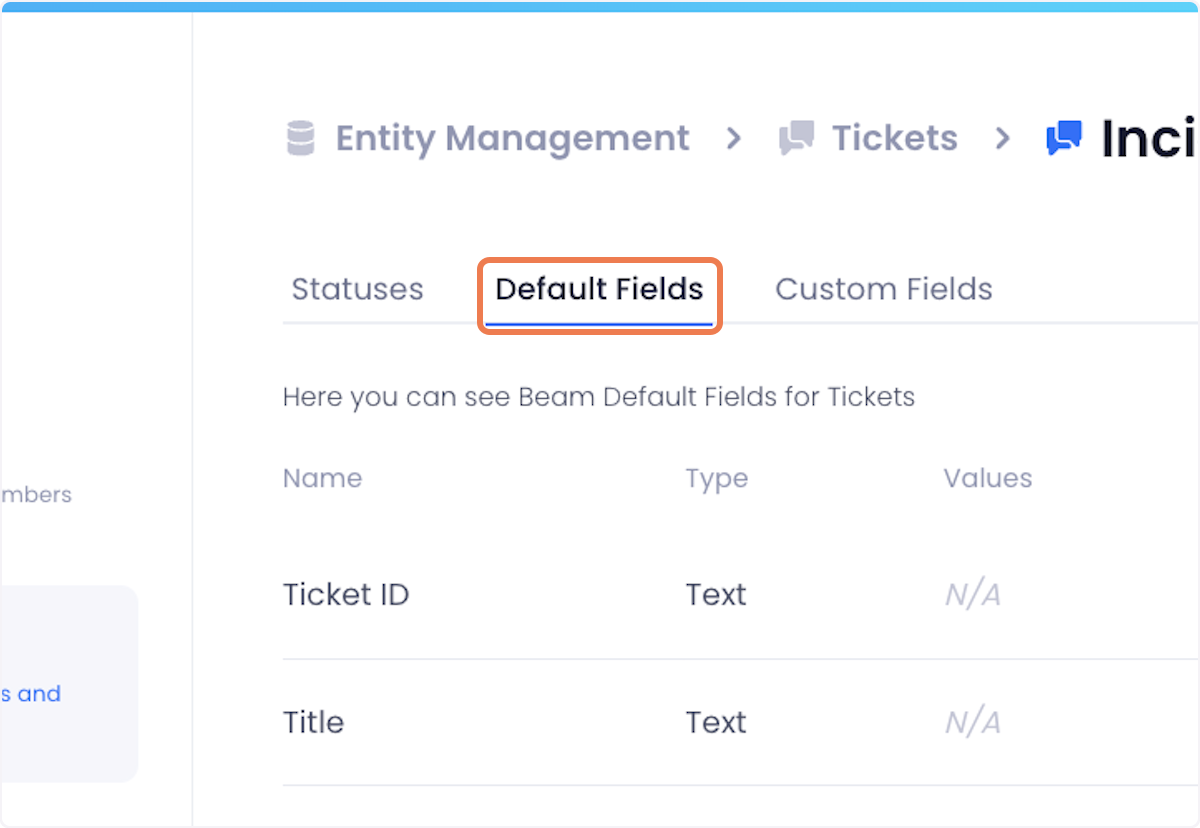
5. You will be dropped onto a page where you can view all the default fields associated with the selected ticket type.

Arnav Patel
Product Marketing Specialist